This can be tricky because some plants are marked as safe for supporting pollinators may be ineffective or harmful. For best results, your local botanical society can provide you with a list of plants that support native pollinators that are local to your region.
how to build a pollinator garden
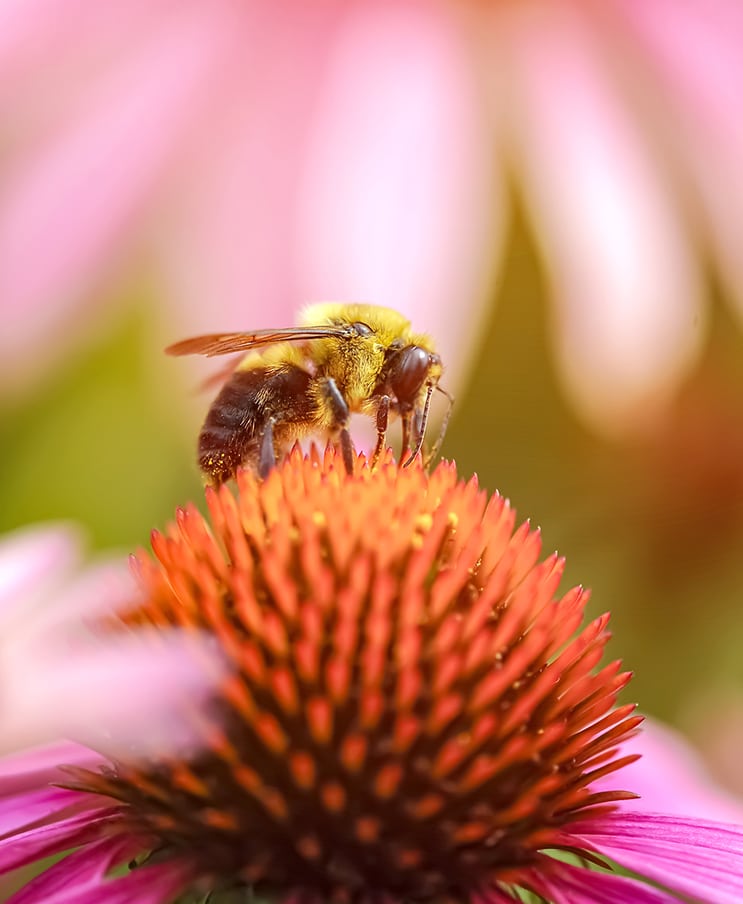
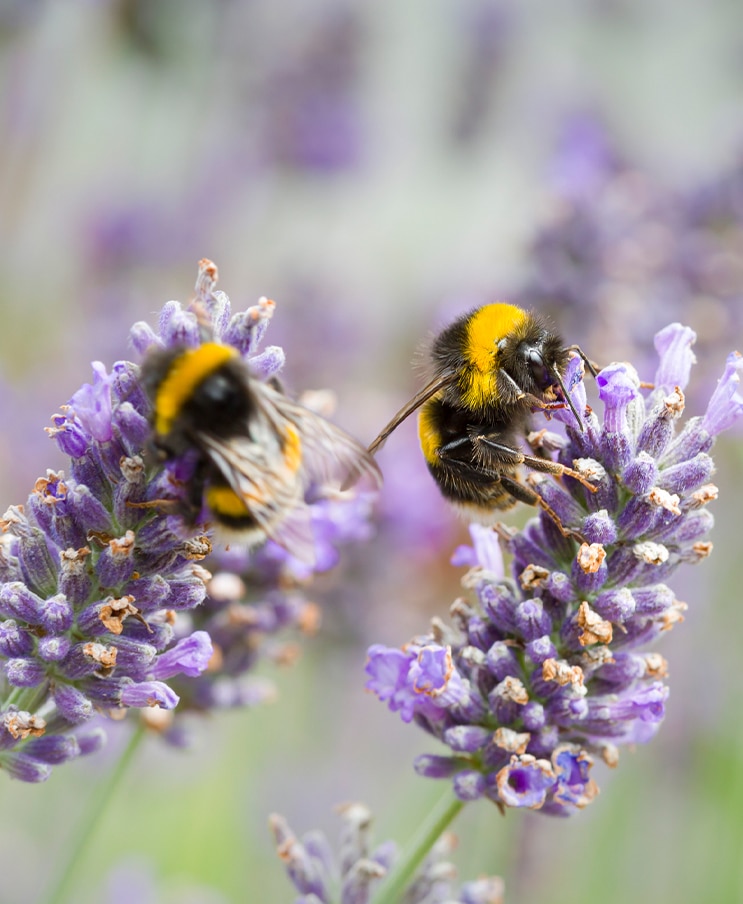
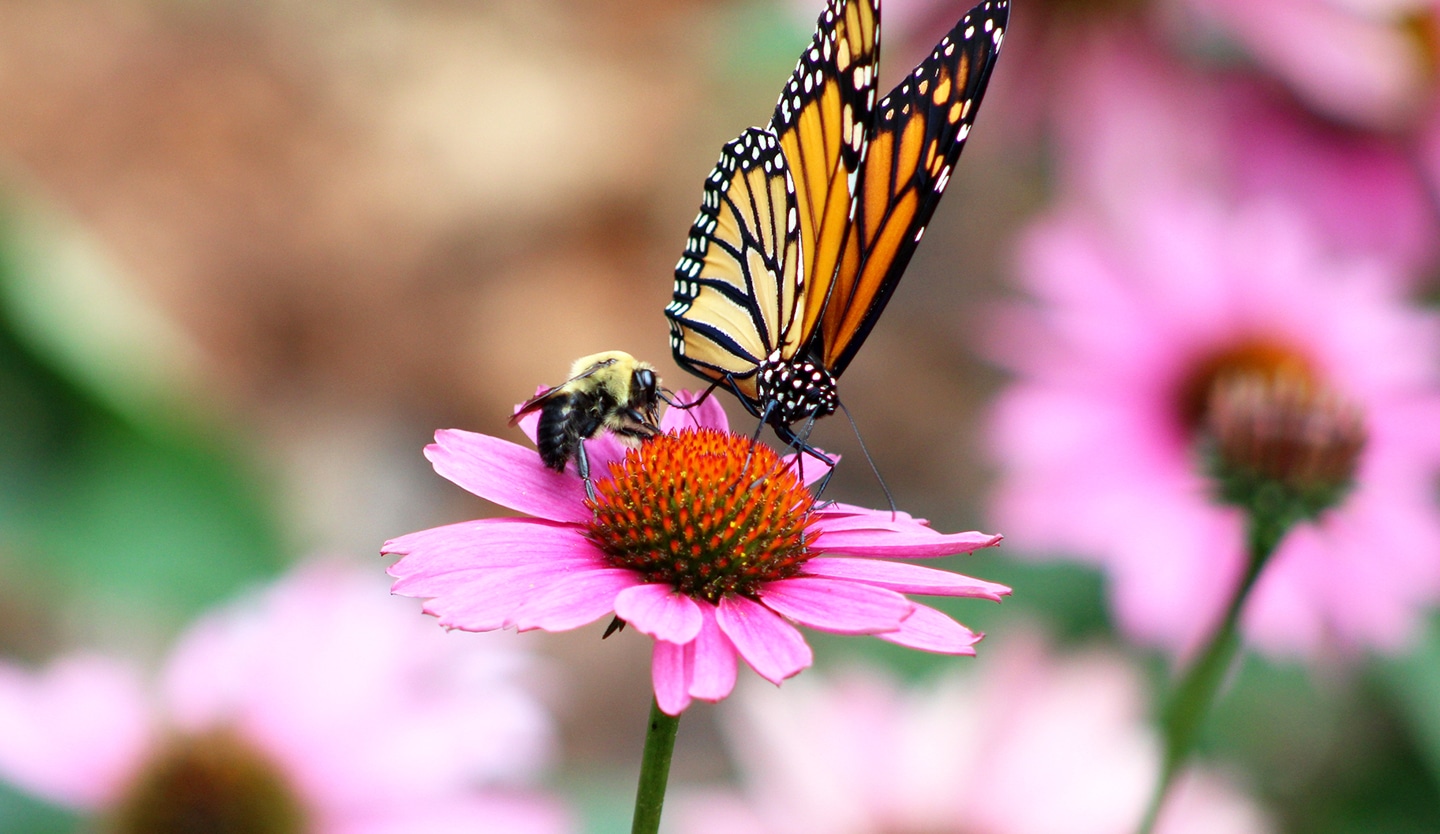
What are pollinator gardens, and why are they important? Pollinator gardens are essential to the reproduction of native plants. Native pollinators are very sensitive to environmental and man-made threats, and require very specific plant selection to thrive. From small rooftop gardens to vast gardens, even the smallest space can have a big impact and can help struggling pollinators.
here’s how to start your own pollinator garden at home:


step 2. learn the components of a pollinator garden.
There are 5 important components to a happy pollinator garden:
- Adult Food: a selection of native plants with lots of pollen and nectar that are planted in groups and produce throughout the growing season.
- Baby Food: host plants that support butterfly and moth reproduction.
- Water: spots where insects can easily get to water and minerals found in soil. These areas should be well-draining and not have standing water.
- Habitat: hollow stemmed plants, leaves, grass and bare soil to help support the life cycle of the pollinators.
- Protection: Protect your pollinators by eliminating chemicals and pesticides.
step 3. select and analyze the site.
Make sure you’ve got the right plants for the right place. The important site attributes to consider are: sunlight, soil type and treatment, moisture levels, wind exposure, which animals are naturally present and, of course, aesthetics.

step 4. prep your garden site.
Start to prepare your site by removing all the old sod, if necessary. All weeds and other invasive plants should be removed as well. Once the site has been cleared, till the soil and add a top soil. Add a few inches of organic compost. Check out our article about building your own compost.
step 5. plan your garden and select your plants.
An important part of planning your garden is creating “massings” which are groups of 4 or 5 plants. This makes it easier for foraging. Pro tip: group moisture loving plants together! This can help you save on watering. Don’t forget to leave a border of a few inches, this is to give your plants room to grow.
step 6. get planting.
Lay your plants according to your desired design. Get digging and plant your native pollinators. When you’re ready to add mulch, make sure you’re not putting mulch right against the plant.
step 7. care for your garden.
Aside from the regular watering, there is some maintenance required to keep your garden happy. Keep an eye out for weeds and other invasive species, and weed by hand. The purpose here is to help your garden thrive naturally, so avoid using pesticides. During the fall, you can leave see heads and stalks. This provides a natural habitat for birds and insects. Cut back in the springtime and add compost.
And just like that, you’re well on your way to a fully functioning pollinator garden! Don’t forget to share your progress with our community in the Plant Chat.

