A transformation happened! Our backyard living space was completely changed.
Initially, our goal was simple: build a deck to host family BBQs and birthday parties. But what we didn’t realize was how quickly we’d fall out of love with it. In just one year, the deck went from being our favourite lounge spot to a big, wooden pathway. This was especially tough for me since I had put my heart and soul into building that deck.
I take a lot of pride in my property, so I needed to breathe some new life into my once-beloved deck. And then it hit me – we needed something natural to break up the straight lines and dead wood. I spend most of my time building gardens for people passing by my house, but I had neglected the space I built for my own family. So, one day, while topping up my porch planters with some Miracle-Gro® moisture control potting soil and Miracle-Gro® plant food, I had an idea. We needed planters to bring life and contrast to this barren wooden platform. Since our deck had no rails or border, we decided to create some planter benches for both functionality and beauty.
Here’s my step-by-step guide on how to create your own planter benches. This project is designed to be modular, repeatable, and simple enough for even a beginner DIYer with minimal tools. We’ll walk through constructing two planters and one bench, but you can expand or reduce the project to fit your space. That’s the beauty of this design.
Here’s what you’ll need:
Tools You’ll Need
Clickbait alert! “You can complete this project with a screwdriver, a saw, and a measuring tape!” While that’s technically true, here’s a more comprehensive list of tools I suggest:
Measuring tape – Must have. You’ll use it a lot.
Drill – I used two: one for drilling pilot holes and one for fastening.
Saw – Essential. You could bring the cut list to your local lumber dealer, but I suggest cutting your own wood to ensure accuracy and reduce waste.
Level – To make sure your benches don’t slope.
Drill bits / pencil – Necessary for the fasteners listed in the materials section and for marking measurements.
Nice to have:
Second drill for pilot holes – This prevents wood from splitting. You can swap bits if you only have one drill.
Speed Square – Makes measuring and marking easier.
Chop Saw / Miter Saw – A big upgrade for cutting wood, great for making repeat cuts.
Clamps – Handy when you need an extra pair of hands and you’re working alone.
Materials You’ll Need
This guide will yield one bench and two planters:
2×4’s, 8 feet long (qty. 15) – Pressure treated or rot-resistant wood like cedar for longevity.
Deck Boards, 8 feet long (qty. 10) – Must be pressure treated, typically labeled 5/4 x 6.
1 ½ “ Deck screws (qty. 144) – Exterior grade. Buy a box; they’re handy elsewhere. Used only for fastening deck boards.
2 ½ “ Deck screws (qty. 104 ish) – Exterior grade. Buy a box; they’re handy elsewhere.
4” Framing screws (qty. 40) – Exterior grade. These make siding the planters simpler and provide a strong structural hold.
15” Square plastic planters (qty. 2) – For easy maintenance and to protect the wood.
Cut List
I’ve broken the build into components for easier assembly. Make these cuts and label them for later. I suggest making all the cuts before starting assembly.
Planters x2
Platform:
[2×4] – 4x 17.5”
[2×4] – 4x 14.5”
[Deck board] – 4x 17.5”
Uprights:
[2×4] – 8x 16.5”
Supports:
[2×4] – 2x 18”
Squares:
[2×4] – 4x 18”
[2×4] – 4x 21”
Siding:
[Deck Board] – BEGINNER 16x 23” & 16x 21”
[Deck Board] – INTERMEDIATE 32x 23 1⁄8 (These should be cut with a 45-degree miter on both sides)
Bench
[2×4] – 2x 17”
[2×4] – 6x 48” (This assumes a 4-foot-long bench but can be altered to fit your space)
The Full Build Walk-Through
step 1.
Start by building the platform pieces. These are the most forgiving and a great introduction to the rest of the build. Turn the 2×4 components into a square by fastening the two 14.5” pieces inside the 17.5” pieces. Use 2 screws at each joint with pilot holes (implied for each joint moving forward). Ensure you’re fastening through the 17.5” piece into the 14.5” piece, creating a 90-degree angle. Attach the two deck board pieces to the top of the square and repeat. Set aside for later. [16x 2 ½“ screws & 16x 1 ½“ screws]
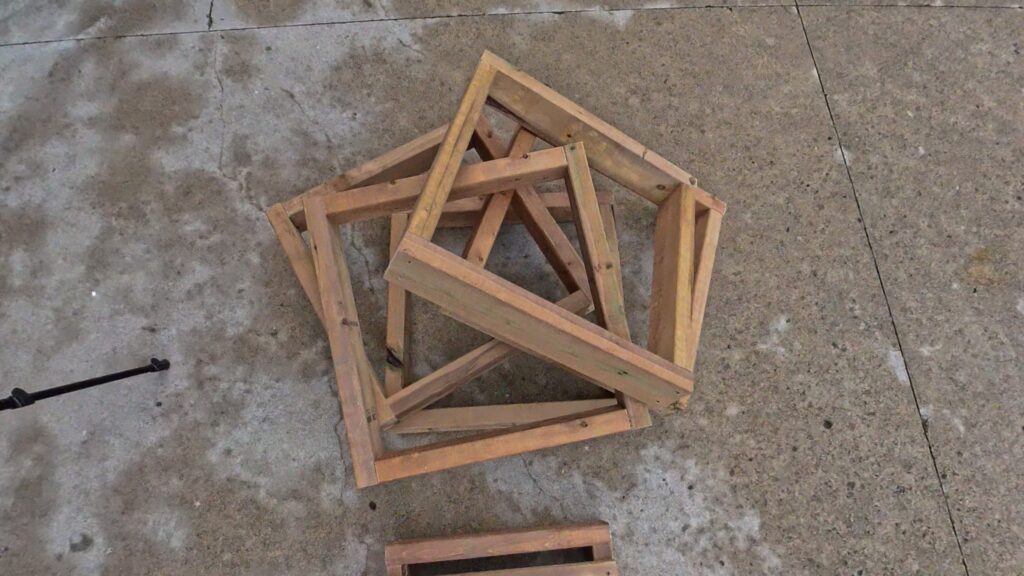
step 2.
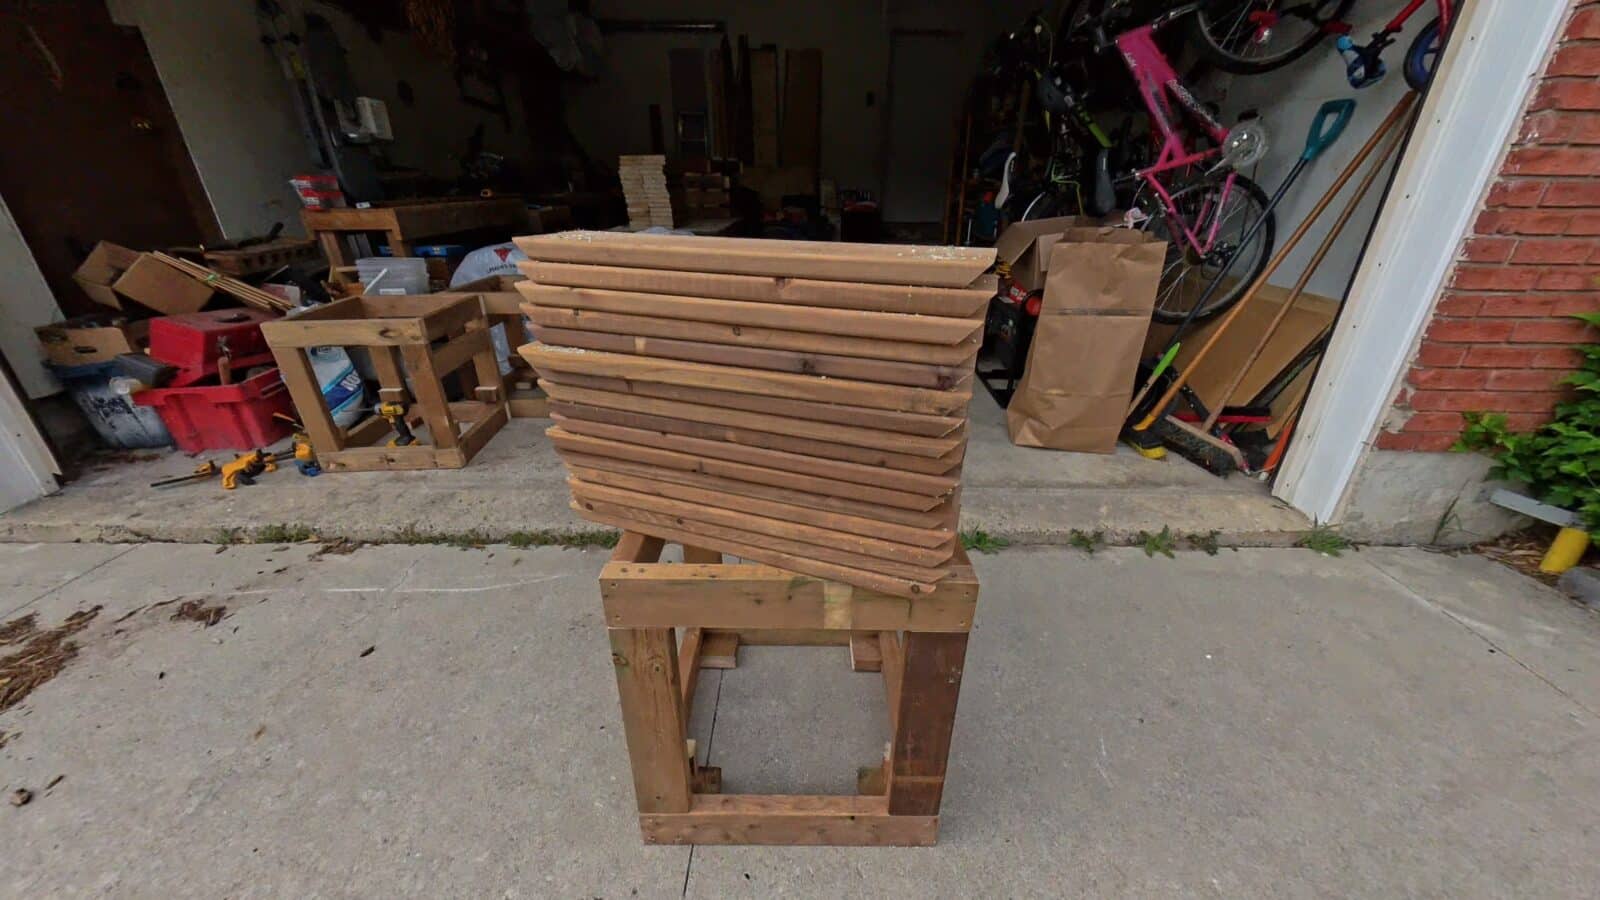
Build 4 more squares. This will be the beginning of your planter. Fasten two 18” pieces and two 21” pieces to create a square, just like the platform square (longer cuts on the outside). Repeat 4 more times. [16x 2 ½“ screws per planter]
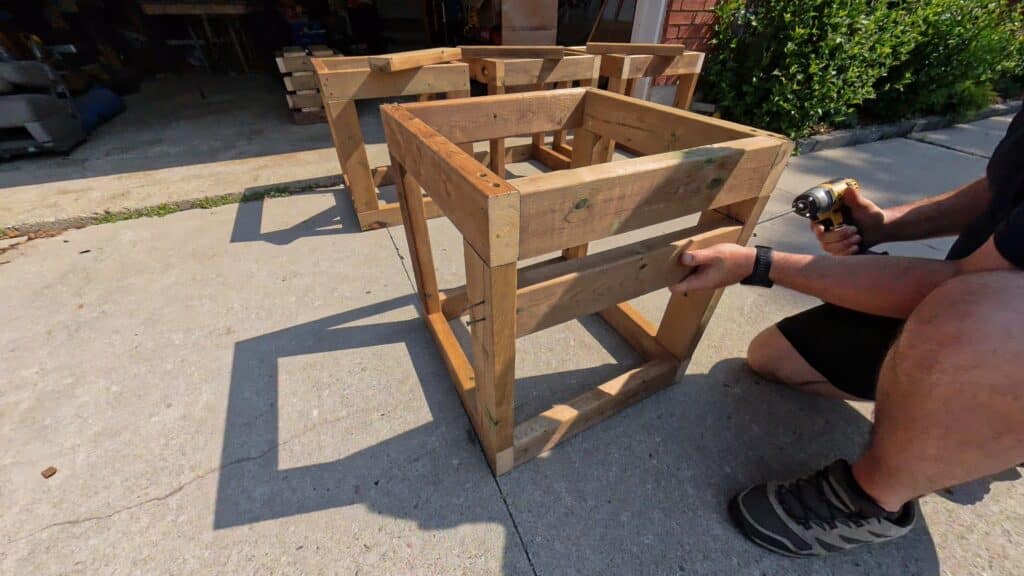
step 3.
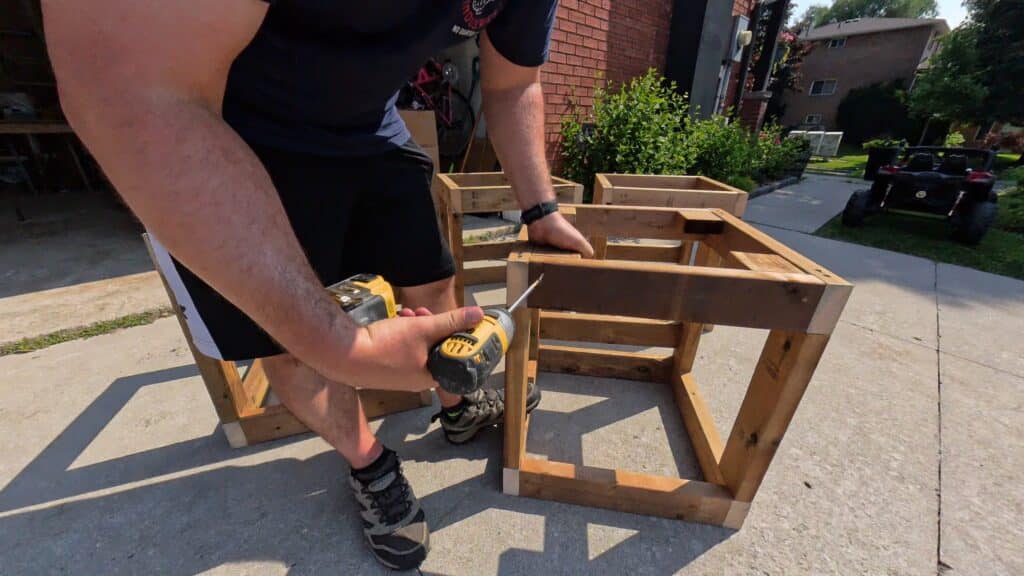
Combine two squares from the previous step with four 16.5” upright pieces to create a box. Using the 4” framing screws, drill down through the 21” pieces into the 16.5” uprights, creating a 90-degree angle. Repeat until all 4 uprights are installed, creating your planter skeleton. Make 2 of these. [16x 4” framing screws per planter]
step 4.
Measure 18” up from the bottom of the box for the bench height. This will be the top of your bench support. Fasten the bench support so the top of the 2×4 is at 18” from the ground. [4x 2 ½“ screws per planter]
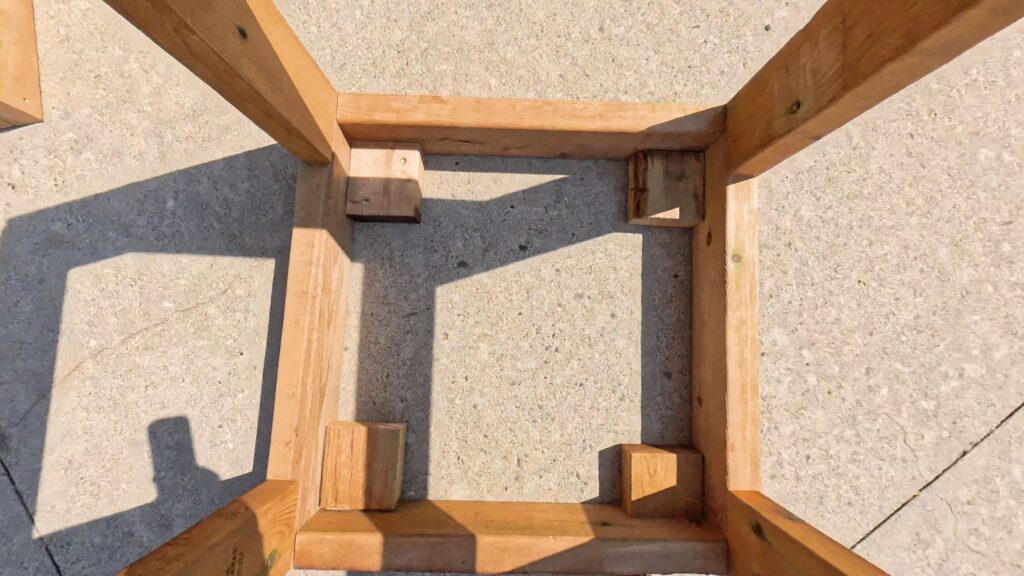
step 5.
Create feet on the bottom side of the planter box to anchor it to the deck. Use 2×4’s of approximately 3” length and fasten them to the inside of the bottom square from the outside with 3 screws per foot. [12x 2 ½“ screws per planter]
step 6.
Set your platform blocks. This makes the build customizable to plastic planter pots up to 18”. Measure 16.5” down from the top of the planter box. This ensures the 15” planters sit flush with the top of the box. Repeat on all 4 uprights. [8x 2 ½“ screws per planter]
step 7.
Now for the siding. This is when you feel like you’ve truly made something. I chose a miter joint, which might be more challenging but looks great. Set your top boards first, ensuring the inside of the miter joint is in line with the corner of your box. For beginners, make 4 more squares, fastening the deck boards to the box to form a square. Set your top boards first and move down, fastening all 16 deck boards. [64x 1 ½“ screws per planter]
The hard part is done, and you’ve created 2 planters. Now, let’s move on to the bench.
step 8.
Using two 17” pieces and six of the pieces cut to your desired length, ensure the boards are all showing the narrow side. Create a rectangle using the two 17” pieces and two of the length pieces, fastening through the 17” pieces. The remaining four length pieces should fit perfectly in this rectangle with equal spacing of a 2×4. [24x 2 ½“ screws]
step 9.
Mount the bench between your 2 planters using a level. Fasten the bench to the planters using the 4” framing screws from inside the planter through the bench support and into the 17” end pieces of the bench. Ensure the bench height matches the supports at 18”.
This project will add much-needed seating and plant life to your deck or patio. I hope you enjoyed the guide. Happy planting!
Follow @brandonkoruna on Instagram and TikTok for more garden tips!
We use cookies on our website to give you the most relevant experience by remembering your preferences and repeat visits. By clicking “Accept All”, you consent to the use of ALL the cookies. However, you may visit "Cookie Settings" to provide a controlled consent.
This website uses cookies to improve your experience while you navigate through the website. Out of these, the cookies that are categorized as necessary are stored on your browser as they are essential for the working of basic functionalities of the website. We also use third-party cookies that help us analyze and understand how you use this website. These cookies will be stored in your browser only with your consent. You also have the option to opt-out of these cookies. But opting out of some of these cookies may affect your browsing experience.
Necessary cookies are absolutely essential for the website to function properly. These cookies ensure basic functionalities and security features of the website, anonymously.
Cookie
Duration
Description
cookielawinfo-checkbox-analytics
11 months
This cookie is set by GDPR Cookie Consent plugin. The cookie is used to store the user consent for the cookies in the category "Analytics".
cookielawinfo-checkbox-functional
11 months
The cookie is set by GDPR cookie consent to record the user consent for the cookies in the category "Functional".
cookielawinfo-checkbox-necessary
11 months
This cookie is set by GDPR Cookie Consent plugin. The cookies is used to store the user consent for the cookies in the category "Necessary".
cookielawinfo-checkbox-others
11 months
This cookie is set by GDPR Cookie Consent plugin. The cookie is used to store the user consent for the cookies in the category "Other.
cookielawinfo-checkbox-performance
11 months
This cookie is set by GDPR Cookie Consent plugin. The cookie is used to store the user consent for the cookies in the category "Performance".
viewed_cookie_policy
11 months
The cookie is set by the GDPR Cookie Consent plugin and is used to store whether or not user has consented to the use of cookies. It does not store any personal data.
Functional cookies help to perform certain functionalities like sharing the content of the website on social media platforms, collect feedbacks, and other third-party features.
Performance cookies are used to understand and analyze the key performance indexes of the website which helps in delivering a better user experience for the visitors.
Analytical cookies are used to understand how visitors interact with the website. These cookies help provide information on metrics the number of visitors, bounce rate, traffic source, etc.
Advertisement cookies are used to provide visitors with relevant ads and marketing campaigns. These cookies track visitors across websites and collect information to provide customized ads.
join our passionate plant community and gro your garden!
By registering, I am allowing Scotts Canada Ltd. to contact me with news, articles and promotions. I understand that I can withdraw my consent at any time.