*Inhale* Ahhhh. There’s nothing quite like a fresh and fragrant Christmas tree to bring some festive cheer into your home. Sure, they’re more work than the artificial variety, but the effort is well worth the result (and more eco-friendly, to boot).
Here are some helpful tips to keep your tree looking merry and bright all holiday season.
follow these steps to set up your Christmas tree
Start with a healthy tree from your local tree farm—gently shake the tree to make sure it’s flexible and needles aren’t dropping.
Trim 1/2 inch off the base of the trunk to remove dried sap and encourage water absorption.
Measure the diameter of the tree trunk.
lets gro #plantproject
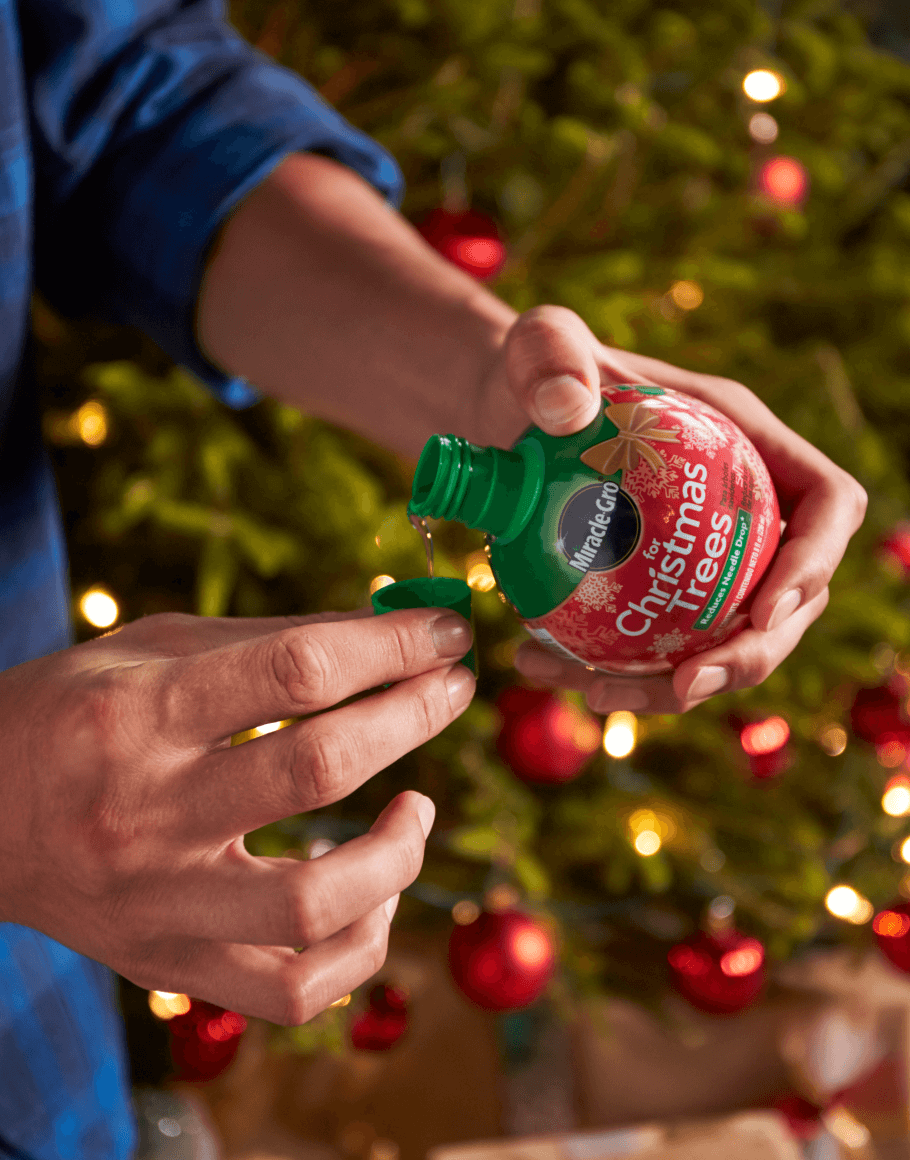
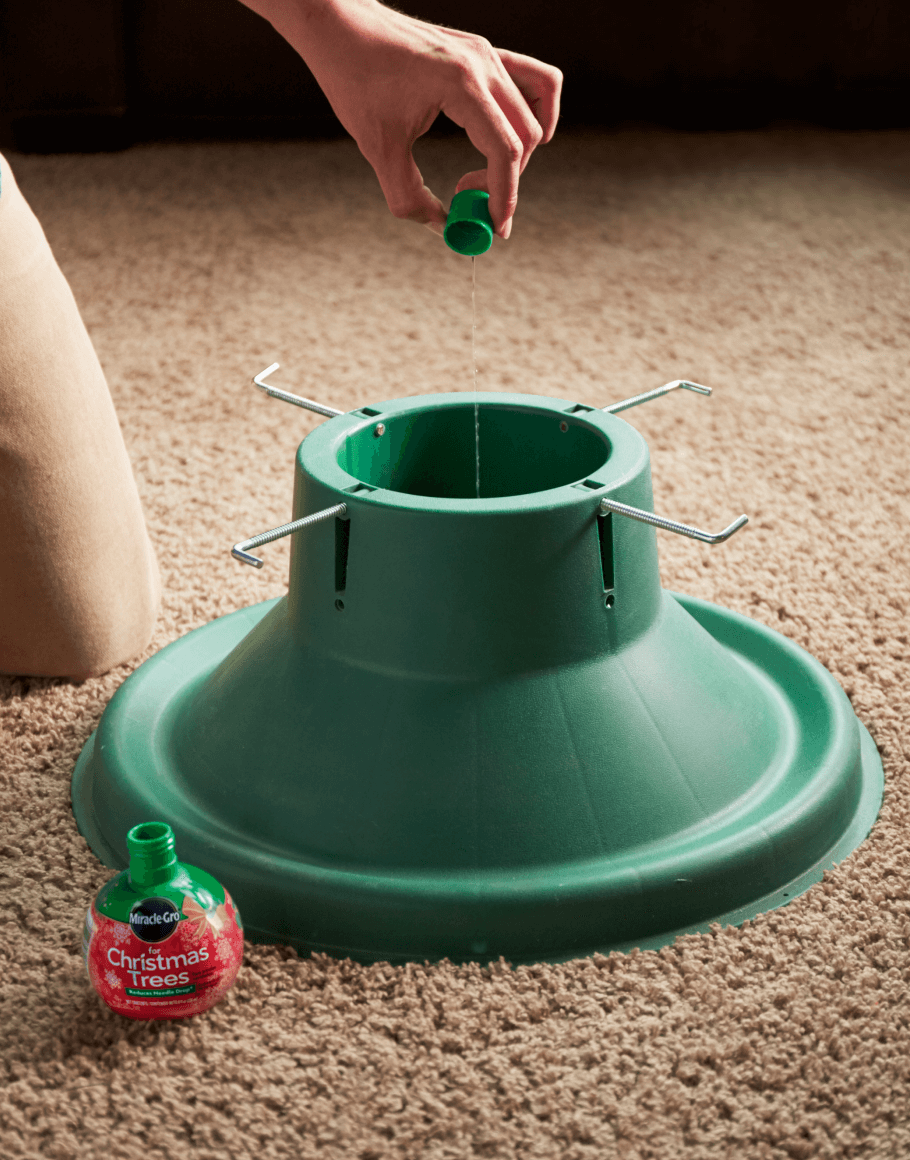
Using a Christmas tree stand that can hold at least 1 gallon of water, add 1 quart of water for every inch of the trunk’s diameter.
Check the water level daily—ensure the water always covers the bottom 2 inches of the trunk (this is the secret to maintaining a super fresh tree!)
If you’ve got some plant lovers on your list, we’ve got you covered. From handmade to store-bought, this list has gifts for plant parents of all skill levels that will knock their ‘stalks’ off.
Let’s get gifting!
1
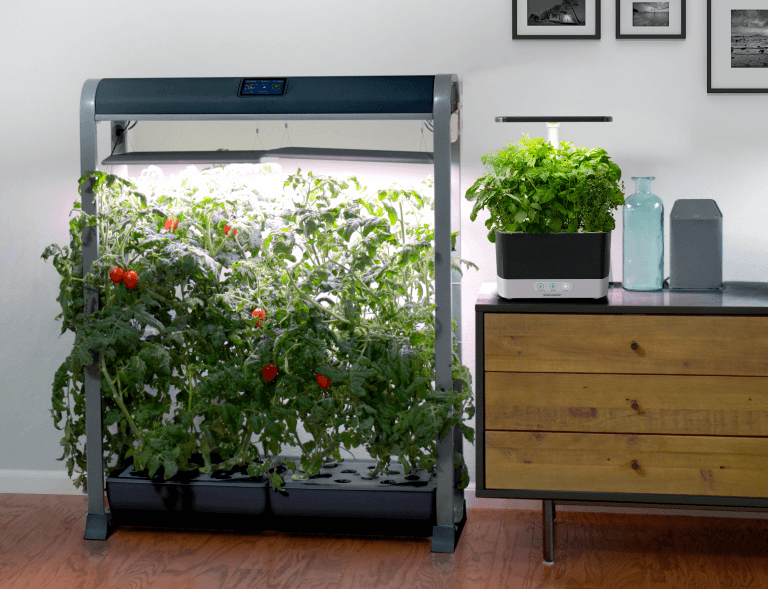
Aerogarden. For the table-top gardener. Aerogarden offers a variety of sizes that suit every veggie lover’s needs.
2
Aerogarden Herb Seed Pods. Give the gift that literally keeps giving. Aerogarden herb seed pods make growing herbs a snap.
3
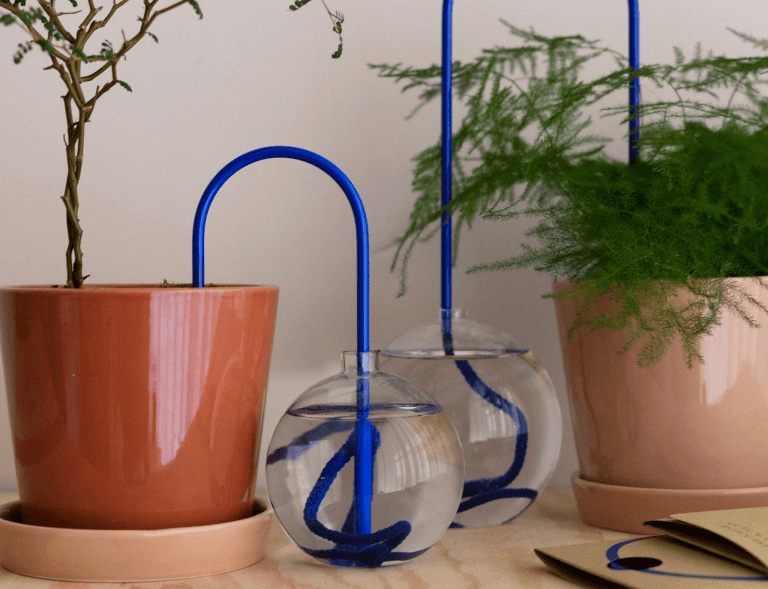
Watering straws. All the rage for the plant parents with needy plants. If you don’t want to shell out for a store-bought model? Try making one of your own.
4
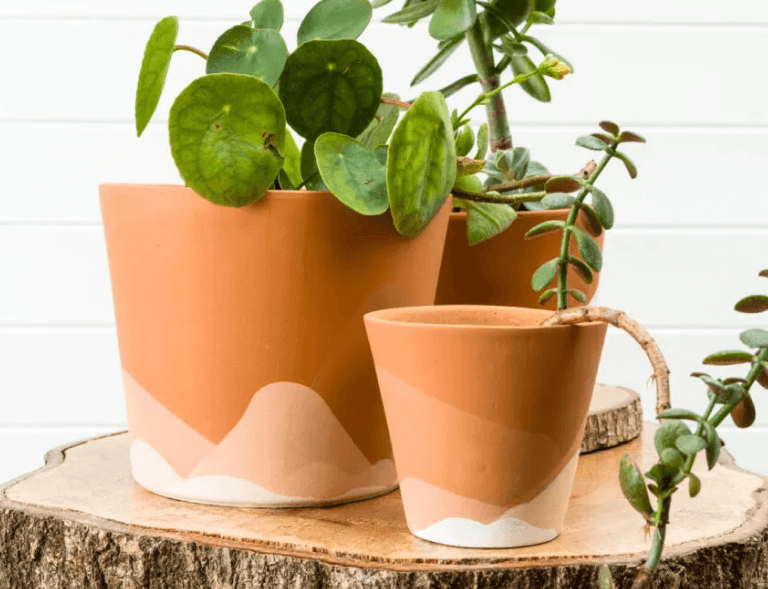
Hand painted planters. Plant lovers always need more pots. Try your hand at decorating customized pots for the plant parent in your life.
5
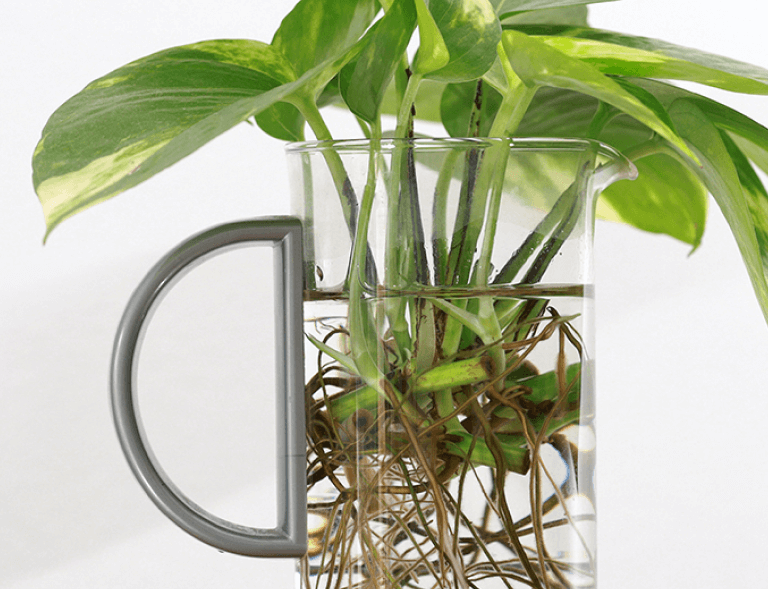
Props of your fave plants. From one plant lover to another, sharing propagations can be meaningful and a long lasting, thoughtful gift.
6
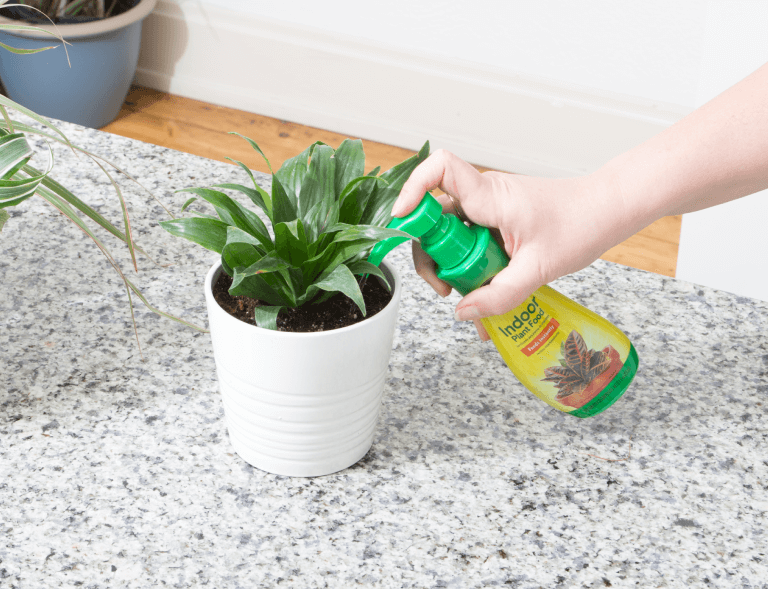
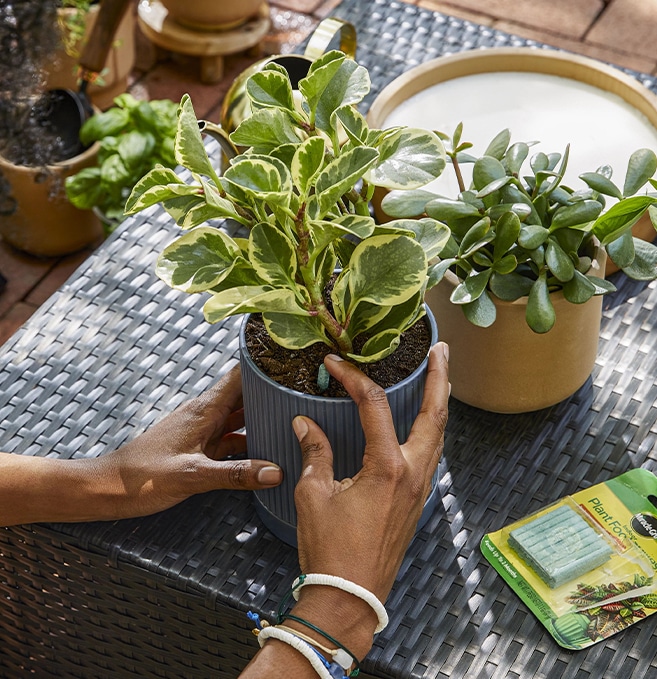
Plant food. All plant parents know they must feed their plants. Whether it’s a water soluble or liquid variety, plant lovers will be appreciative of being able to prevent hangry housemates. Bonus points because this gift is perfect for plant lovers of all skill levels.
7
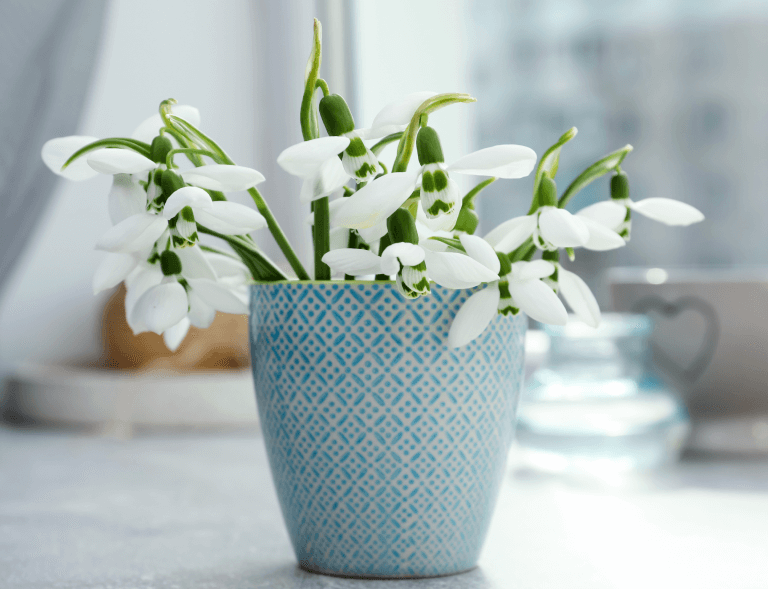
Customized birth month flower pot. Whether it’s an arrangement or customized flowerpot, this is a sure-fire win for your astrology obsessed plant parents.
8
Hand made wreath of evergreens from your home. DIY a gorgeous boho-inspired wreath using green materials from your own backyard and garden.
9
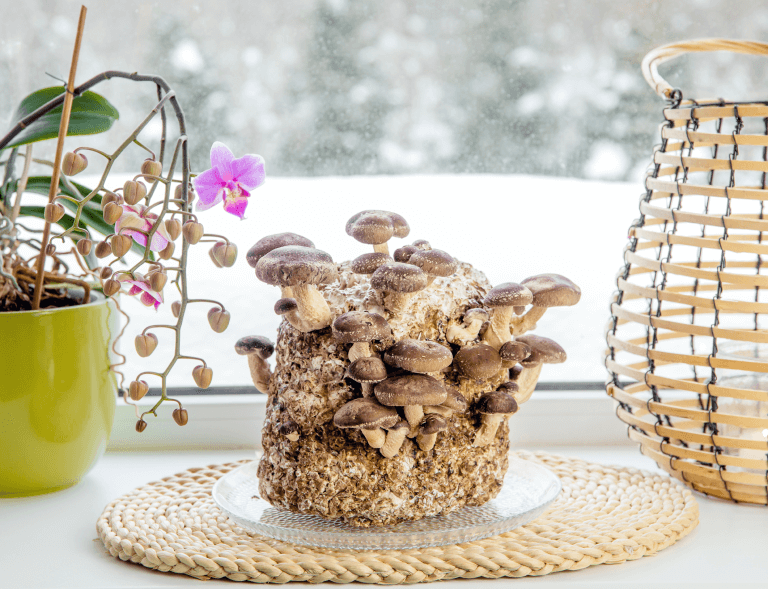
Mushroom growing kit. Mushrooms are on trend right now. Mushroom growing kits are a great gift for the DIY plant obsessed.
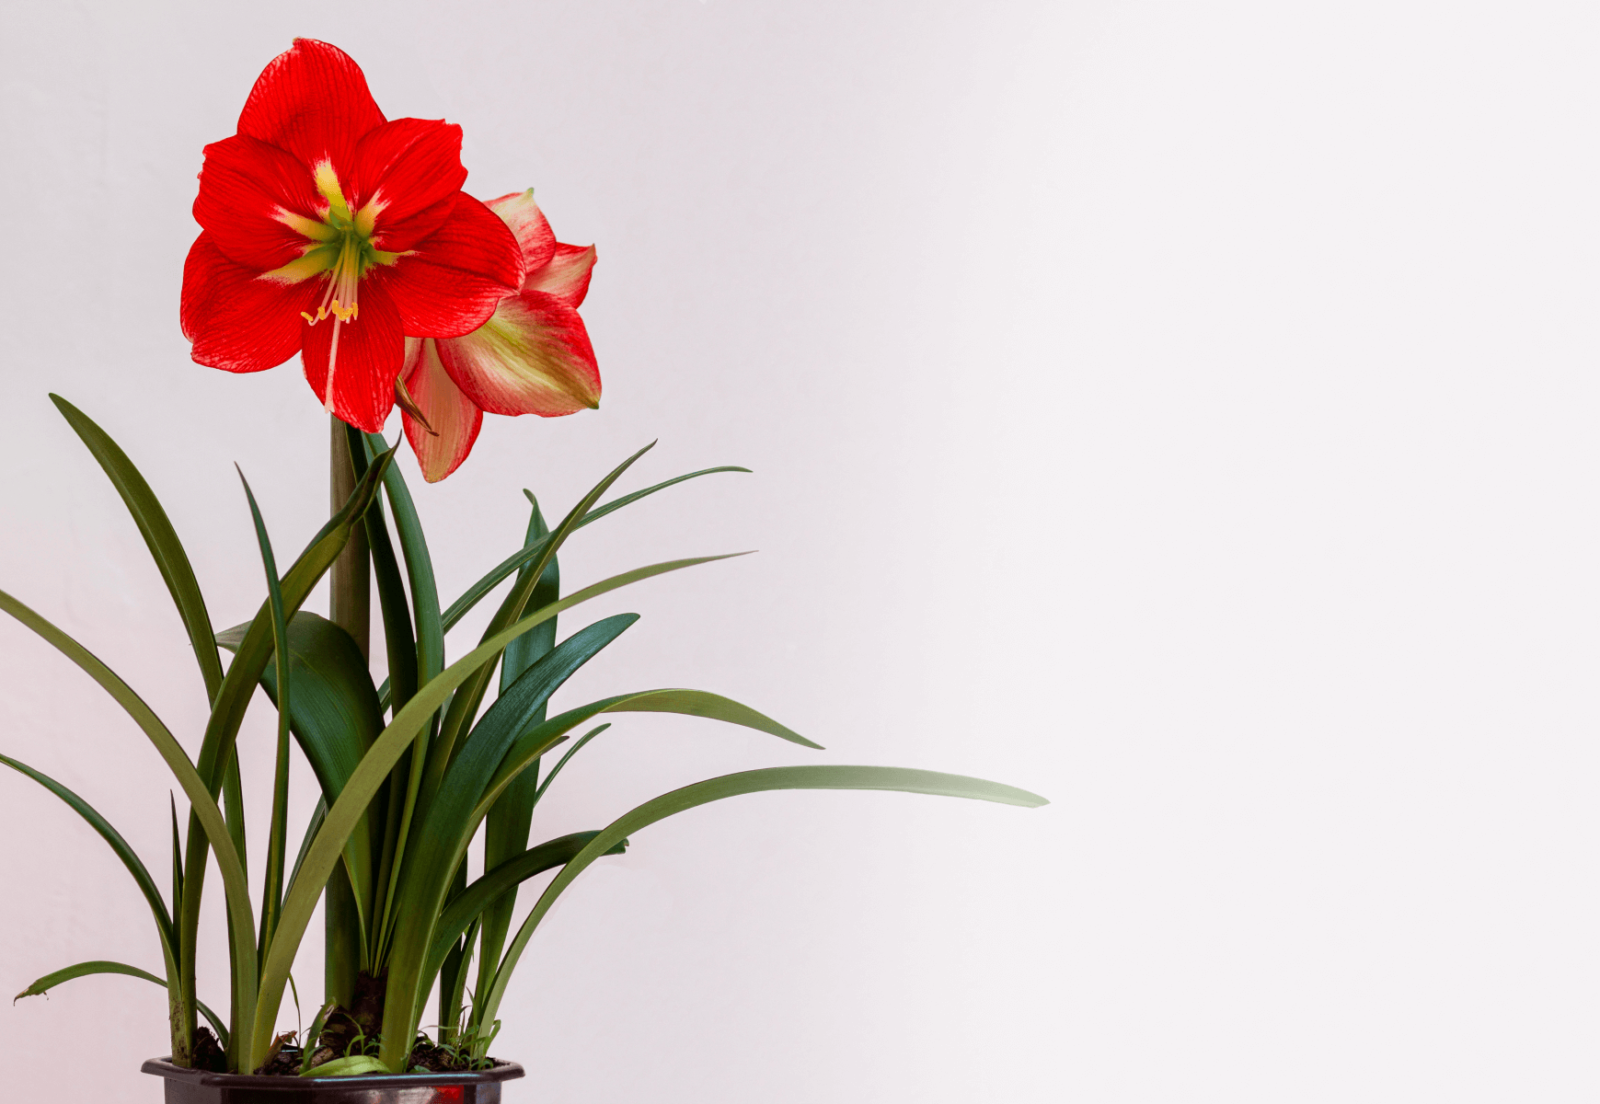
Needs a sunny window to get at least 4 hours of sun daily
water + feeding
not too thirsty
Only water once the top 2 inches of soil have dried.
toxic
yes
The bulbs are the most toxic, but blooms can also be hazardous if eaten
location
picky pals
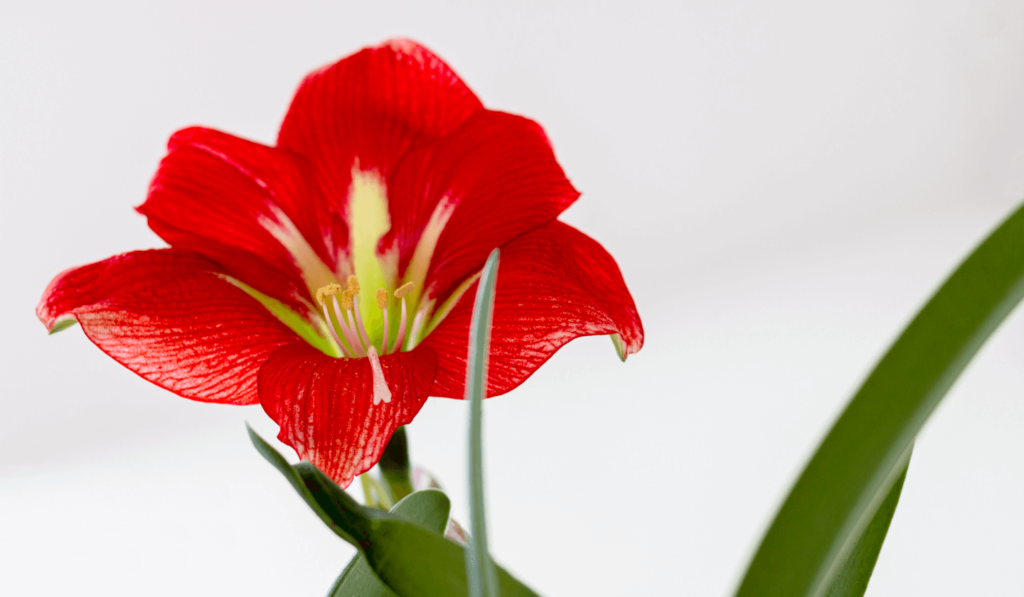
Need lots of bright, direct sunlight
humidity
not too much
Amaryllis don’t need misting
size
medium
Can grow up to 4 – 6 inches
pro tip
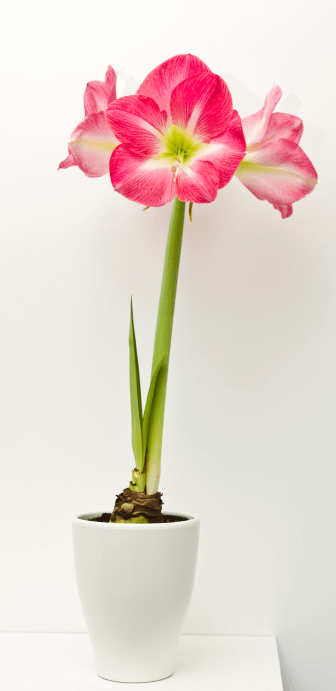
big bulbs mean lots of flowers
That’s right. We like big bulbs, and we can not lie. The bigger the bulb the more blooms you can expect. In fact, a Jumbo bulb (34/36 cm) can produce 3 stems with about 4 to 5 flowers per stem.
fun fact
It’s a look-a-like
The flowers on an amaryllis look very similar to a lily but they are not actually the same flower. They are very distant relatives!
Amaryllis needs to be planted in a light, well draining potting soil. Consider using Miracle-Gro® Indoor Potting Mix. The combination of coconut coir and perlite help control moisture and release water when your plant needs it. If you’re growing a single amaryllis bulb, you can plant it in a 6-inch pot. If you’re growing multiple bulbs (about 2 –3) use a bigger pot, closer to 10 – 12inches. As always, make sure your pot has a drain hole and be sure to leave the top 1/3 of your amaryllis bulb sticking out of the soil.
Your amaryllis won’t need to be repotted very often. In most cases, you will only need to repot your amaryllis after 3 – 4 years. It’s best to repot once your amaryllis has gone through a dormant stage, typically this means repotting in the spring.
Through Seeds. Look for seed pods about four weeks after your amaryllis begins to flower. When the seeds are ready, they’ll split open a bit and turn yellow. Then you can gently shake out the little black seeds.
Separating bulbs/offsets. Look for firm bulblet that are about a third of the size of the “mother” bulb. Trim back any extra foliage to 2 inches above the bulb. Gently remove the bulblets and replant as soon as possible. You can remove the bulblets with either a small knife or just your fingers.
Choose a bulb at least 6 inches in diameter. Cut into four pieces, vertically, making sure each section has at least two scales. Plant with the basal plate (bottom) of the bulb pointing down, covering only a third of the bulb with soil.
Keep an eye out for common pests like mealybugs and fungus gnats. If you spot these pesky bugs, you can use a gentle insecticide like Ortho® Bug B Gon® ECO Insecticidal Soap to get rid of them without damaging your plant.
There could be a few reasons. The main reason could be that your amaryllis isn’t getting enough light. Once you’ve moved your plant to a bright window that gets light for about 4 hours a day, you should see blooms. Still nothing? Try adding a little plant food to bump up the nutrients. Consider using a tropical plant food like Miracle-Gro® Tropical Plant Food.
Over or underwatering. The issue could also be that your amaryllis isn’t getting enough light. If you know that your watering schedule is okay, then try moving your plant to a more direct light source.
Look for colour and texture. If your bulb has a uniform colour and firm texture, it’s a healthy bulb. If you spot signs of a pest infestation, mold or any damage to the actual bulb, these are red flags that indicate your bulb will likely rot. Seeing shriveled or brown skin on the outside? That’s totally normal.
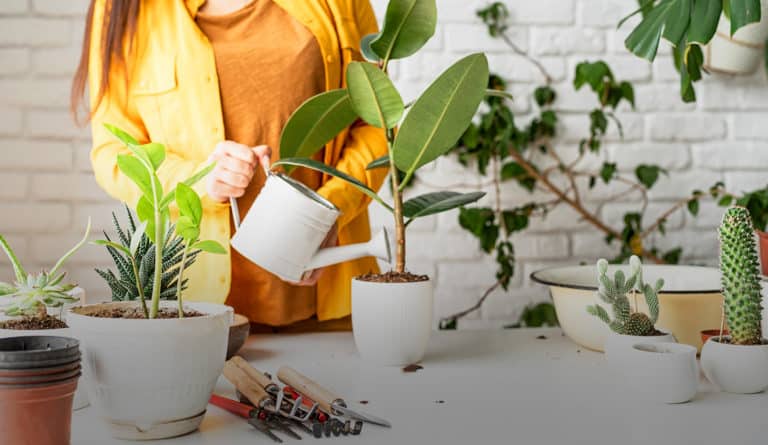
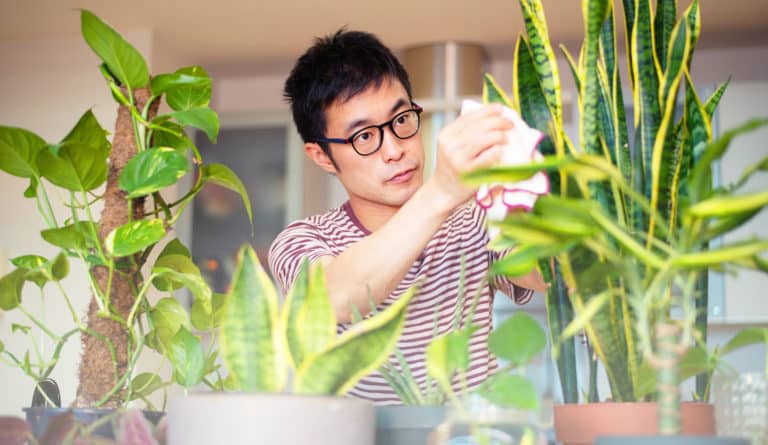
Are your indoor plants looking a little weary and dejected? Just like a grouchy toddler, a sad-looking plant can often be a signal that it’s time for a snack. Your potting soil may be rich with nutrients at the start, but after several weeks have passed, it’s time to refuel.
But hold up—there are some rules you should know before you serve up the good stuff to your potted friends.
Here’s how to feed your plants and help bring them back to life.
for everything, there is a season
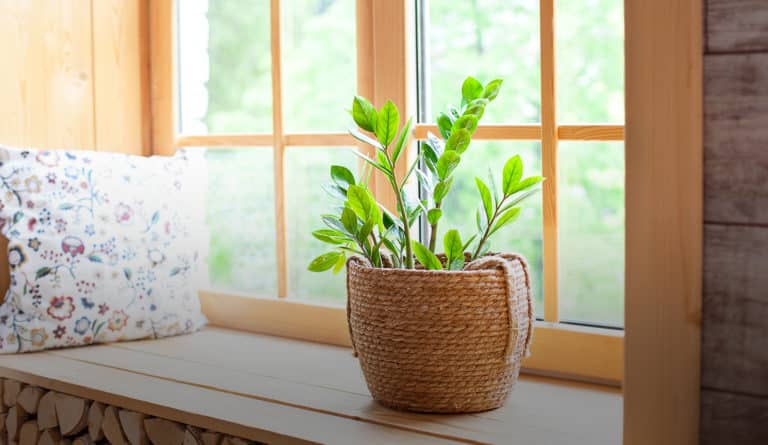
Houseplants enjoy the benefits of fertilization during the growing season—but when exactly is this magical time of growth? We’re so glad you asked.
Indoor plants follow the ways of their outdoor companions, flourishing in the spring and summer seasons. As the days get longer and temperatures start to climb, you’ll want to ramp up your plants’ food intake.
What do your plants need during the fall and winter months? The same thing we all crave—a break. During your plants’ dormant season, the indoor air from your heating system triggers the plants to stop exerting energy and rest up until the next growth cycle begins. Lay off on the food and let your houseplants hibernate—this is one diet regimen you should actually stick to.
3 ways to feed your houseplants
1
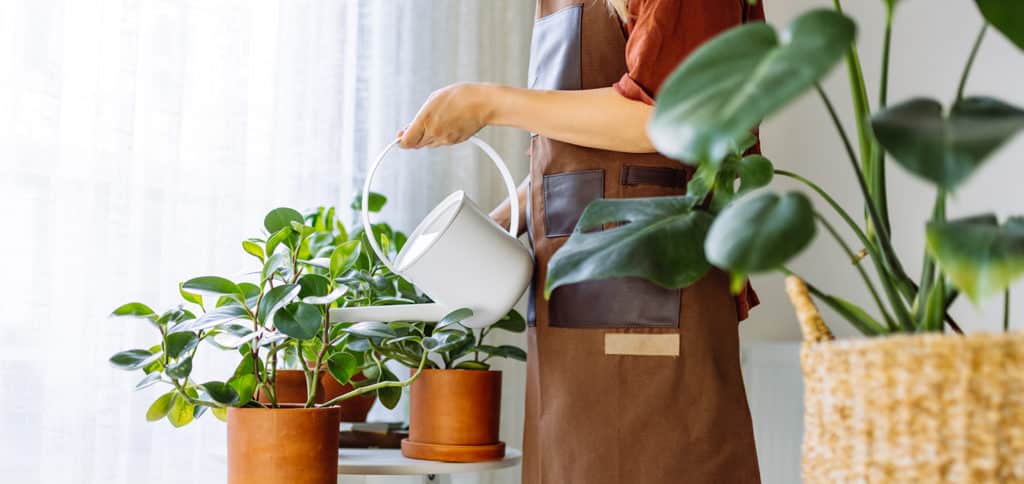
Water Soluble Plant Food
If you’re looking for a fool-proof nourishment solution, Miracle-Gro® Water Soluble All Purpose Plant Food is for you. This all-purpose plant food mixes easily with water and provides super speedy results.
2
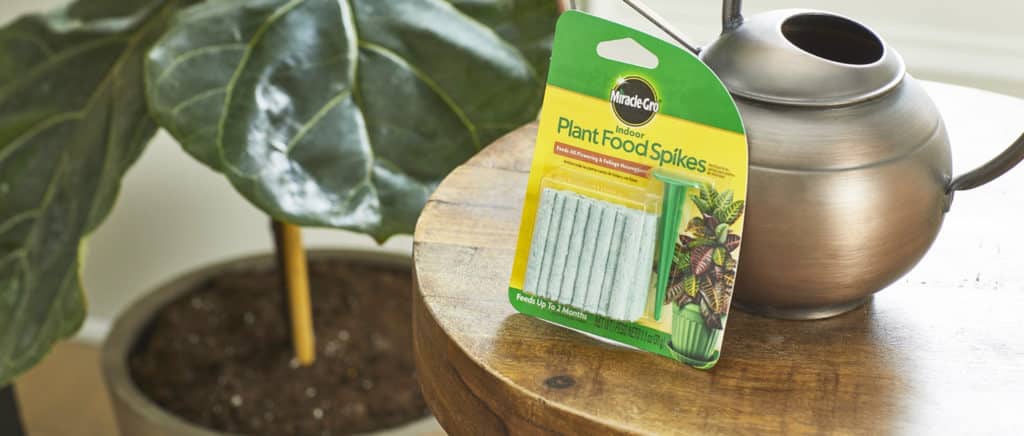
Food Spikes
If you want something tailormade for houseplants, Miracle-Gro Plant Fertilizer Spikes are the way to go. These fertilizer-filled pals feeds plants for up to 2 months and only need to be replaced every 30 days in spring/ summer and every 60 days in winter/ fall. It’s truly that easy. Check out our how-to article in Plants 101 for more.
3
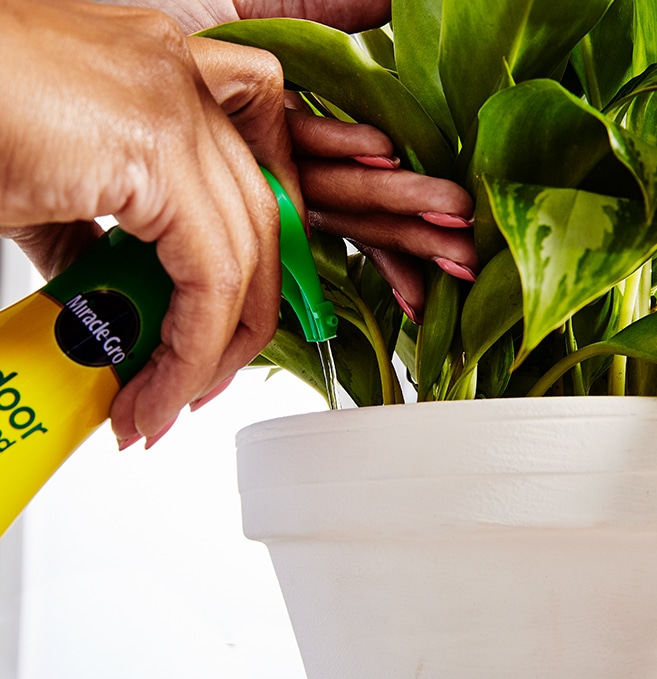
Liquid Plant Food
For a weekly feeding ritual, try Miracle-Gro® Indoor Plant Food, which instantly feeds all indoor houseplants including edibles! Simply apply directly to the soil or mix it with water. It’s a quicky and easy solution to keep your indoor plants thriving.
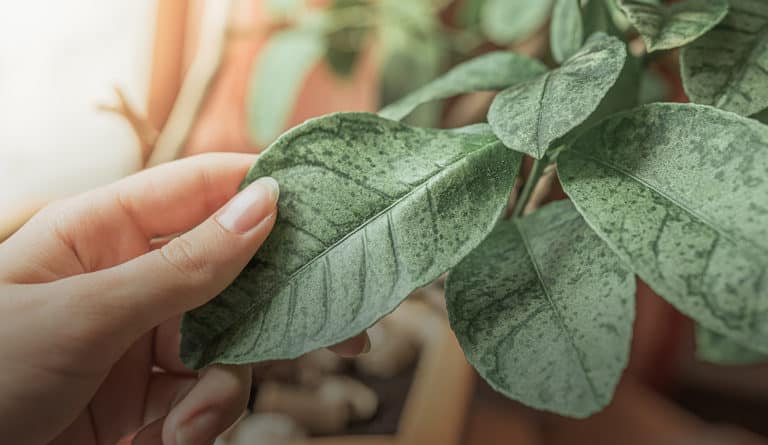
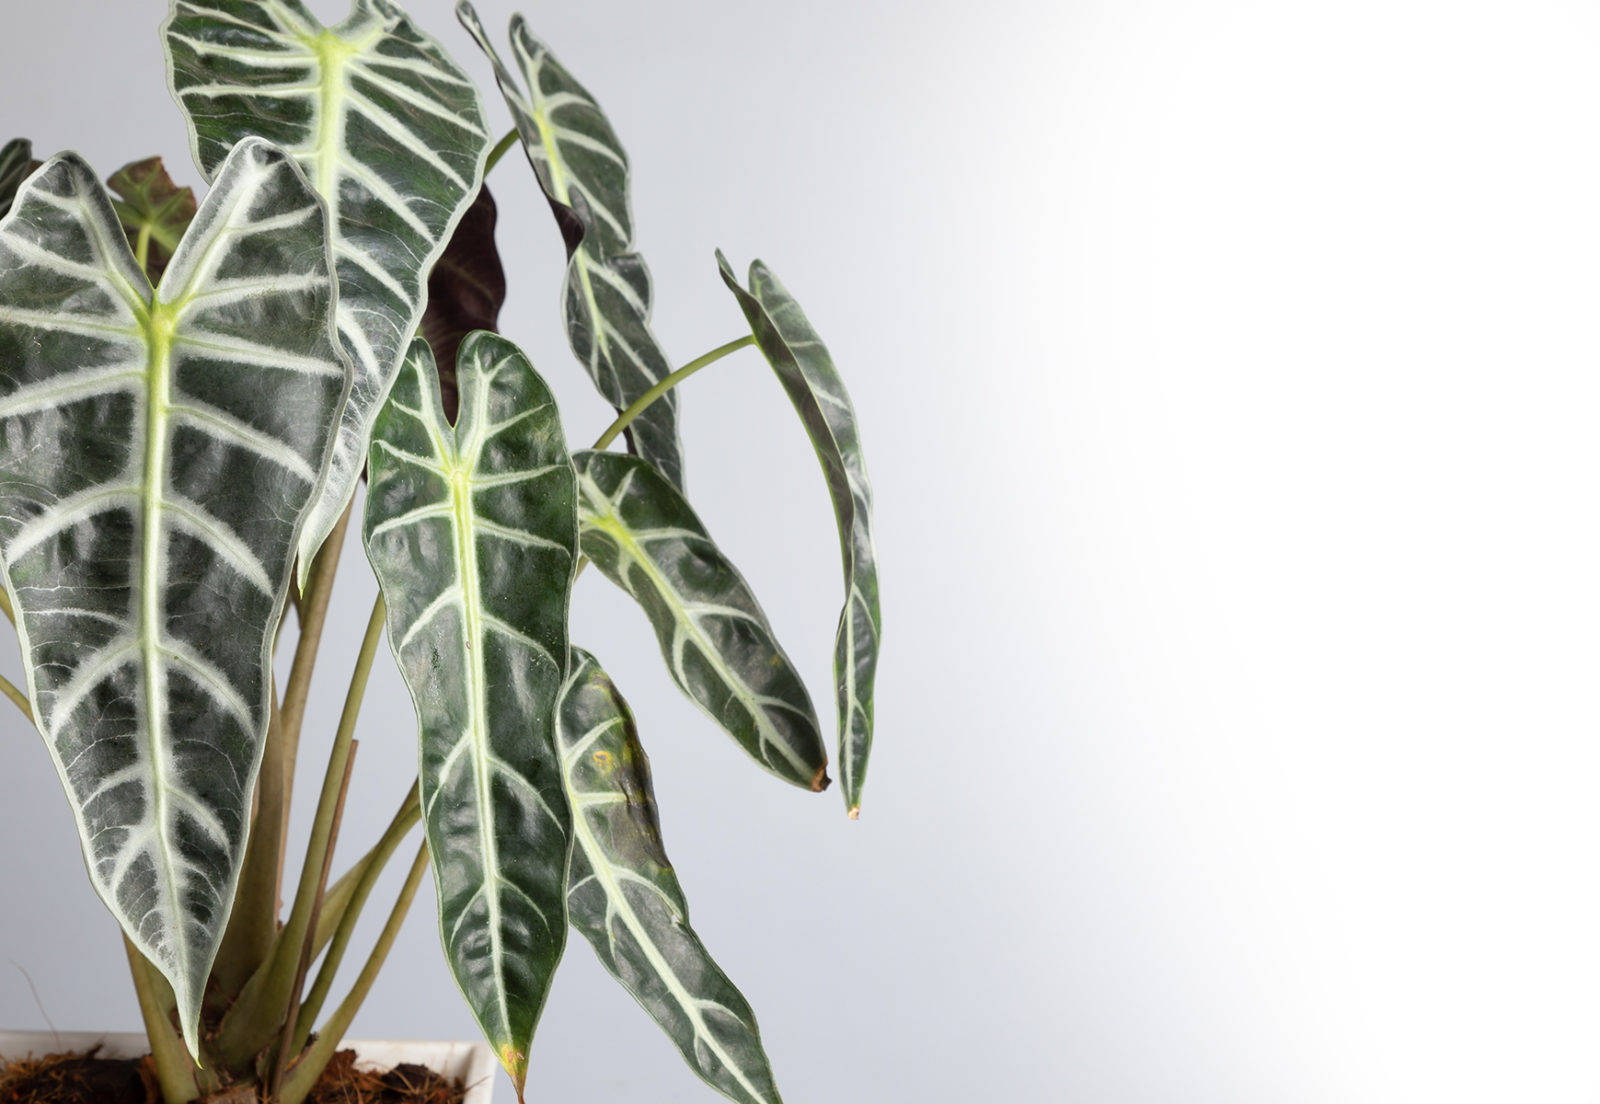
Always the centre of attention, these big beauties make a statement indoors and out. They can grow to an impressive height with leaves that mimic hearts, or the shape of elephant ears.
variations
alocasias and colocasias
share
light
full sun
Even dappled shade will work
water + feeding
thirsty
Keep the soil moist. In summer months you may have to water your potted plant almost every day.
toxic
toxic to people and animals
Ingesting stems or leaves can cause a burning sensation or cause swelling. In some cases touching the plant can cause a skin irritation.
location
flexible
Elephant ears do well on patios and indoors. Keep your plant in indirect light to avoid it getting sunburnt.
humidity
love it
Elephant ears are tropical plants that thrive in warm, humid environments.
size
large friend
Can grow to 3 – 5 ft
pro tip
Leave lots of room
Elephant ears need a big pot to grow to their fullest potential.
fun fact
A tropical bulb
Elephant ears have tuberous roots that are often referred to as bulbs. Unlike common garden bulbs, these ones are not cold hardy so you’ll need over-winter the bulbs inside.
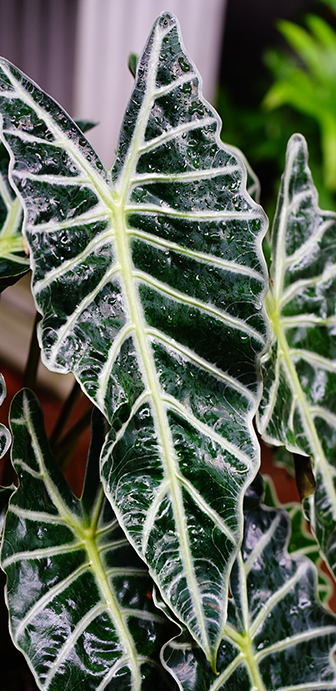
While you can’t propagate an elephant ear with a cutting, you can divide tubers of a healthy adult plant. The tubers have a texture similar to that of a potato. You can easily cut through it with a sharp knife. Plant the divided tuber immediately into your potting soil and keep it moderately wet.
Common pests for elephant ears are aphids, spidermites and mealybugs. Use a gentle insecticide like Ortho® Bug B Gon® ECO Insecticide Ready-to-Use and make sure the leaves of your plant are treated as well.
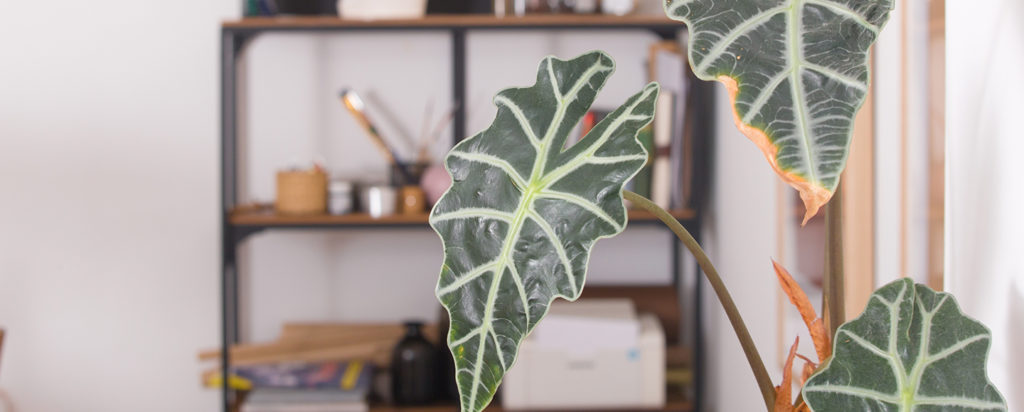
Too much sunlight or overwatering. You can cut the dying leaves close to the base of the stem. This should prevent more leaves from yellowing. Then adjust your watering schedule or move it away from direct sunlight.
Usually due to overwatering. The leaves of an elephant ear are long and heart-shaped, which naturally draws water to the tip of the leaf. If there aren’t other signs of overwatering, like soft stems or yellow leaves, you can likely hold off on watering for a few days.
It’s a sunburn. Your plant is too close to bright, direct light. Elephant ears tend to thrive in bright, indirect light. Scorched leaves won’t kill your plant, it just doesn’t look pretty.
Fungal leaf blight. If this fungus isn’t caught early, it will cause the whole leaf to collapse and travel to the rest of the plant. To prevent this, make sure you’re using high-quality, well-draining soil.
u003ca href=u0022https://www.plantprojectcanada.com/become-a-contributor/u0022 target=u0022_blanku0022 rel=u0022noopeneru0022u003ebecome a contributor!u003c/au003e
Beginner
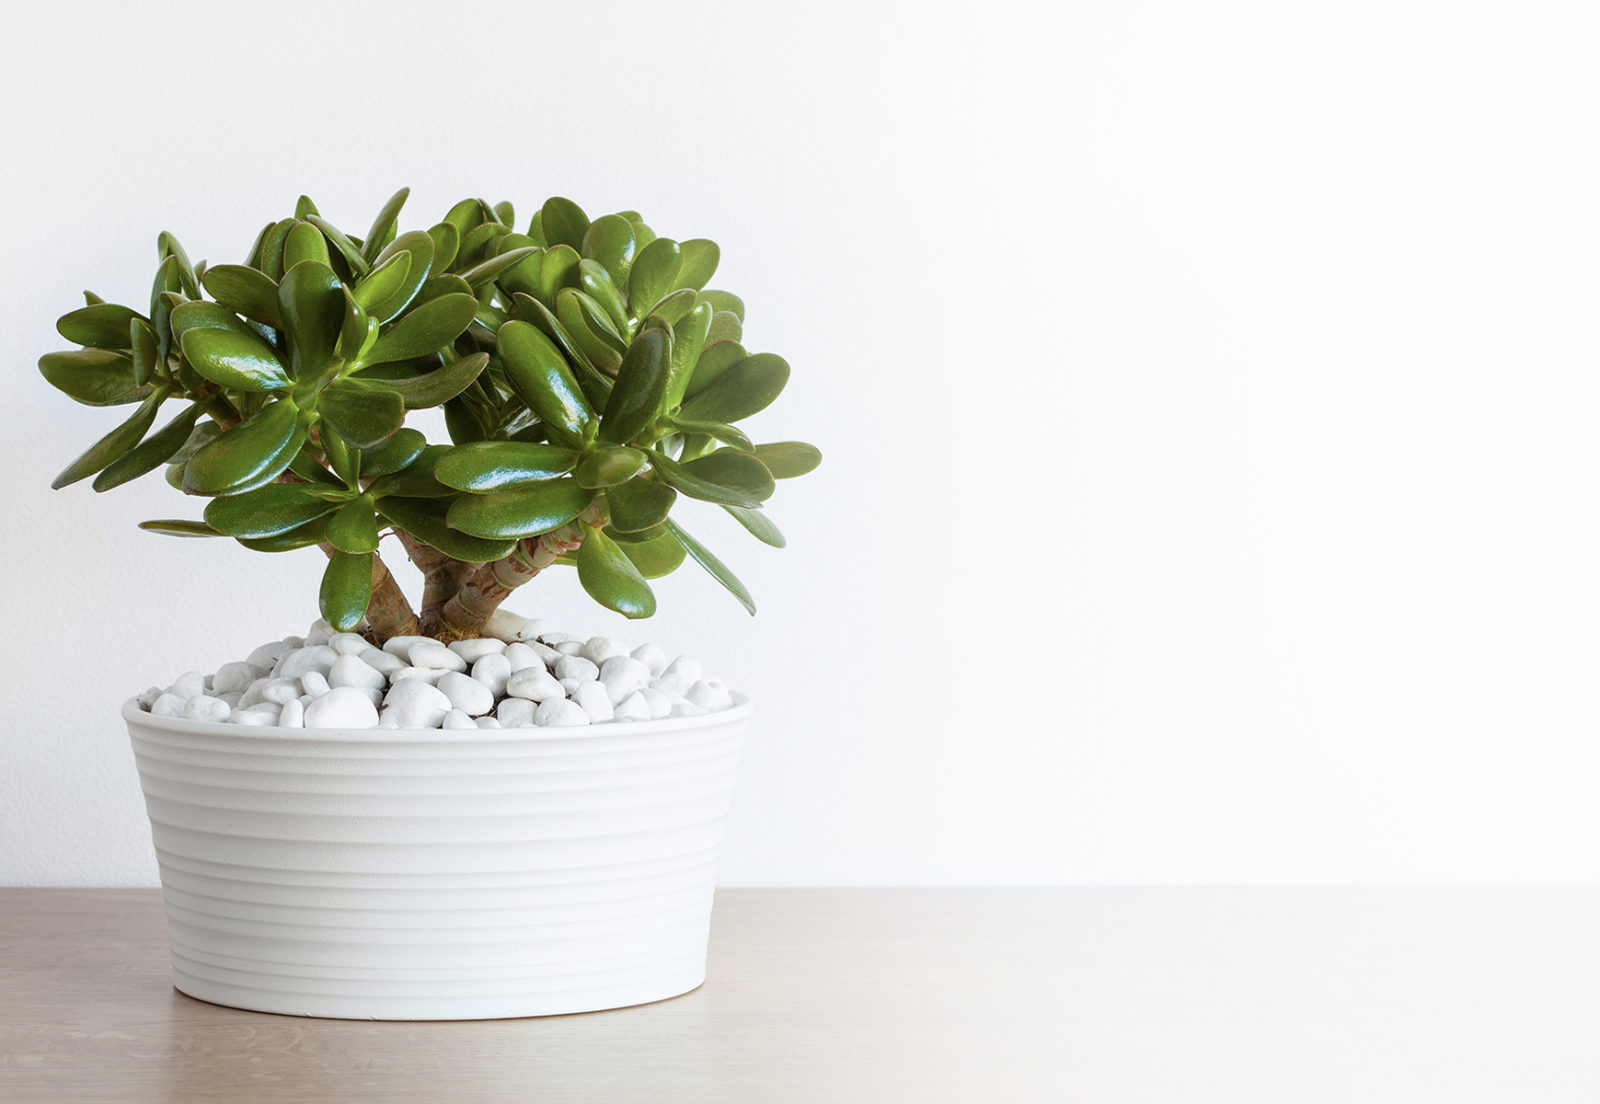
jade
aka crassula ovata
Jade plants are native to South Africa and are classified as a succulent. Jade plants have oval shaped, fleshy leaves and stems that look like tiny tree trunks.
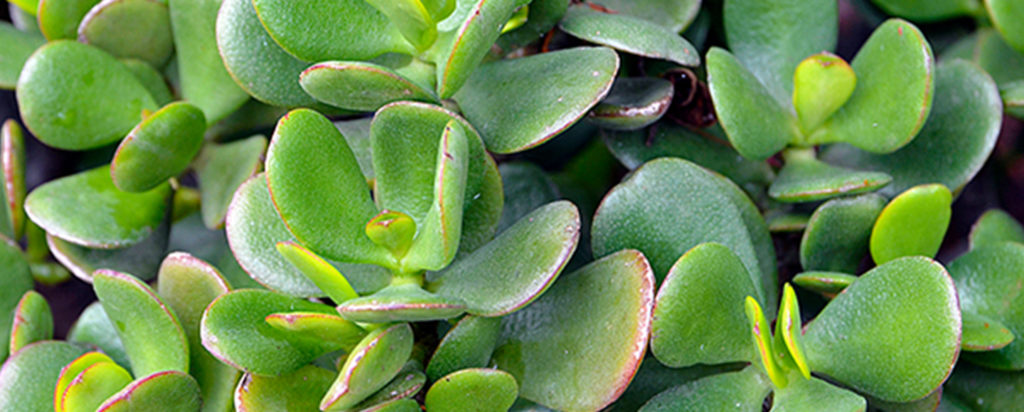
variations
there are a variation of jade plants available that range from the common green-leaf to more rare variegated varieties. Variegated jade plants can include the tricolour, ET’s Finger or the Hummel’s Sunset variety.
share
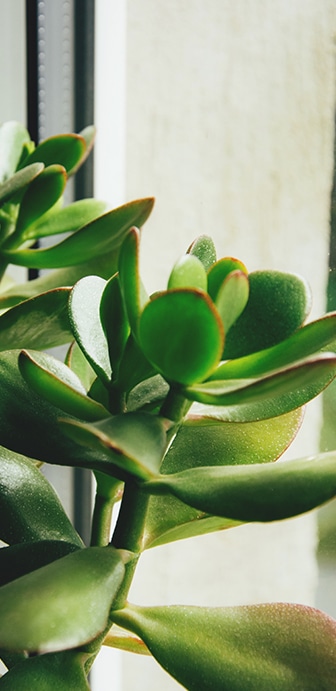
light
bright, indirect.
Jade plants, especially young plants, should get about 6 – 8 hours of light
a day.
water + feeding
somewhat thirsty
In spring and summer your jade plant should be watered consistently so that its soil is moist, but not super wet.
toxic
Yes
Jade is toxic to pets.
location
Adaptable
These beautiful plants do well in most indoor settings, but prefer to be
close to bright, indirect light. Jade does their best growing in room temperature 18° to 24°C (65° to 75°F).
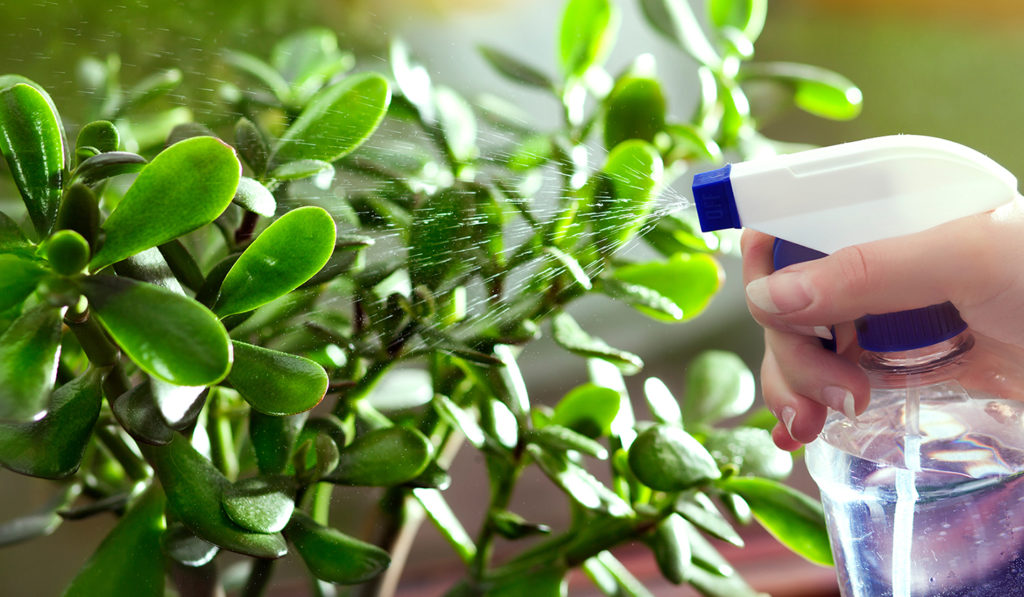
humidity
a little finnicky
Overwatering and standing water are the most common mistakes made with jade plants. Be sure to monitor your jade for signs of too much moisture.
size
it depends
Jade plants can grow up to 5 ft tall but can stay small if they are rootbound in a small pot.
pro tip
rare flowers
Jade plants don’t regularly flower when grown indoors. To get your jade plant to flower keep it rootbound and in a small pot. Cut back slightly on watering, and you may see a bloom come through.
fun fact
bringers of good luck
Jade is often given as a housewarming gift because it’s thought to bring good luck.
Succulents thrive in porous, well draining potting mix. These usually have less organic matter than regular indoor potting mix. A mix like Miracle-Gro® Cactus, Palm & Succulent Potting Mix is well-draining and won’t compact. Don’t forget to feed your plants consistently during the feeding season.
Repotting a young jade plant every 2 – 3 years will encourage growth. If you want to keep your jade plant small, they enjoy being slightly rootbound and can stay in a small pot to maintain a manageable size. Always repot in the spring.
Propagating a jade plant is super easy! You can start a whole new jade from just a single leaf or cutting. Remove a leaf or stem cutting from a healthy, mature plant, making sure it’s about 2-3 inches long and has at least 2 leaf pairs. Let the cutting sit in a warm, bright place for several days to develop a little callous. Place the cutting in moist, well-draining soil, keeping it propped upright with rocks. Be sure not to water your jade cutting at this point. After a week or two roots should start to form. Gently water the soil once roots have formed, and allow soil to dry between watering.
Jade is prone to mealybugs and scale. Mealybugs may hide under the leaves of your plant. During your routine leaf cleaning, inspect the underside. Most pests can be managed by using an insecticidal soap such as Ortho® Bug B Gon® ECO Insecticidal Soap. For more tips, check out our Pest control section in Plant 101 for how to identify and deal with pests on your plant!
Root rot. Do a quick inspection of your plant’s root ball. A healthy root will be firm a white. If your plant’s roots are looking brown or slimy, it’s definitely root rot. To avoid this, be sure the soil is drying out completely between watering.
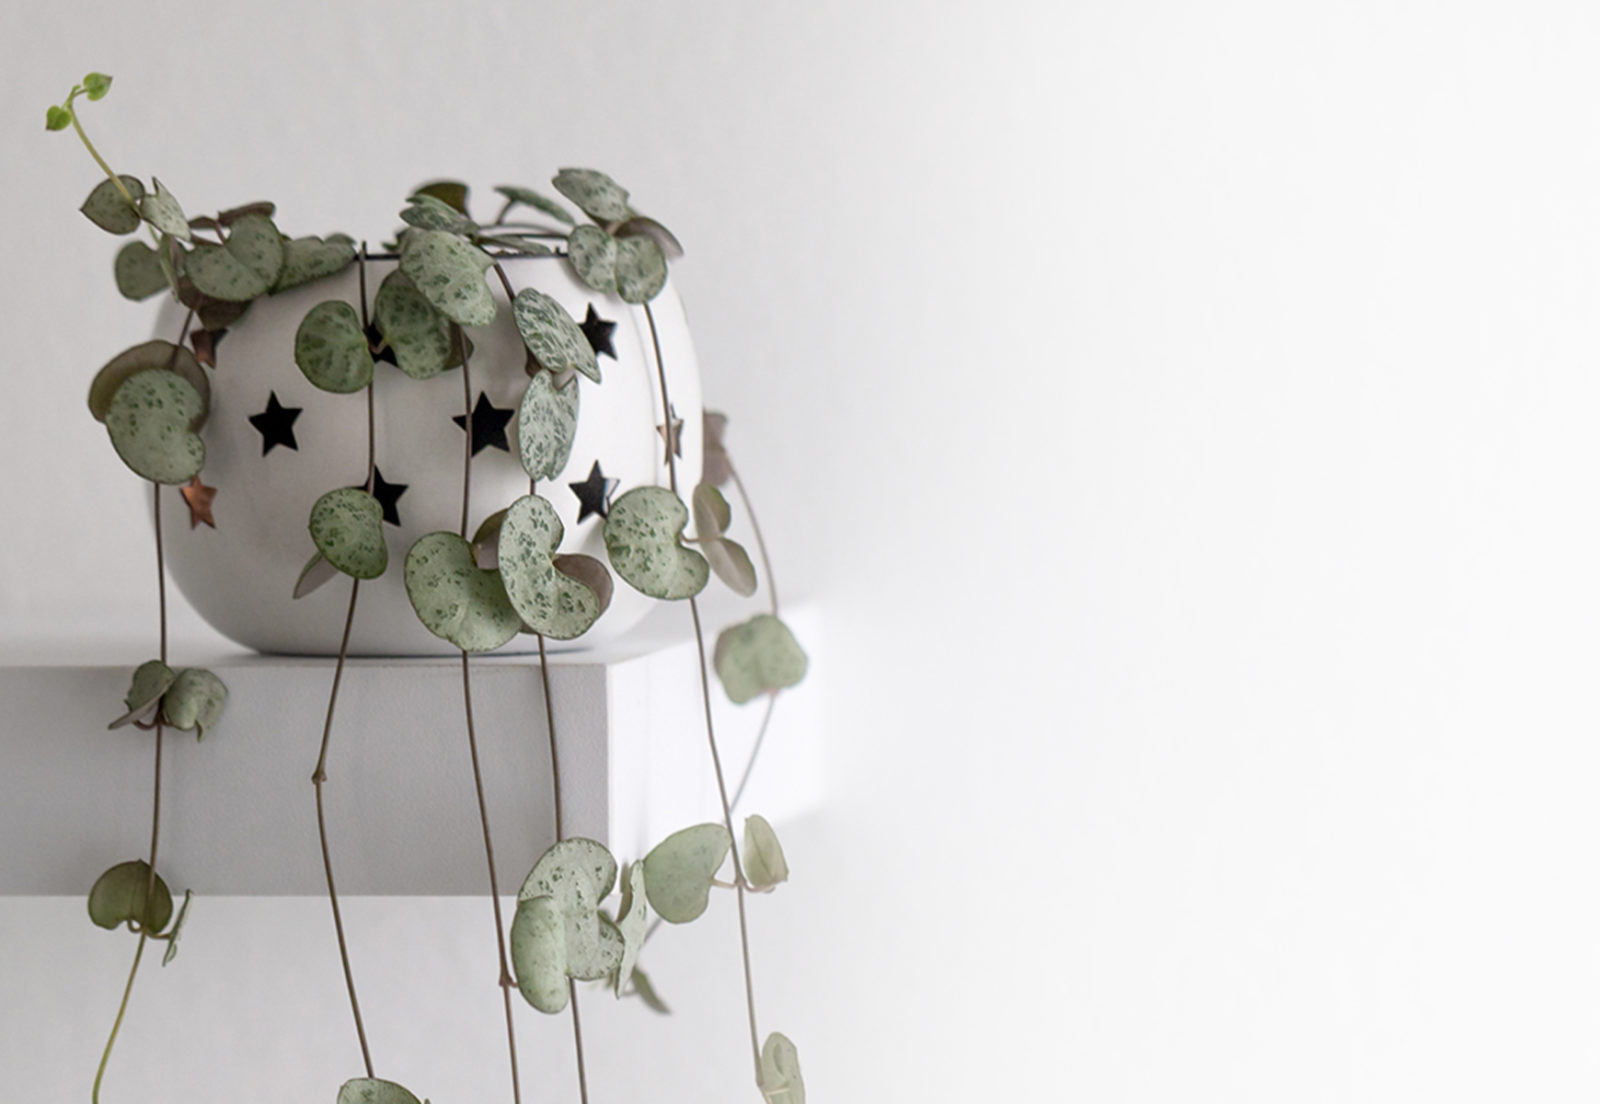
String of heart plants are a member of the succulent family, so they need a porous, well-draining potting mix that doesn’t retain a lot of moisture because these beauties are prone to root rot. It’s recommended to use a succulent specific potting mix, like Miracle-Gro® Cactus, Palm & Succulent Potting Mix.
String of hearts tend to be okay with staying slightly rootbound, so you don’t need to keep a strict schedule when repotting. A good rule of thumb is to repot about every 1 – 2 years. Use a pot that is a few inches bigger than its current pot and has a drainage hole.
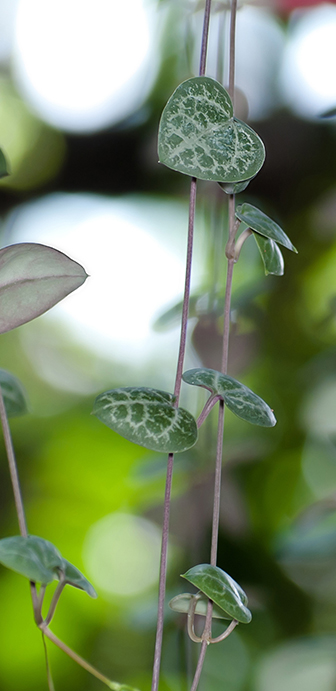
Start by trimming your string of hearts just under a nodule. Place your cutting in moist soil and watch your new plant take root. This process will likely take about a month. Make sure the soil is kept moist during this growing period.
String of hearts are prone to root rot, so make sure your plant’s soil is drying out between watering. Other pests like aphids or mealybugs can be managed by using an insecticidal soap such as Ortho® Bug B Gon® ECO Insecticidal Soap.
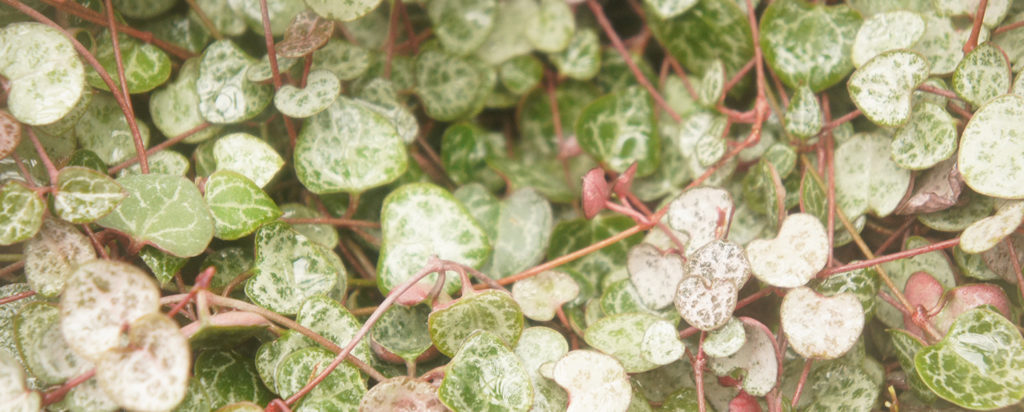
Overwatering or root rot. Root rot is caused by overwatering. The easiest way to tell if it’s root rot or just overwatering is to give it a sniff. If your plant smells bad, it’s root rot. If it smells okay, just hold off on watering it for a little the soil dries out a bit.
Sunburn. It looks like your string of hearts is getting too much sun. These plants enjoy bright, but indirect light. Move your plant away from direct sunlight, but keep in a nice, bright room.
Underwatering. Thinning or curling leaves is a clear indicator of underwatering. Give your string of hearts a good soak and your plant should be happily re-hydrated.
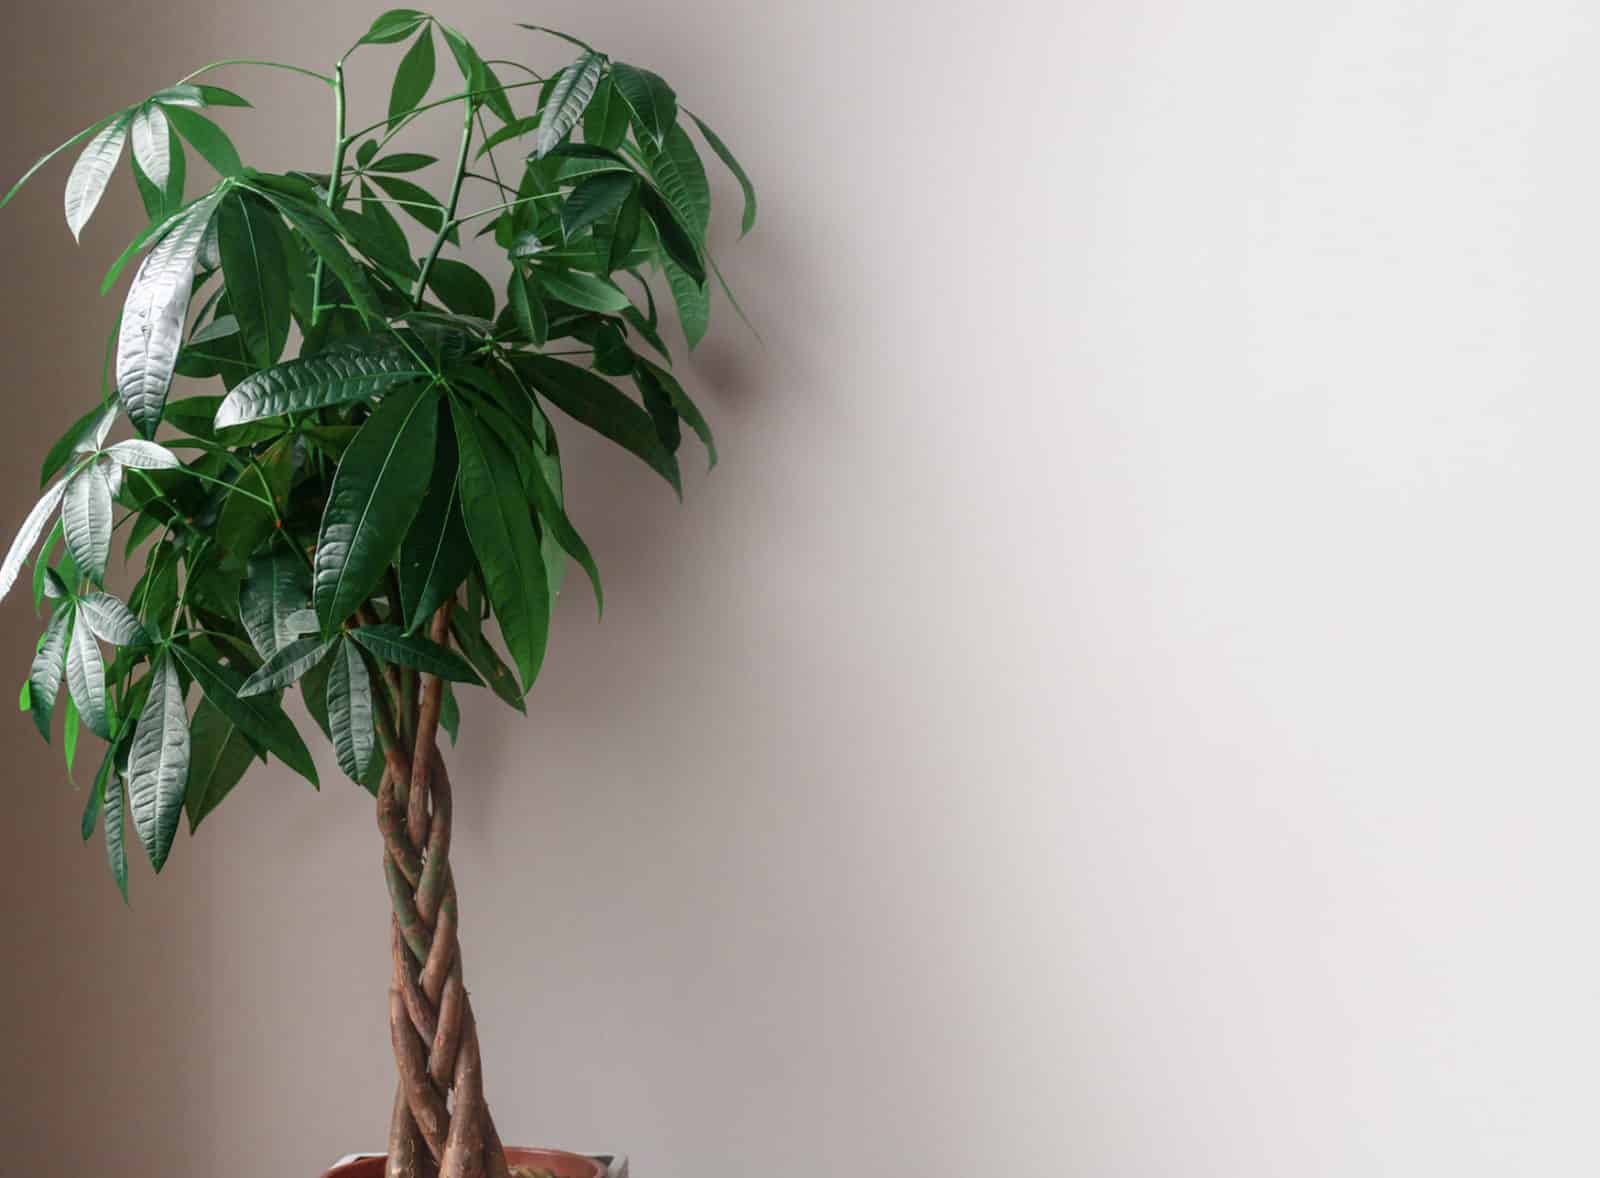
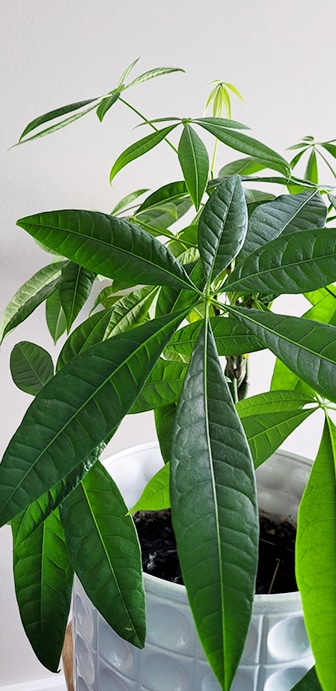
Money Trees originated from Central and South America. The braided trunk of the tree isn’t naturally occurring. This feature is created by cultivators braiding young trees manually.
variations
Variations include Malabar Chestnut, Provision Tree, Guiana Chestnut and French Peanut.
share
light
avoid direct sunlight
Too much direct sunlight will cause the leaves to curl, yellow or burn.
water + feeding
water when dry
However, these plants can still do well without watering too frequently.
toxic
safe for humans and pets
Money Trees are even recommended for people with allergies or asthma.
location
adaptable
Although it’s recommended not to keep this plant in your bathroom because it’s believed this will “flush” good vibes away.
humidity
love it!
Money Trees appreciate a humid climate, with about 50% humidity.
size
small to medium
At home, your money tree could grow between 3 to 5 feet. In the wild, these trees can grow up to 60 feet tall.
pro tip
get a humidifier
Prevent yellowing and dying leaves by increasing the humidity in the plant’s environment.
fun fact
popular in feng shui
This plant usually sprouts 5 leaves on a stem, and 5 is a very important number in Feng Shui.
Money Trees need a sandy, peat-moss based soil. Consider adding Miracle-Gro® Sphagnum Peat Moss to your plant’s soil. Don’t forget to use a pot with drainage!
Money Trees usually need to be repotted every three years. The best time to repot is during the spring time, to promote growth. While you can cut back on some root growth, be sure not to take off more than 25% of the roots.
The best way to propagate your Money Tree is through a cutting. Take your 6 inch branch cutting, with several leaf nodes, and allow to root in water. Promptly transfer to a soil mixture with peat moss.
Money Trees are very attractive to aphids and mealybugs. You can use a gentle insecticide likeOrtho® Bug B Gon® ECO Insecticide Ready-to-use to prevent these creepy crawlies from returning.
Watering issues. If your Money Tree’s leaves are drooping it could be as simple as inconsistent watering. Keep a schedule and check the soil’s moisture level to understand its needs. If the leaves are yellowing, it’s likely due to overwatering. It’s time to water when the top 2 to 4 inches of soil are dry.
Sounds like root rot. This happens when a fungus has attacked your plant’s roots and is a sign that you’ve been overwatering. Root rot can be fatal if it’s not caught early. The best chance you can give your Money Tree for survival is to repot immediately, removing as much old soil as possible.
Guttation. This it totally normal! If the rest of your Money Tree looks healthy, there’s nothing to worry about. But… if you see little dark bumps on your plant, it could be a pest infestation.
Overwatering. Avoid excessive watering and finger test your plant’s soil when you’re about to water. Make sure you’re only watering when the first 2 to 4 inches of soil are dry.
Too much sunlight. Too much bright, direct sunlight can cause your Money Tree to drop leaves. Another common cause is if your Money Tree has recently moved to its new home. Dropping a few leaves as your plant adjusts to its new home is totally normal.
You adopted some new plants and are ready to introduce them to the rest of your collection, but now your leafy friend is looking a bit lack lustre. There could be a very easy fix… just feed your plant! It’s easy to get your plant pal to perk up when they’re adjusting.
feed me!
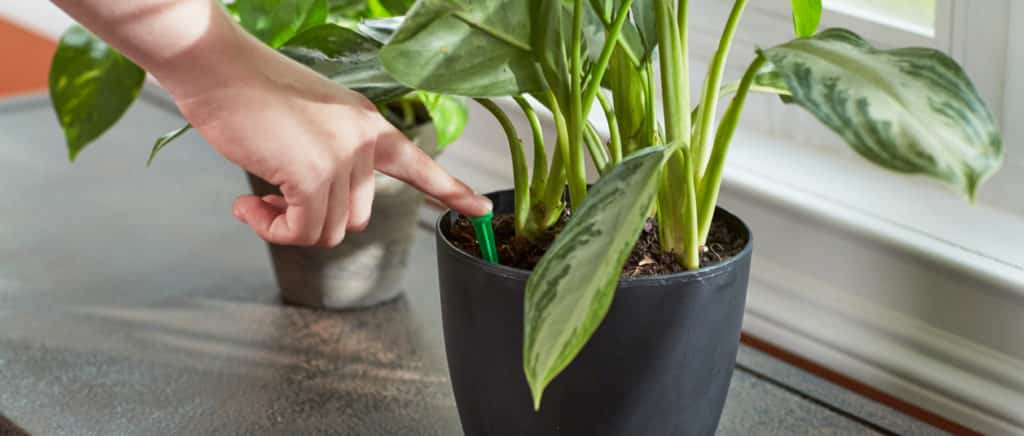
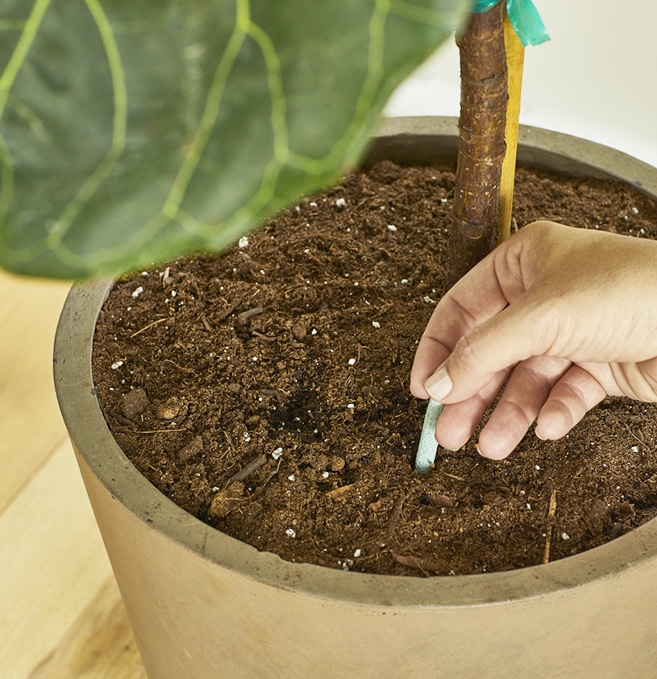
We’re talking food spikes! These little fertilizer spikes are a great addition to your indoor plant care. Using them is as easy as 1-2-3!
step 2.
1
Measure your pot and make some holes! The packaging of Miracle-Gro Plant Food Spikesdoubles as a ruler. Measure your plant’s pot to see how many food spikes you need. Then make a little hole between the plant stem and the pot.
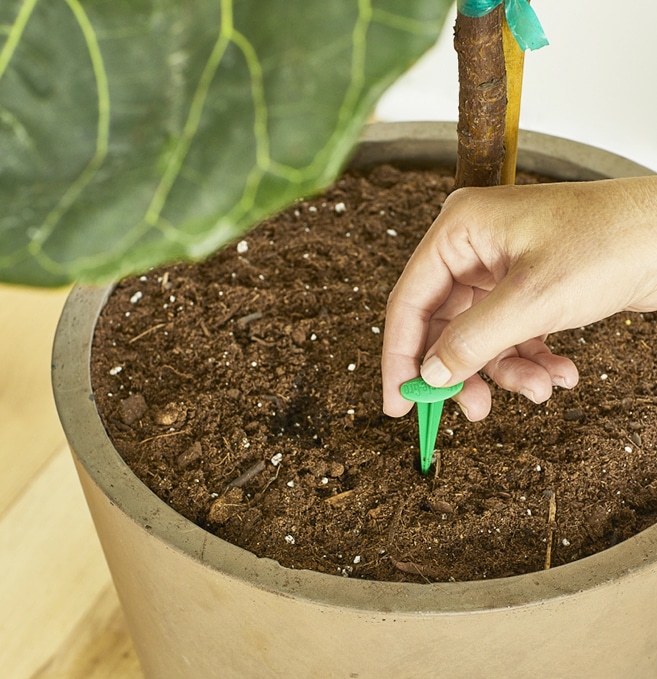
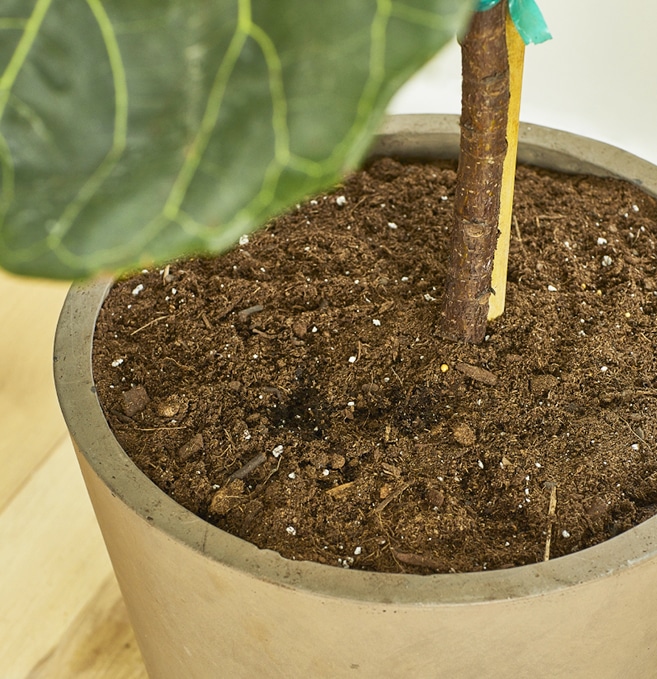
2
Set it and forget it! Place the food spike in the little hole and cover it with some soil. Keep watering as you usually would.
3
Seasons matter! You don’t have to worry about your food spike for a couple of weeks. In the spring and summer months, you should replace the spikes about every 30 days. During the fall and winter, replace them every 60 days.
And just like that, your plants are set up to thrive! Share your flourishing home gardens and help other home gardeners build up a beautiful plant collection.
Building your indoor jungle can mean that a lot of your flat surfaces are taken up by your plant babies. This can mean only one thing: it’s time to take to the skies! Help your plants thrive by giving them unfettered access to sunlight, without having to compete with other plants on your shelves. We’ve got a macrame plant hanger that’s perfect for your space!
Easy and quick to work up, these hangers can be customized to suit your home’s style.
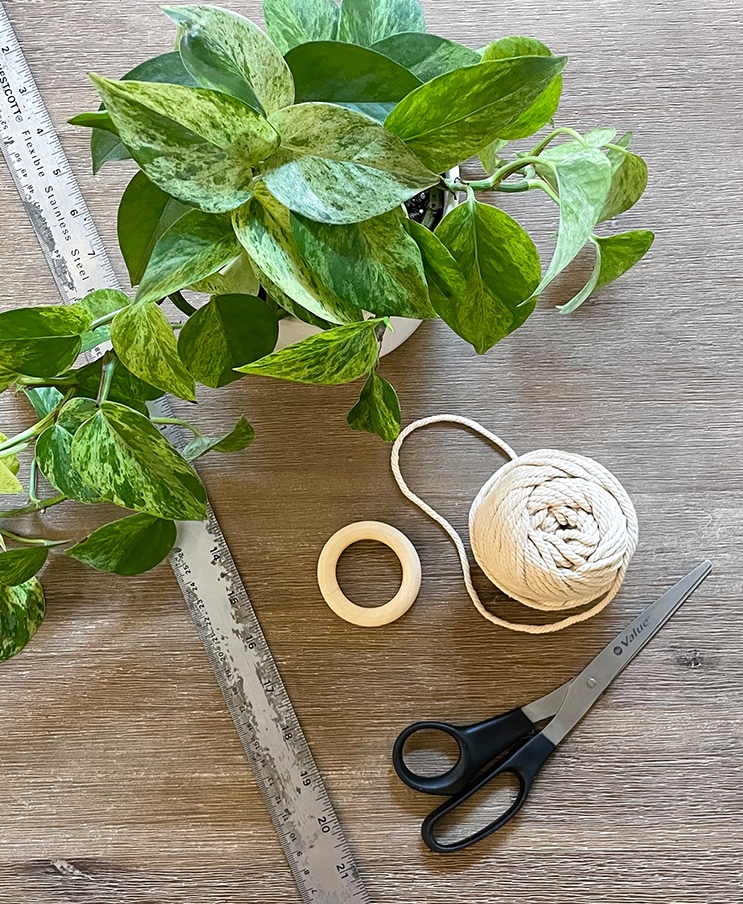
Here’s what you’ll need to get started:
Natural macrame cord (3mm or 4mm is great to start with)
A metal ring (any size)
Your potted plant
Scissors
Measuring tape
step 1. cut the cord
Start by cutting 8 very long pieces of macrame cord, about 10 ft long for a larger planter. Loop the cord through the hoop, so that the cord is folded at the half-way point. You should now have 16 pieces of cord hanging from the loop.
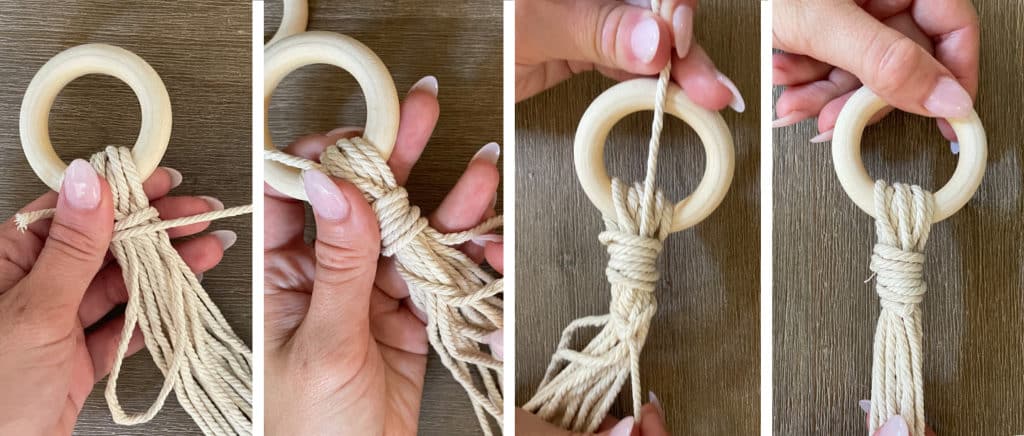
step 2. use a wrapped knot.
A wrapped knot is pretty easy to do and gives you a polished effect. Here’s how to do a wrapped knot:
Cut a short piece of cord over the looped cord. Make sure the short tail is to the left, a loop pointing down and the long tail to your right.
Wrap the long tail over the looped cords and the loop of the short cord.
Continue wrapping the long tail. Make sure to keep it tight and leave the bottom loop of the short cord uncovered.
Once you’ve wrapped to your desired length, thread the long tail through the bottom loop.
Pull up on the short tail to tighten the knot. Then pull it under the wraps.
Cut the tail as close to the knot as you can.
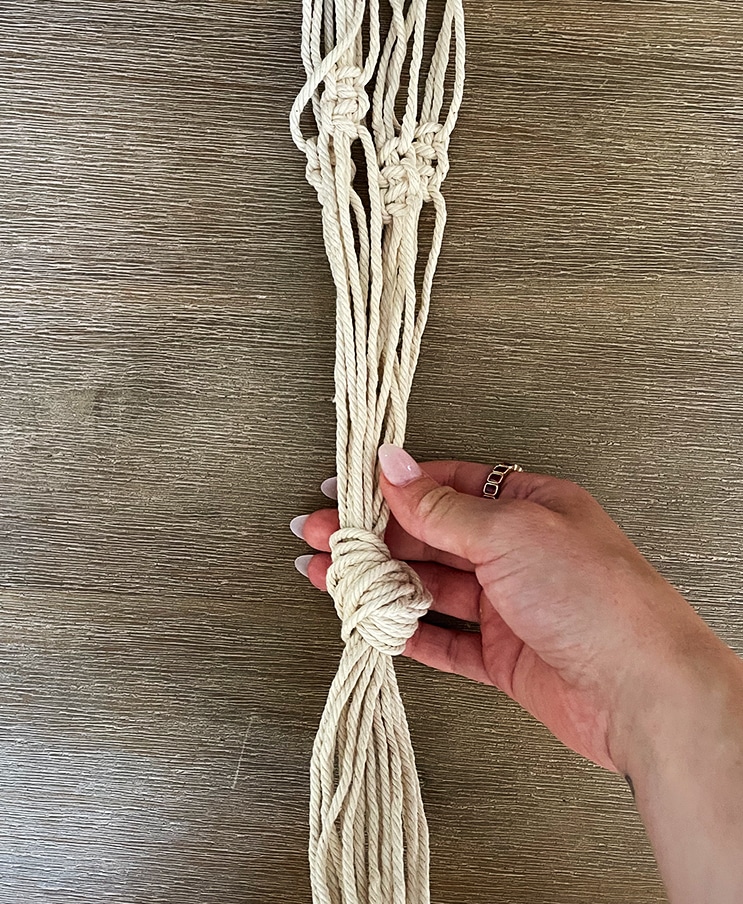
step 3. prep your first row of knots.
Start by dividing the 16 long pieces of cord into 4 groups of four strands. To make sure they’re evenly spaced around the pot, use a measuring tape to measure the same distance from the wrapped knot, and mark each of the 4 groups of cord. Start with about 20 inches down from the knot, then adjust to your preferences. Keep the 16 cords into 4 groups of 4.
step 4. start tying your knots.
This is your first row of square knots. Here’s how to start your first row fos each group of 4 cords.
Take the left cord and lay it over the centre strands, and under the outside cord on the right.
Thread the right strand under the center cords, and over the strand on the left. Pull to tighten, and lining it up with the measuring mark we made in the previous step.
Repeat the process, going in the opposite direction. Lay the right cord over the centre ones and under the far left. Thread the left cord under the centre strands and over the cord on the right.
Pull tight. Your first square knot is complete. Proceed in the same way with the other 3 groups of 4 cords.
step 5. measure your second row of knots.
Now it’s time to form the second row of knots. Again, group the cords in 4 groups of 4. This time, take two cords from each adjacent grouping of the previous 4 cords. One centre cord and the right from one and one centre cord and the left from the other. Measure out how far below the first row you’d like these knots to sit. Start with 5 inches below and then adjust to your preference.
step 6. start tying your second row.
Tie two square knots to the length you measured and marked. It should start to look like a tube. You’ll have to turn your project to finish the last row of knots.
step 7. knot and trim.
To finish off, grab all cord lengths and measure how far below the previous set of knots you’d like this final one to sit. This is the base that your plant will rest on. Start with 7 inches below the previous row, then adjust to your preference. Loop the cords together and pull through to secure the knots. Trim the ends so it’s all even.
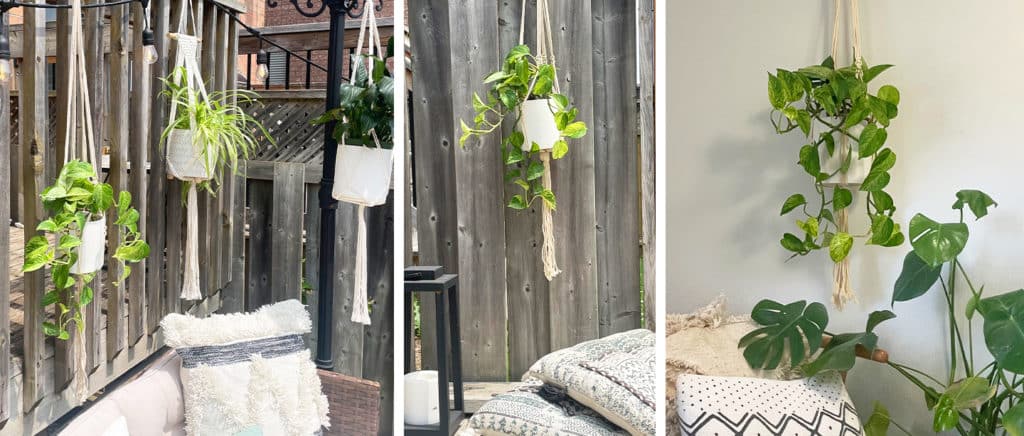
step 8. add your plant and hang.
Add your plant pal and choose the perfect spot for your planter. Make sure your planter is securely attached to the ceiling before hanging it up. Enjoy!
We use cookies on our website to give you the most relevant experience by remembering your preferences and repeat visits. By clicking “Accept All”, you consent to the use of ALL the cookies. However, you may visit "Cookie Settings" to provide a controlled consent.
This website uses cookies to improve your experience while you navigate through the website. Out of these, the cookies that are categorized as necessary are stored on your browser as they are essential for the working of basic functionalities of the website. We also use third-party cookies that help us analyze and understand how you use this website. These cookies will be stored in your browser only with your consent. You also have the option to opt-out of these cookies. But opting out of some of these cookies may affect your browsing experience.
Necessary cookies are absolutely essential for the website to function properly. These cookies ensure basic functionalities and security features of the website, anonymously.
Cookie
Duration
Description
cookielawinfo-checkbox-analytics
11 months
This cookie is set by GDPR Cookie Consent plugin. The cookie is used to store the user consent for the cookies in the category "Analytics".
cookielawinfo-checkbox-functional
11 months
The cookie is set by GDPR cookie consent to record the user consent for the cookies in the category "Functional".
cookielawinfo-checkbox-necessary
11 months
This cookie is set by GDPR Cookie Consent plugin. The cookies is used to store the user consent for the cookies in the category "Necessary".
cookielawinfo-checkbox-others
11 months
This cookie is set by GDPR Cookie Consent plugin. The cookie is used to store the user consent for the cookies in the category "Other.
cookielawinfo-checkbox-performance
11 months
This cookie is set by GDPR Cookie Consent plugin. The cookie is used to store the user consent for the cookies in the category "Performance".
viewed_cookie_policy
11 months
The cookie is set by the GDPR Cookie Consent plugin and is used to store whether or not user has consented to the use of cookies. It does not store any personal data.
Functional cookies help to perform certain functionalities like sharing the content of the website on social media platforms, collect feedbacks, and other third-party features.
Performance cookies are used to understand and analyze the key performance indexes of the website which helps in delivering a better user experience for the visitors.
Analytical cookies are used to understand how visitors interact with the website. These cookies help provide information on metrics the number of visitors, bounce rate, traffic source, etc.
Advertisement cookies are used to provide visitors with relevant ads and marketing campaigns. These cookies track visitors across websites and collect information to provide customized ads.
join our passionate plant community and gro your garden!
By registering, I am allowing Scotts Canada Ltd. to contact me with news, articles and promotions. I understand that I can withdraw my consent at any time.