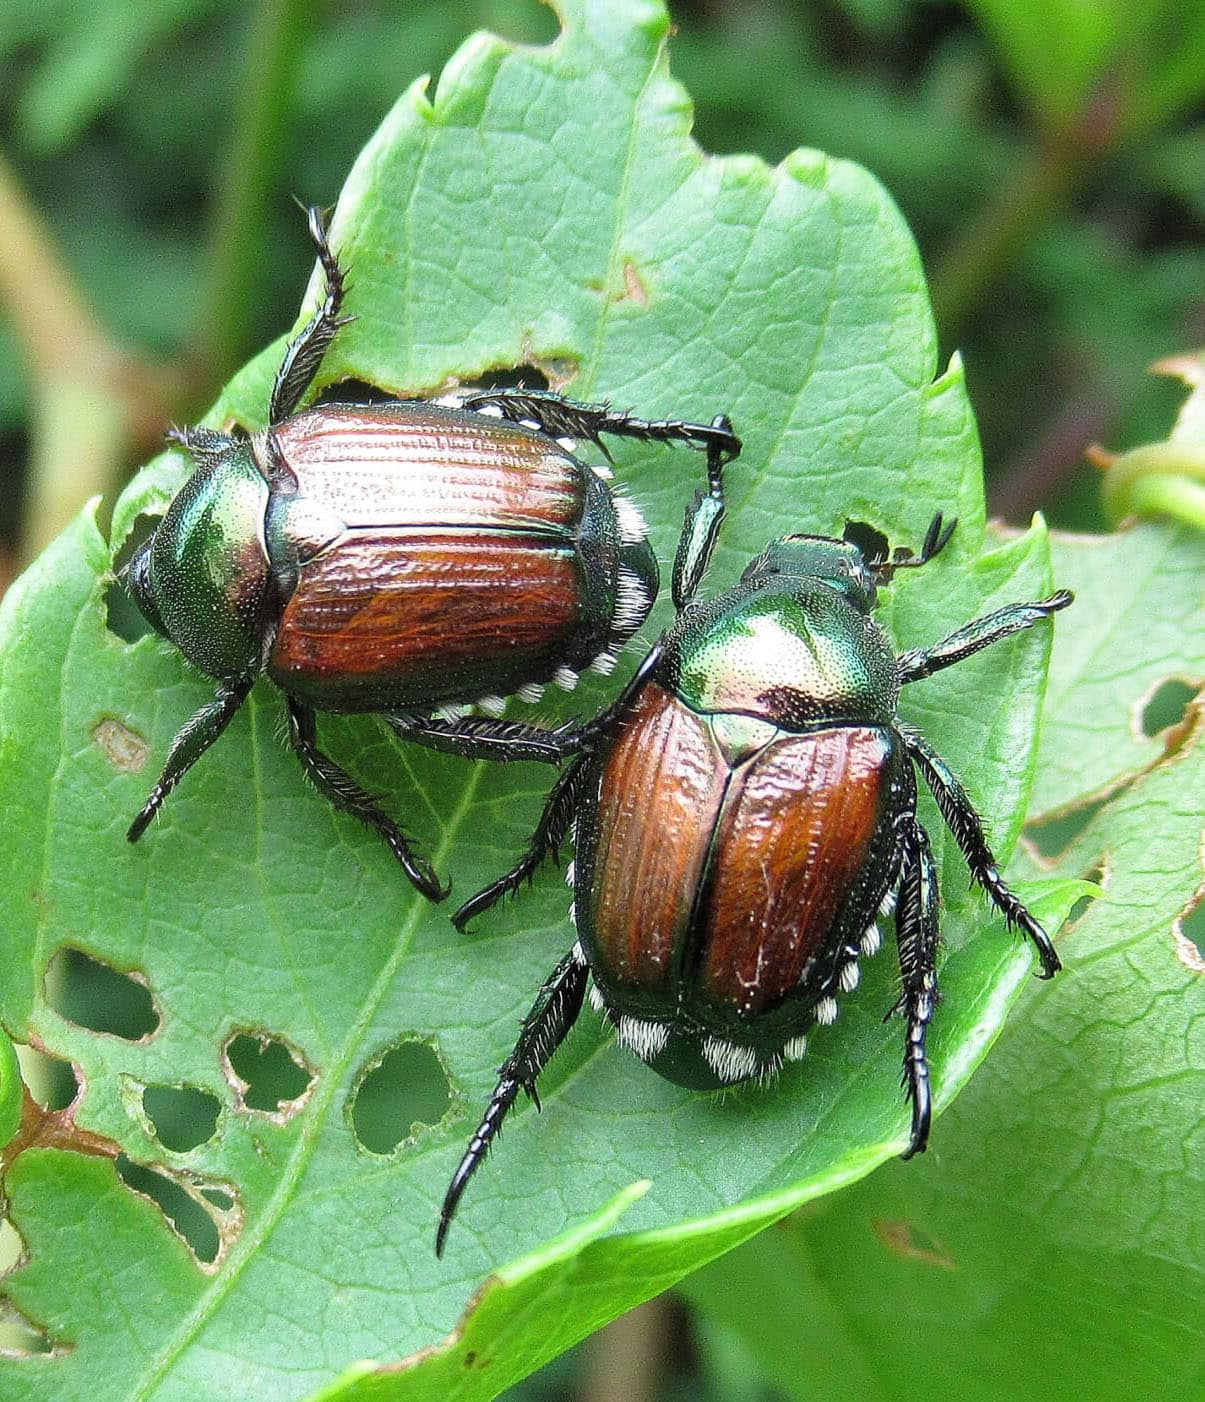
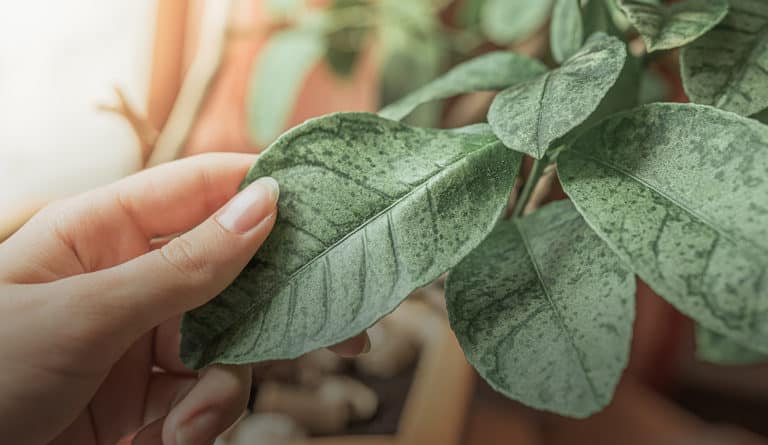
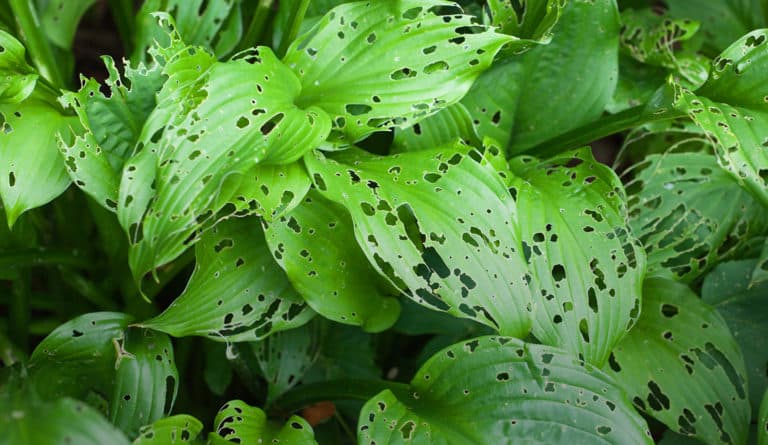
Let’s talk about those pesky garden pests that can wreak havoc on your plants and veggies. Identifying them is crucial to preventing them from destroying your garden. One troublemaker is the aphid, causing leaves to wilt, turn yellow, and curl. Then we have the spider mite, leaving yellow or brown spots and even defoliating your precious plants. Oh, and watch out for the Japanese beetle – it loves to chow down on plants, shrubs, and fruit trees. Spotting the Japanese beetle can be tricky for inexperienced gardeners because of the insect’s small size and coppery green colour that blends into your plants. And let’s not forget about slugs and snails; those appetite-driven fellows leave holes and scalloped edges on leaves. Catching these pests early is the key so that you can protect your beloved garden.
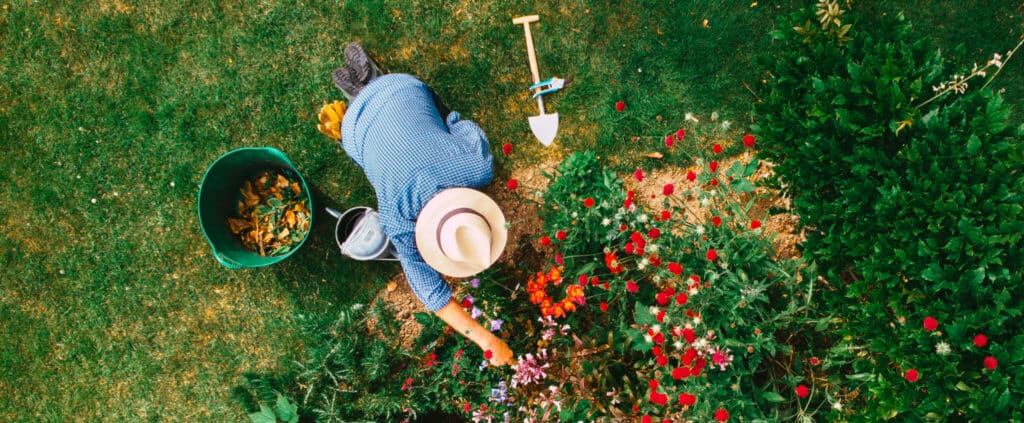
If you love plants, then it’s likely that you’re familiar with the fear and frustration of discovering pests in your garden! It can seem daunting but don’t worry. With some know-how, it’s possible to identify different garden pests quickly so you can plan how to deal with them effectively. So, let’s get started spotting those troublesome insects.
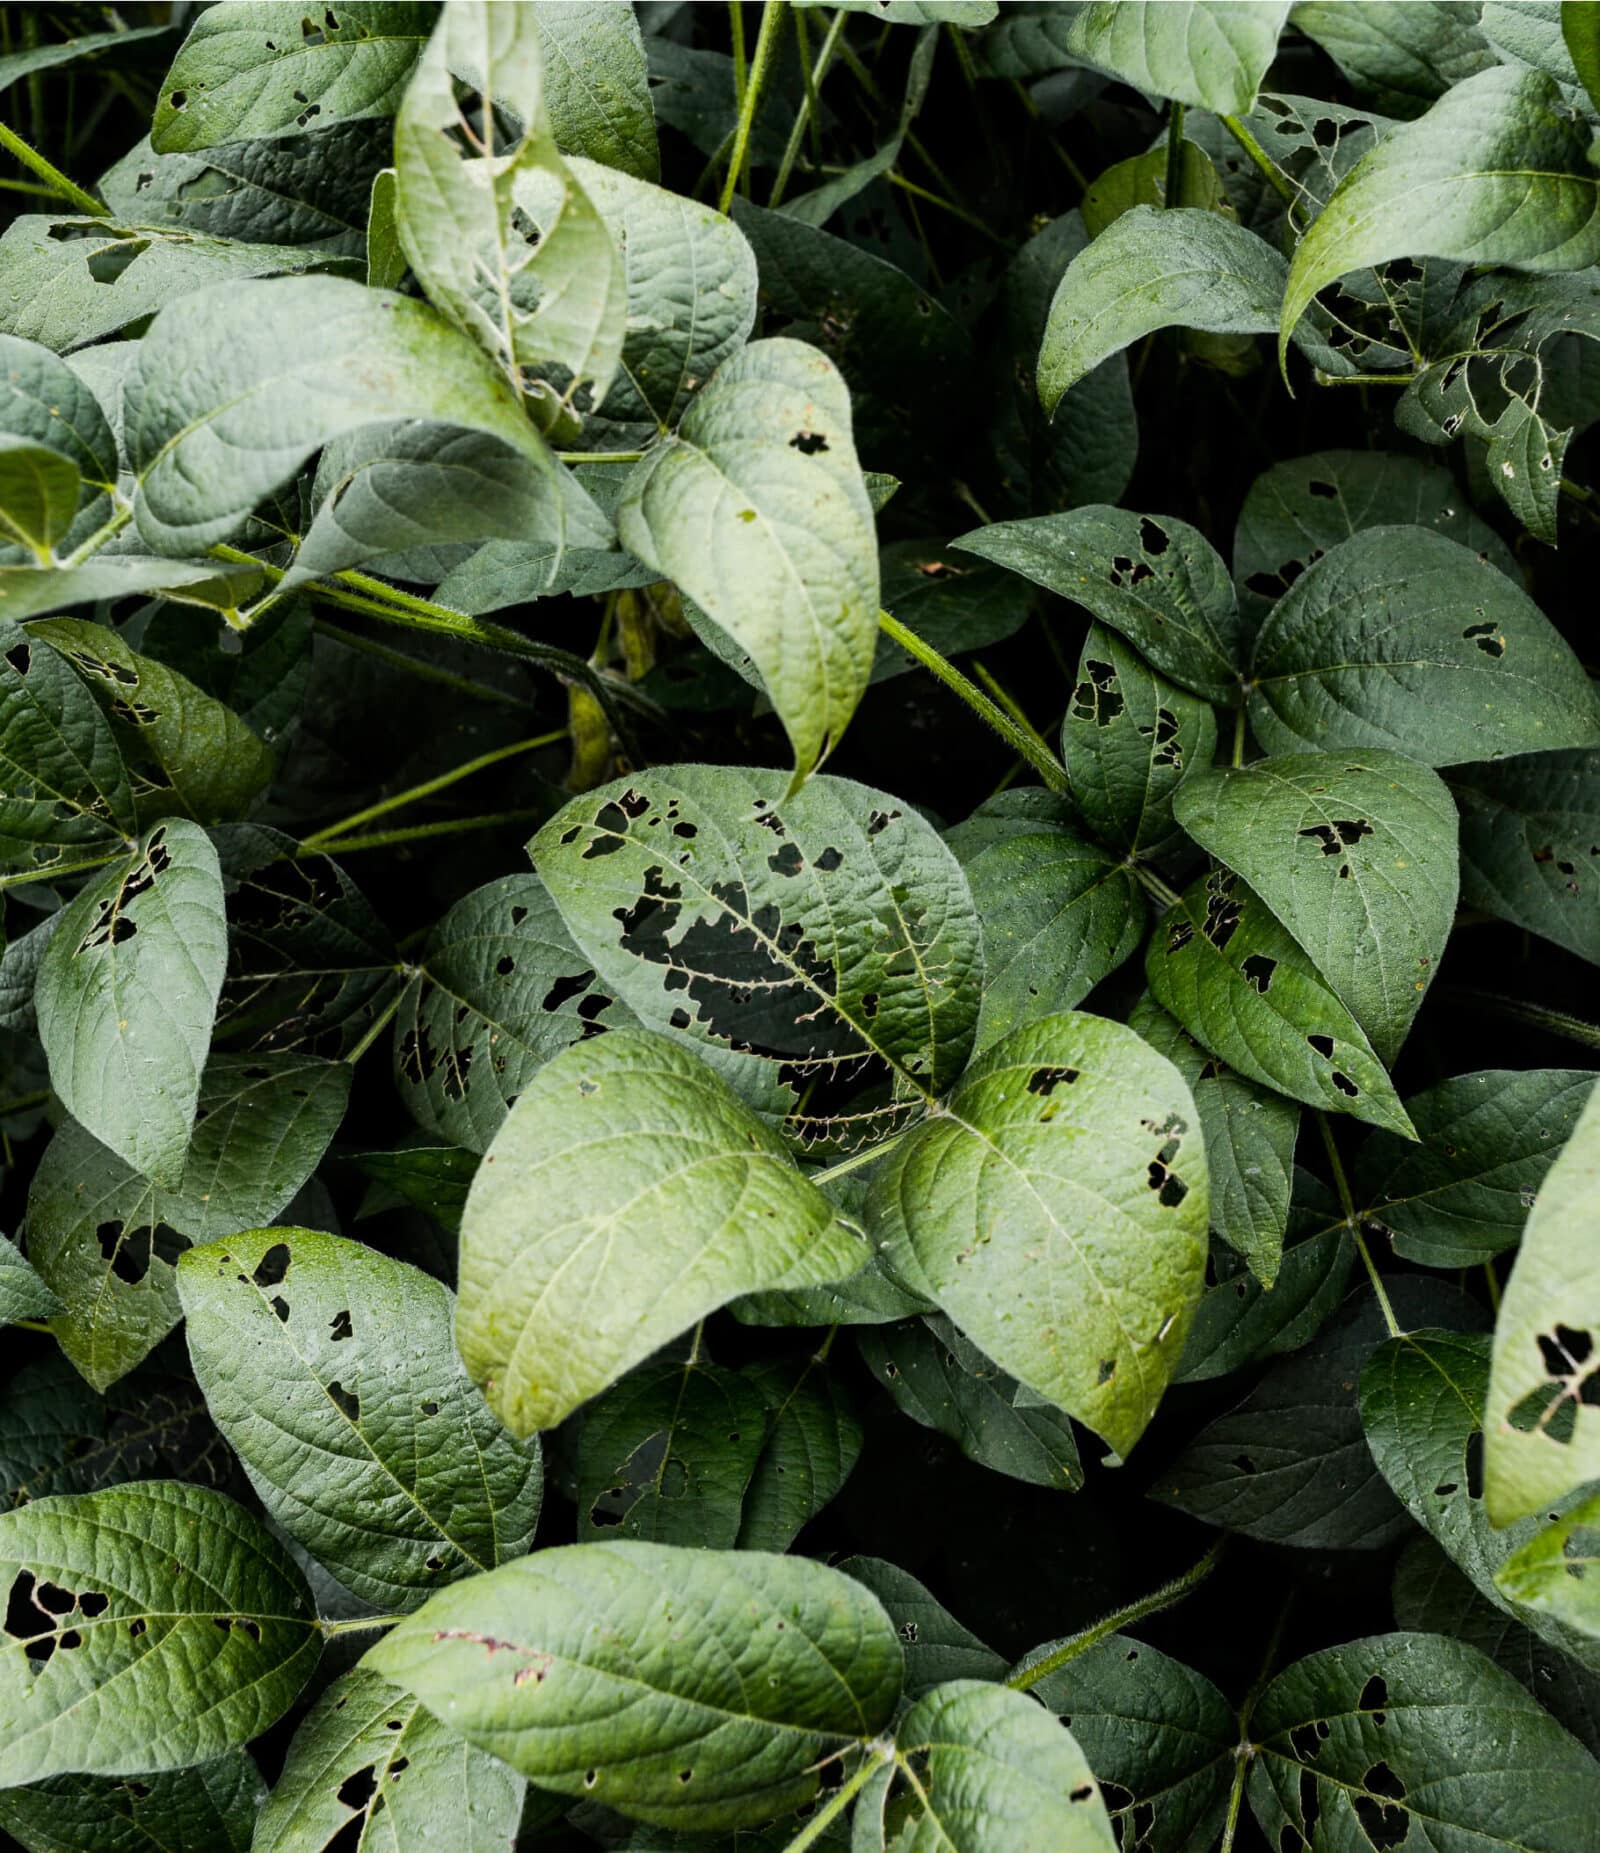
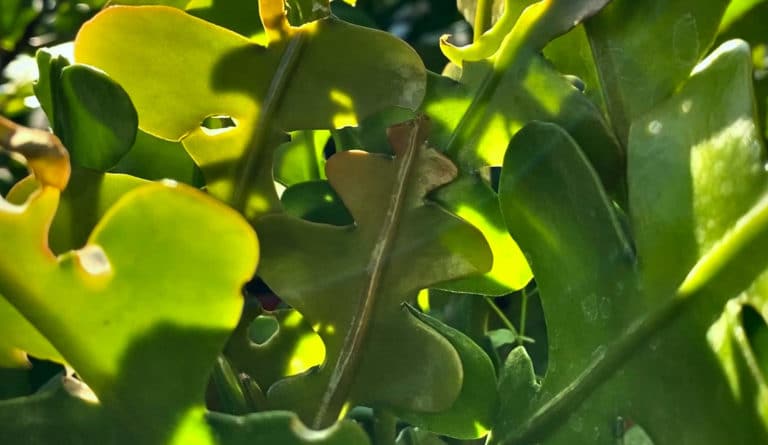
different types of damage caused by garden pests
Garden pests can cause many different types of damage to our beloved plants, from creating holes in leaves to gnawed-through and broken stems. Some bugs, such as aphids, can suck the sap from leaves and leave them yellowed and wilted. Others, like slugs and snails, can leave a slime trail behind as they munch their way through essential parts of the plant. Some pests even cause damage underground, eating away at the roots and compromising the stability of the plant. It’s important to be familiar with different signs of pest damage so you’ll immediately know what they mean.
how to prevent bug infestation in your garden
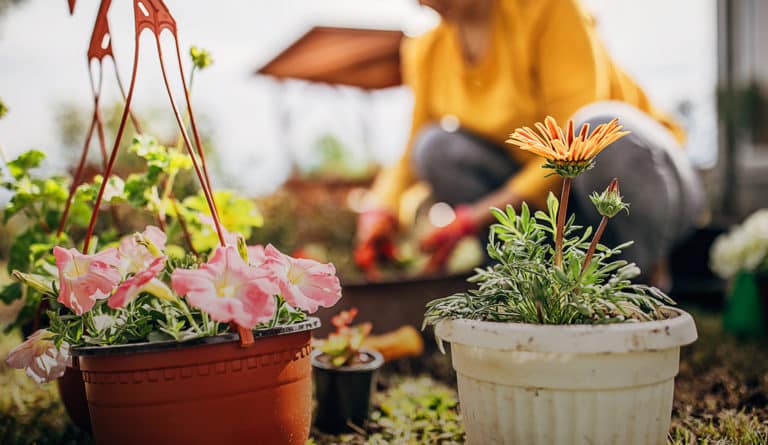
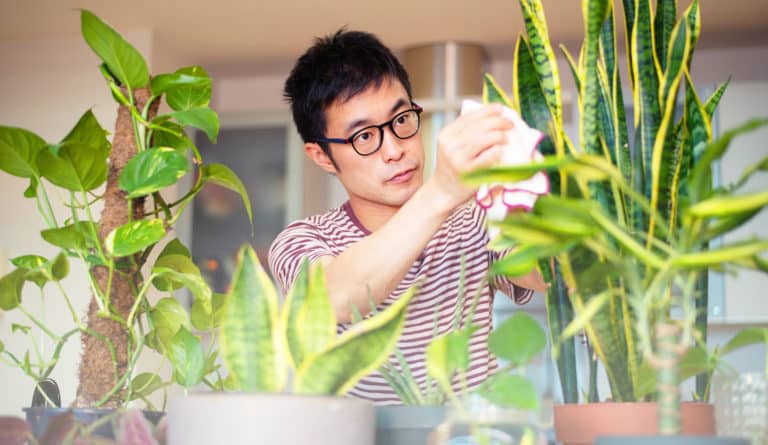
Spotting signs of pests in your garden is just the first step. Now, it’s time to learn how to prevent them. One of the most effective ways to avoid pests is to encourage beneficial insects like ladybugs and praying mantises that feed on pests to live in your garden. These little helpers can act as soldiers, defending your plants from harmful pests and promoting a healthy ecosystem. You can also place bird feeders in your garden to attract natural predators that feed on bugs.
Additionally, make sure to water them appropriately and give them the right amount of fertilizer. Weak plants can be super attractive to bugs, so you need to keep them happy and healthy. Also, did you know planting herbs and flowers like lavender or marigolds can repel insects? Remember to inspect your plants and remove any signs of infestation regularly. Dealing with a small bug problem is easier than a big headache later. So follow these tips, and enjoy your garden… pest free!
how to control and eliminate pests in your garden
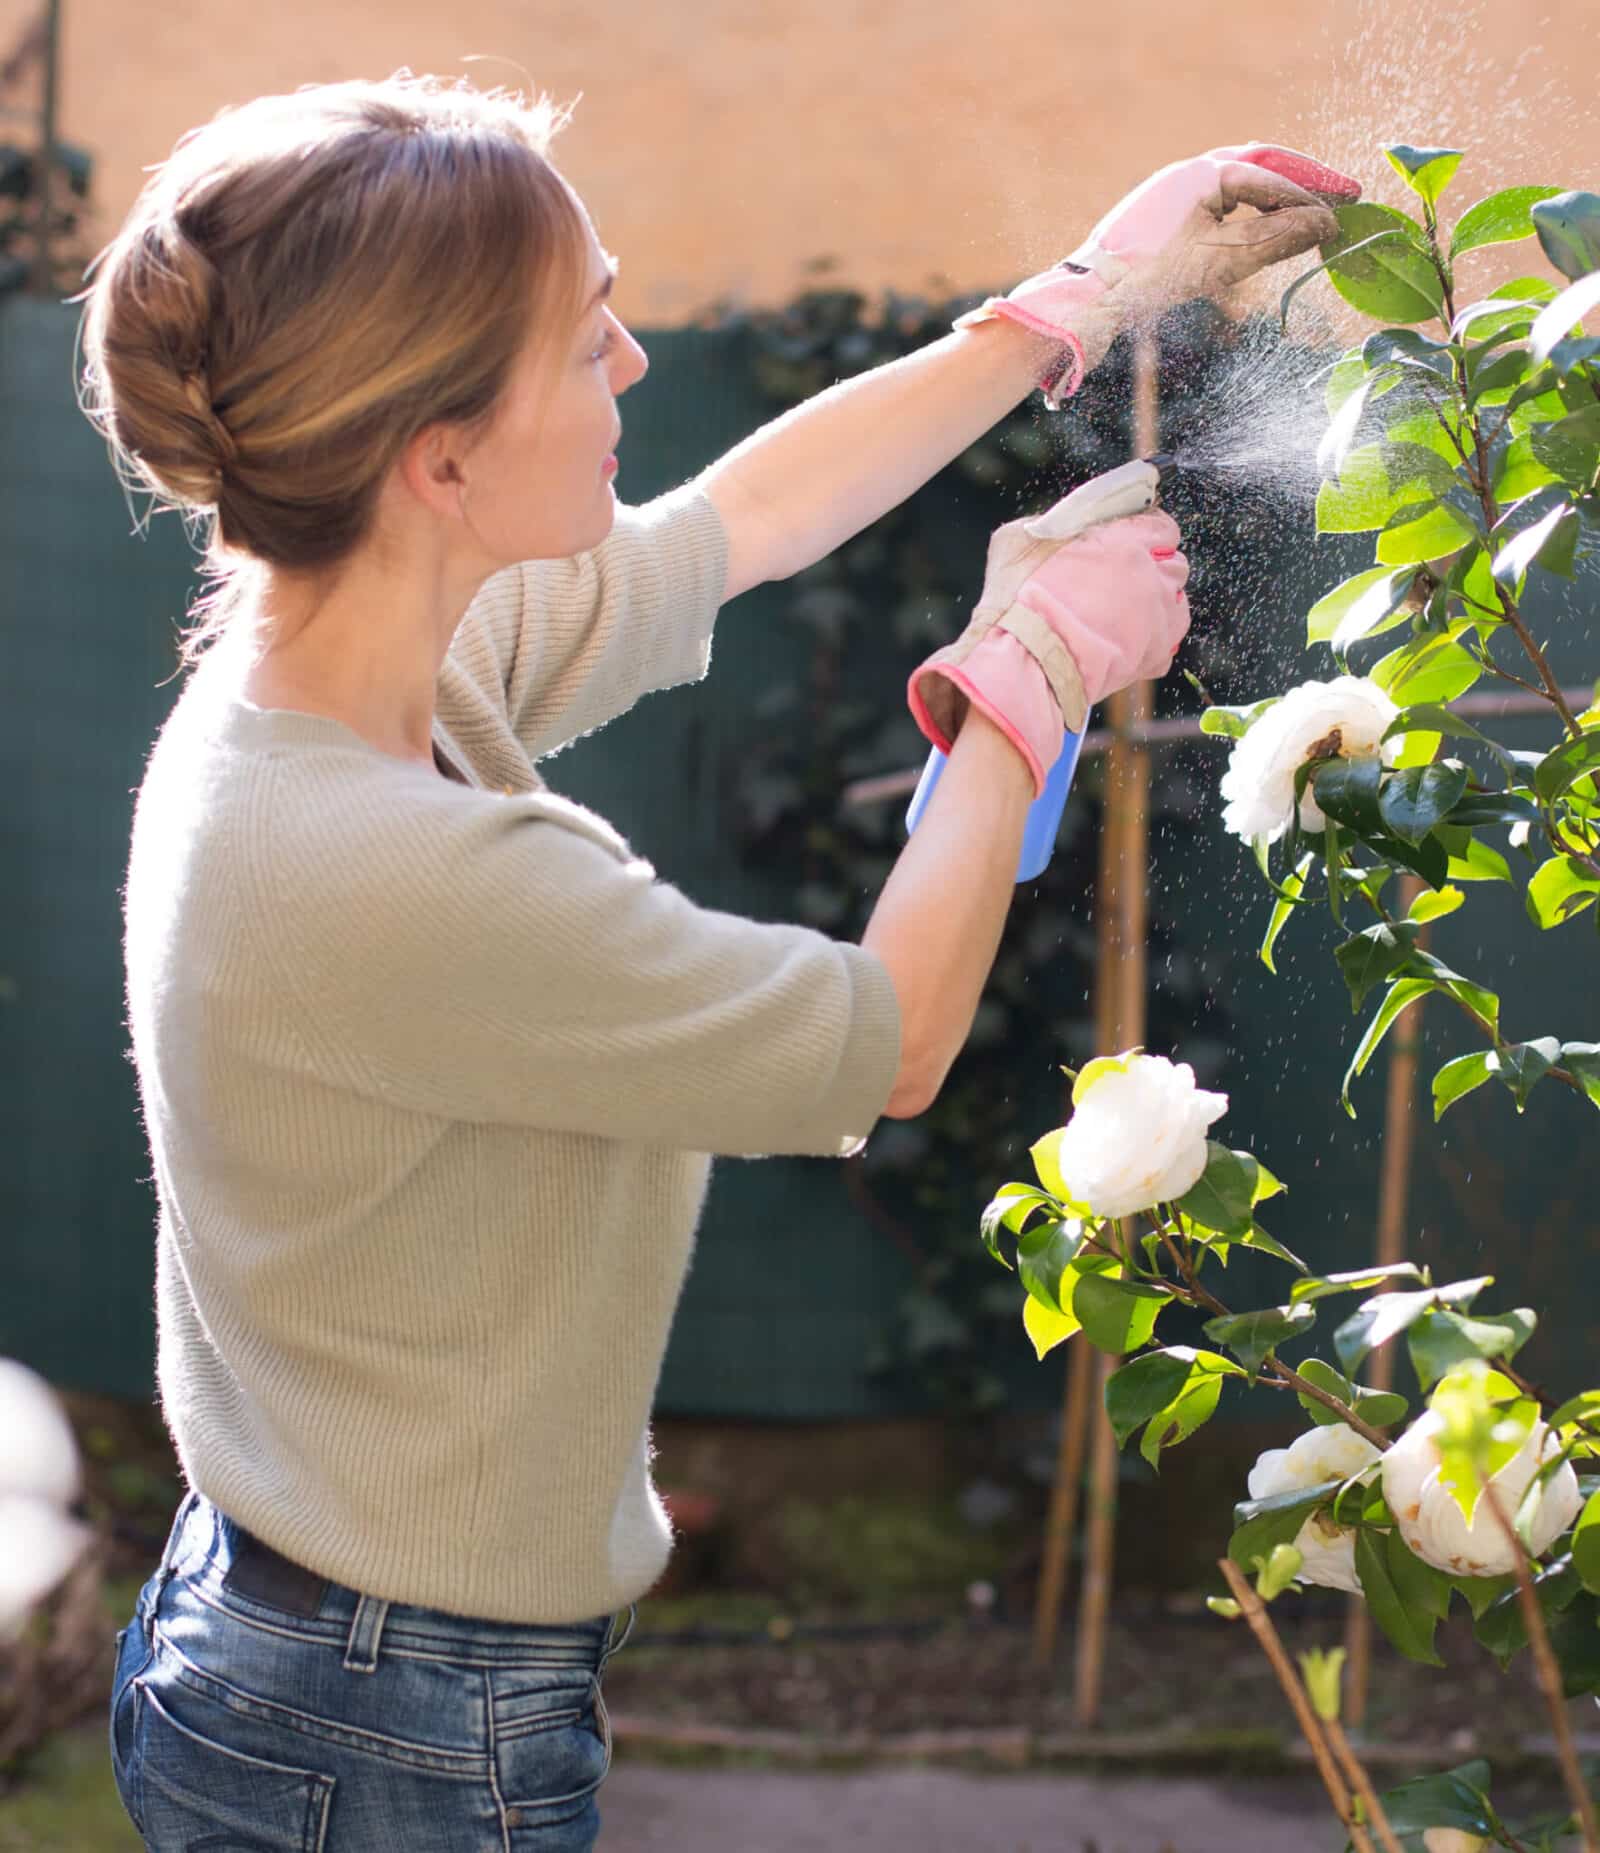
The first step is to identify the pest and its life cycle. Once you understand the pest, you can choose the best control method. Physical removal may be the easiest way to eliminate pests like slugs and snails. However, if you have a larger infestation, you may need to use bug-control products.
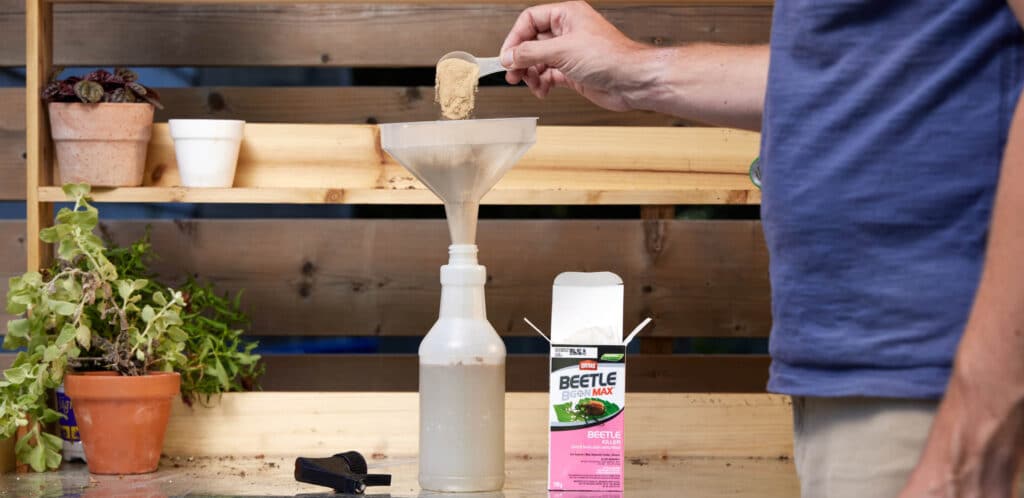
Ortho Bug B Gon Insecticidal Soap is a popular option, offering a solution for various insects, including ants, caterpillars, and beetles. Slug B Gon might be the best solution for slugs, as it targets these slimy pests and gives your plants a chance to flourish. And for beetle problems, Beetle B Gon can help get rid of Japanese Beetles and other types that destroy your landscaping and vegetation. With these solutions, you can keep your garden pest-free and thriving.
Pests in the garden can be discouraging but being informed on how to prevent and manage them is key. Identifying the bug types and different signs of damage is important for preventing the problem from escalating. Additionally, beneficial insects and using brighter colours around your garden to attract beneficial predators can play a huge role in naturally balancing out populations of unwanted bugs.
Now that you’ve learned how to deter pests and safeguard your gardens, you can be better prepared when unwelcome visitors arrive!
#easypeasy

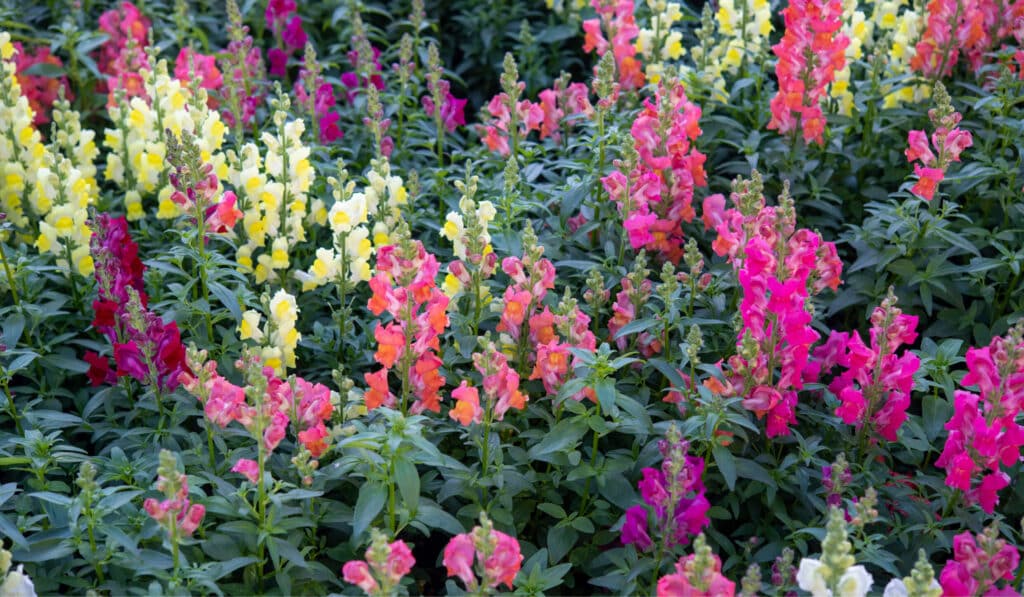
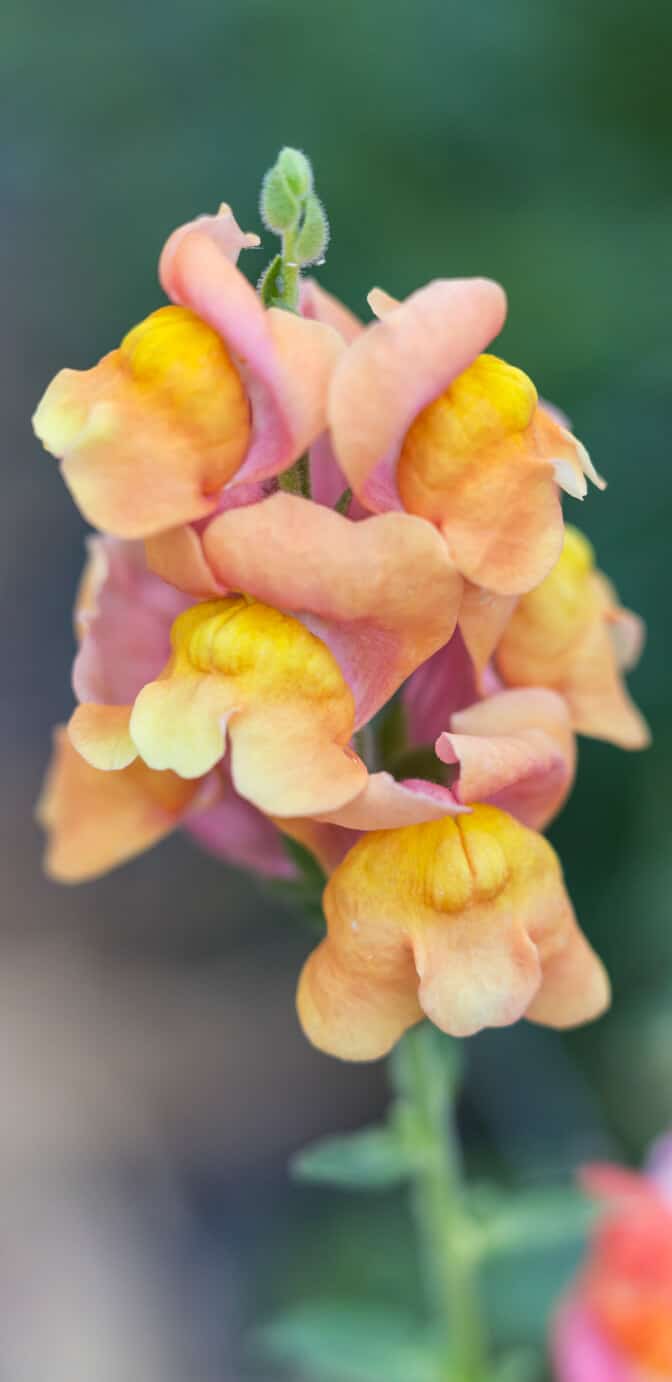
snapdragons
aka antirrhinums, dragon flowers, and dog flowers
Snapdragons are a beloved choice for cottage gardens and perennial flower beds, adding charm and beauty to any landscape. These flowers possess a unique charm with their dragon-like flower heads and a stunning range of colours including white, yellow, pink, orange, and purple.
variations
Tall snapdragons, Dwarf snapdragons, Twining snapdragons (climbing snapdragons), and Angelonia snapdragons.

light
full sun
For best blooming results, make sure they receive at least 6 hours of direct sunlight daily.

water + feeding
thirsty
Snapdragons are somewhat drought-tolerant and prefer a good drink followed by a period of dryness.

toxic
yes
While Snapdragons are safe for humans they can lead to an upset stomach for furry friends.

size
it depends
Snapdragons come in different sizes depending on the variation. On average, they grow between 1 and 3 feet tall. Dwarf varieties only reach up to 10 inches, while larger species can reach 4 feet.

pro tip
give them room to bloom
Snapdragons like to have a bit of personal space. Make sure to leave about 6 to 12 inches between each plant to provide ample space for them to expand and thrive. Plus, it can actually help prevent the spread of diseases. These aren’t wallflowers—they like a little room to show off their vibrant blooms!

fun fact
snap it open!
The name ‘Snapdragon’ comes from an old superstition that says if you hold the flower by the stem and squeeze it, its mouth will “snap” open and close. They may not actually snap at you, but it’s still a fun way to engage with these beautiful plants! So don’t be afraid to give them a gentle squeeze and watch their petals snap.
beyond the basics
-
soil and potting
Snapdragons thrive in nutrient-rich, well-draining soil like Miracle-Gro® Moisture Control® Garden Soil. For outdoor planting, choose a sunny spot with ample spacing of 6 to 12 inches. In containers, use a pot that is at least 12 inches deep and wide, providing the roots with enough space to expand and thrive. Also, make sure the pot has good drainage to keep those roots from getting waterlogged.
-
companion planting
Snapdragons are versatile plants that effortlessly blend into any garden. They complement summer blooms like petunias, lavender, and sunflowers, as well as aromatic herbs like rosemary and sage.
-
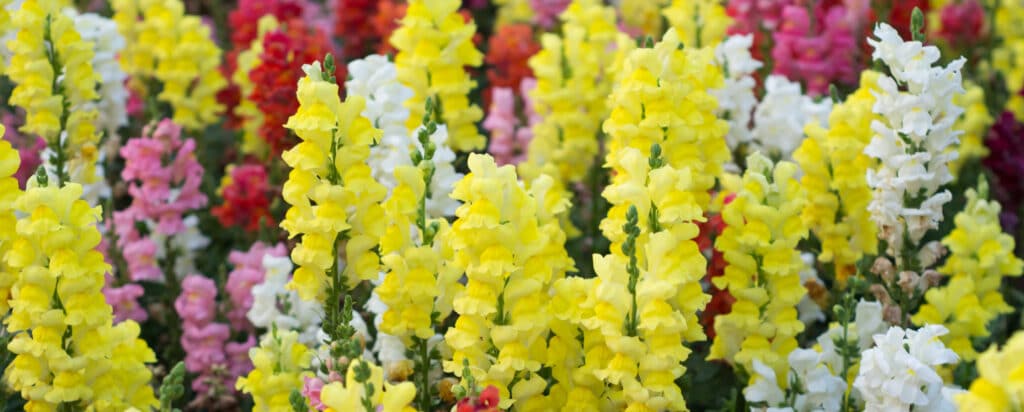
blooms
Different varieties of snapdragons have single, double, or frilly petals and come in many vibrant colours. The most common variations are tall snapdragons that feature flowers with broad petals on strong stems, dwarf snapdragons that boast delicate blooms in an array of colours on short stems, and double snapdragons which feature multiple rows of ruffled petals.
-
pest control
Snapdragons generally are resistant to pests, but it’s important to keep an eye out for aphids and thrips. If you happen to spot any of these pests, it’s recommended to employ natural methods such as using an insecticidal soap like Ortho® Bug B Gon® ECO Insecticidal Soap or rinsing the foliage thoroughly with a forceful stream of water to dislodge any potential invaders.
troubleshooting
-
why aren’t my snapdragons blooming enough?
Insufficient sunlight exposure or subpar fertility conditions. To ensure your Snapdragons thrive, ensure your plants receive a minimum of 6 hours of direct sunlight each day. To improve soil fertility, you can enhance it by incorporating a nutrient boost like Miracle-Gro® Water Soluble All Purpose Plant Food. This will enrich the environment for your plants and promote their growth. Also, to encourage the formation of new buds, try deadheading to clear up any withered blossoms.
-
why are my snapdragon’s leaves powdery?
Fungal disease. This tends to appear in warm and humid climates. To prevent and treat this condition, ensure adequate air circulation between plants by leaving sufficient space when planting, avoid wetting the foliage during watering sessions, and use fungicides if necessary.
-
why does it look like my snapdragons are wilting?
Over watering or under watering. Excess moisture can result in root rot, hindering your flowers’ ability to absorb essential nutrients. Conversely, a lack of moisture can cause your flowers to dry out or wither. To ensure optimal growth, carefully assess soil moisture levels and adjust watering practices accordingly.
-
why are my snapdragons falling over?
Insufficient sunlight. To address this, try moving the plant to a spot that ensures 6 hours of sunlight. Additionally, consider pruning the leggy stems and using supports such as stakes or trellises to help the stalks stand tall.
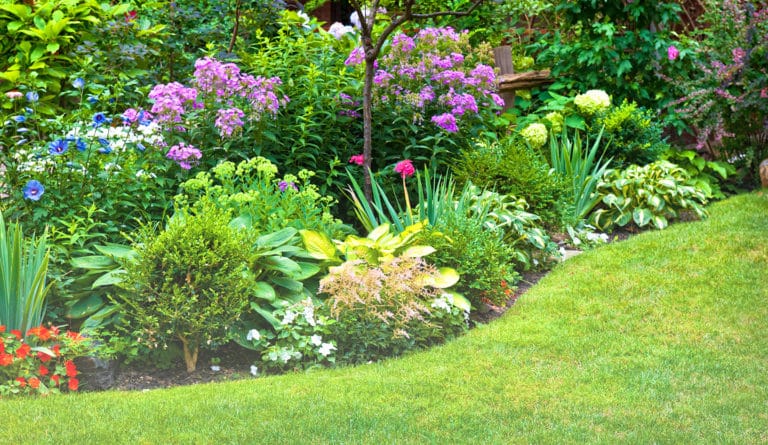
are you looking for some gardening tips to keep your garden in top shape?
Whether it’s a small container garden, flowerbed, or larger outdoor landscaping project, these five tips will help you keep your green space healthy and beautiful.
1
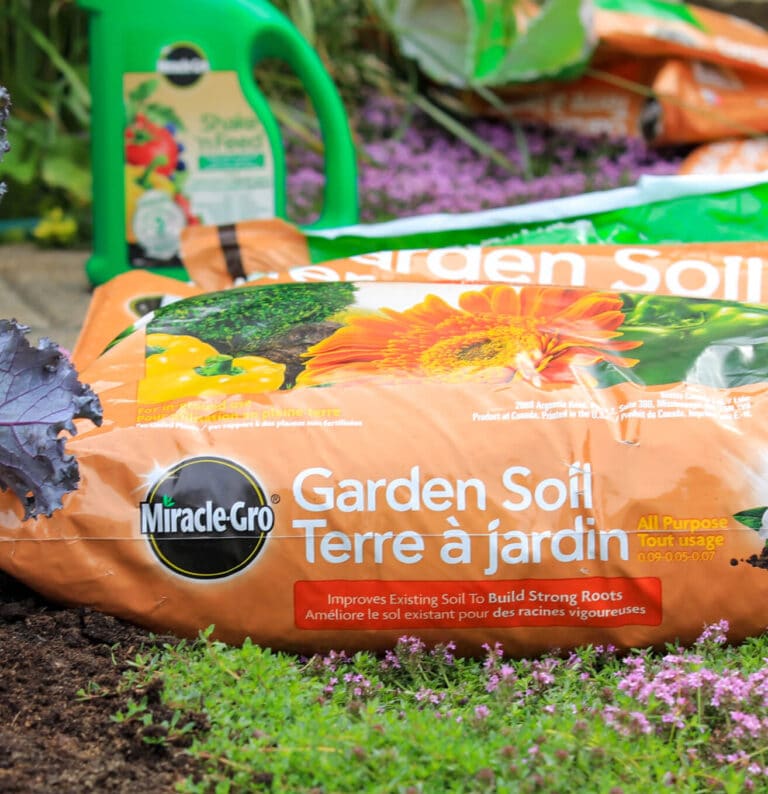
invest in quality soil and plant food
To ensure a healthy garden, it’s important to invest in high-quality soil and plant foods. First thing’s first, for happy plants, consider using a soil with lots of nutrients to help your plants grow big and strong. An all-purpose soil like Miracle-Gro® All Purpose Garden Soil is an excellent option.
2
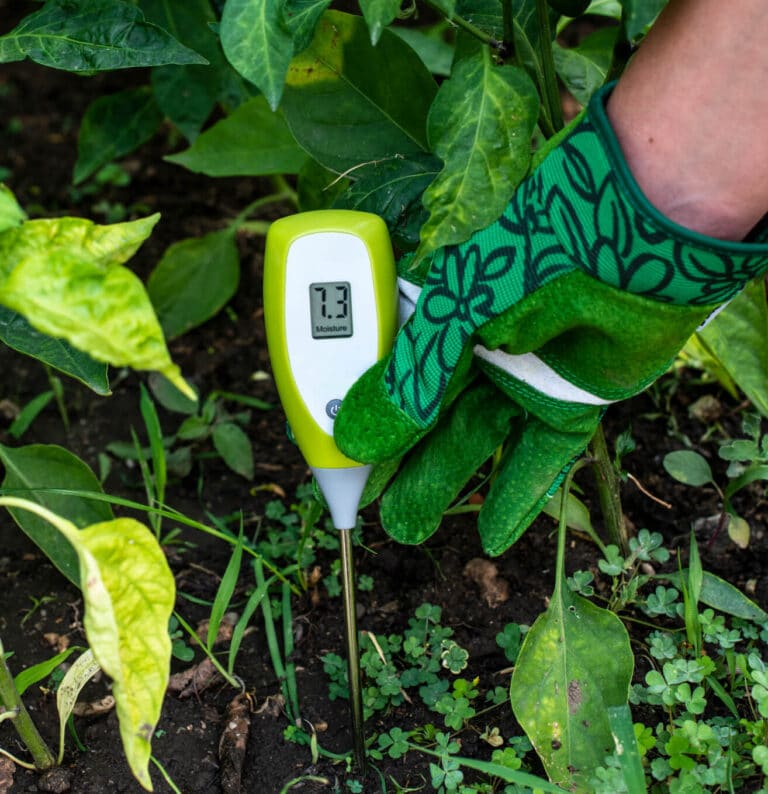
monitor moisture levels
Healthy plants require moisture, but it’s important to avoid both overwatering and under-watering. To find the right balance, it is important to regularly check the moisture level of your soil. You can use a moisture meter or the finger test (insert a finger into the soil to feel how wet it is) and adjust accordingly by watering or adding mulch if necessary.
3
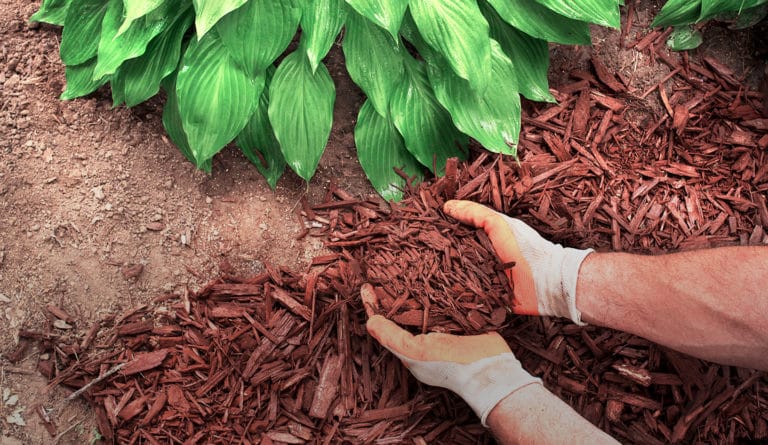
keep an eye out for weeds
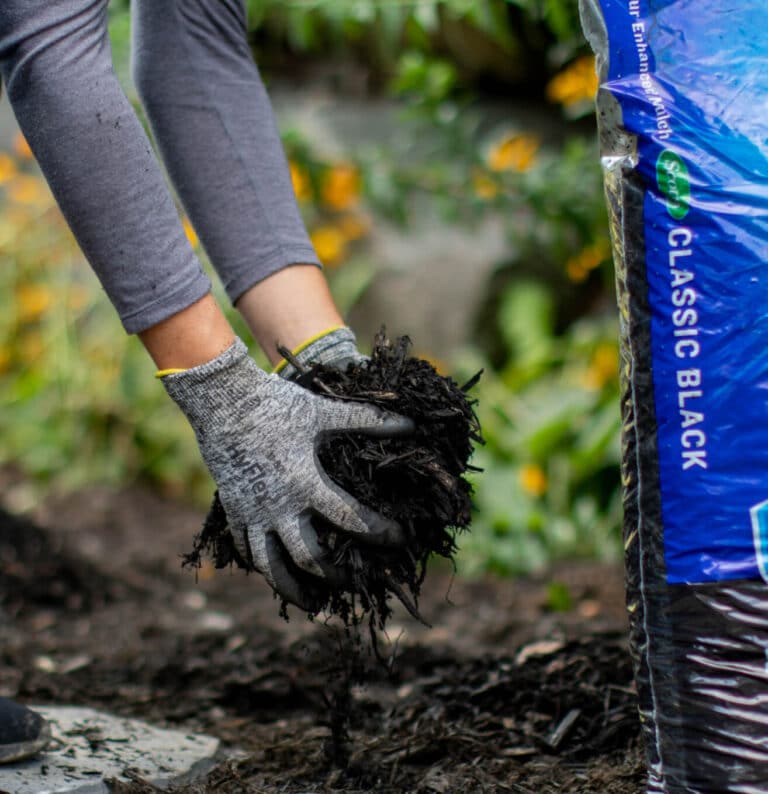
Weeds can harm your plants and take essential nutrients needed for growth. Take routine strolls around your garden to keep an eye out for growing weeds. If you’re finding that pulling the weeds out isn’t enough, you can Simply apply about an 8cm / 3-inch blanket of mulch like Scotts® Nature Scapes® Mulch around your veggie planter or garden.
4
plant with the future in mind
Thinking ahead about how your plants will grow over time can help you to better plan your garden design. Try to think about what size plants may become in a few years and be sure to leave enough room around them so they can flourish without being overcrowded or impeded by other plants or structures.
5
enjoy yourself
Don’t forget to enjoy yourself while gardening! Try to look forward to the experience as something enjoyable. Also, remember to take breaks from the demanding work of tending to your garden and take pleasure in the beauty of nature that you have created.
While gardening is enjoyable, it does require regular maintenance. Following these tips can help you to create and maintain a beautiful garden that will last for years to come!
#easypeasy

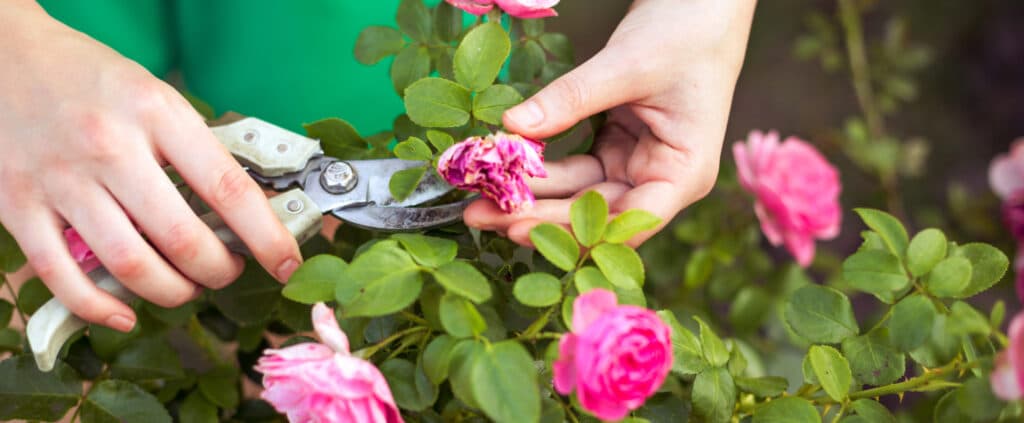
we all want a stunning garden, right? one awesome way to achieve this is by deadheading your flowers.
If you’re not familiar with it, deadheading means snipping off the dead or faded blooms from your plants. It not only spruces up your garden, but also helps keep your plant babies healthy and blooming for longer. So, let’s dive into everything you need to know about deadheading flowers, including why, when, and how to do it!

benefits of deadheading flowers
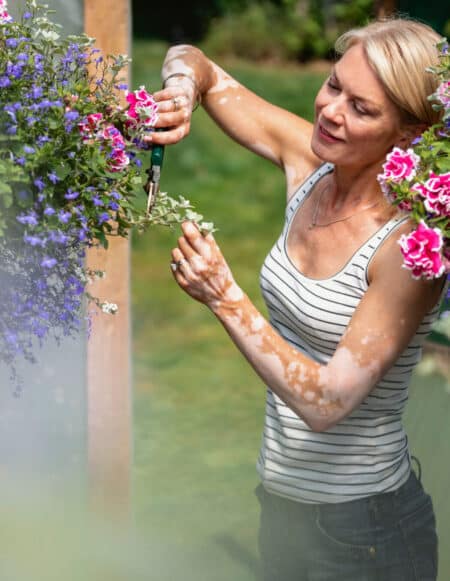
Deadhead your flowers once their blooms start to look worn out and droopy. Snipping off the dead flower heads stops the plant from wasting energy on seed development and redirects it towards producing fresh new blooms. It’s best to deadhead frequently throughout the growing season for happy, healthy flowers. Keep in mind, some flowers prefer to hold onto a few seeds, so don’t remove every deadhead completely.
The timing of deadheading can vary depending on the type of plant species. With some plants, like petunias and geraniums, you might need to deadhead every few days to maintain a continuous bloom cycle. Be sure to research your flower type to know the perfect timing to deadhead.
when should you NOT deadhead flowers?
At the start of the season, hold off on deadheading until the plant has produced a few seeds. This is most vital for plants that require their seed pods to produce new flowers in the following season, like lilies. Additionally, some plants, such as cosmos and zinnias, have a beautiful seed head that can add interest to your garden even after the blooms have faded.
Certain flowers produce deadheads that contain seeds birds love to munch on. Flowers like aster, bee balm, black-eyed susans, coneflowers, false sunflowers, gayfeather, globe thistle, ligularia, pennisetum, sedum, and sunflowers are some examples. For these flowers, resist the urge to deadhead. Leave the deadheads as nature’s snack bar for our bird friends!
comment étêter les fleurs
Supprimer les têtes de fleurs mortes est un jeu d’enfant! C’est comme si vous donniez une petite coupe de cheveux à vos plantes, mais avec beaucoup moins de tracas. Voici comment procéder :
- Repérez la fleur morte ou fanée et faites vos adieux.
- Repérez l’endroit où vous devez couper : au-dessus de la première série de belles feuilles ou de bourgeons et en dessous de la fleur morte.
- Sortez votre beau sécateur ou vos ciseaux et commencez à couper! Attention aux bourgeons frais.
- Après avoir coupé les têtes mortes, donnez à vos plantes un peu de soin avec de l’eau et de la nourriture, pour aider vos fleurs à reprendre de la vigueur et à être encore plus belles. Pensez à utiliser un engrais comme l’Engrais pour Plantes Ultra Bloom Miracle-Gro® Shake ‘N Feed.
- Enfin, rangez et désinfectez vos outils de taille avec de l’alcool à friction. Et voilà, c’est fait : votre jardin ressemblera à un paradis fleuri en un rien de temps!
So why not try deadheading your flowers? It’s not rocket science, and there are a variety of techniques you can try until you find what works for you. You might even find it to be a relaxing and enjoyable way to connect with your garden. Give it a go and get ready to show off your beautiful garden full of healthy plants and stunning blooms!
#easypeasy
we all want a stunning garden, right? one awesome way to achieve this is by deadheading your flowers.
If you’re not familiar with it, deadheading means snipping off the dead or faded blooms from your plants. It not only spruces up your garden, but also helps keep your plant babies healthy and blooming for longer. So, let’s dive into everything you need to know about deadheading flowers, including why, when, and how to do it!
benefits of deadheading flowers
Deadheading does more than just make your garden look tidy – it can also make your blooms last longer and keep your plant healthy. It helps redirect the plant’s energy to producing more blooms instead of seeds, resulting in a fuller and healthier plant. With a healthier plant, you’ll be less likely to have to deal with pesky diseases and insects. And let’s face it, there’s just something satisfying about snipping off dead and fading blooms.
when should you NOT deadhead flowers?
At the start of the season, hold off on deadheading until the plant has produced a few seeds. This is most vital for plants that require their seed pods to produce new flowers in the following season, like lilies. Additionally, some plants, such as cosmos and zinnias, have a beautiful seed head that can add interest to your garden even after the blooms have faded.
Certain flowers produce deadheads that contain seeds birds love to munch on. Flowers like aster, bee balm, black-eyed susans, coneflowers, false sunflowers, gayfeather, globe thistle, ligularia, pennisetum, sedum, and sunflowers are some examples. For these flowers, resist the urge to deadhead. Leave the deadheads as nature’s snack bar for our bird friends!
comment étêter les fleurs
Supprimer les têtes de fleurs mortes est un jeu d’enfant! C’est comme si vous donniez une petite coupe de cheveux à vos plantes, mais avec beaucoup moins de tracas. Voici comment procéder :
- Repérez la fleur morte ou fanée et faites vos adieux.
- Repérez l’endroit où vous devez couper : au-dessus de la première série de belles feuilles ou de bourgeons et en dessous de la fleur morte.
- Sortez votre beau sécateur ou vos ciseaux et commencez à couper! Attention aux bourgeons frais.
- Après avoir coupé les têtes mortes, donnez à vos plantes un peu de soin avec de l’eau et de la nourriture, pour aider vos fleurs à reprendre de la vigueur et à être encore plus belles. Pensez à utiliser un engrais comme l’Engrais pour Plantes Ultra Bloom Miracle-Gro® Shake ‘N Feed.
- Enfin, rangez et désinfectez vos outils de taille avec de l’alcool à friction. Et voilà, c’est fait : votre jardin ressemblera à un paradis fleuri en un rien de temps!
So why not try deadheading your flowers? It’s not rocket science, and there are a variety of techniques you can try until you find what works for you. You might even find it to be a relaxing and enjoyable way to connect with your garden. Give it a go and get ready to show off your beautiful garden full of healthy plants and stunning blooms!
#easypeasy
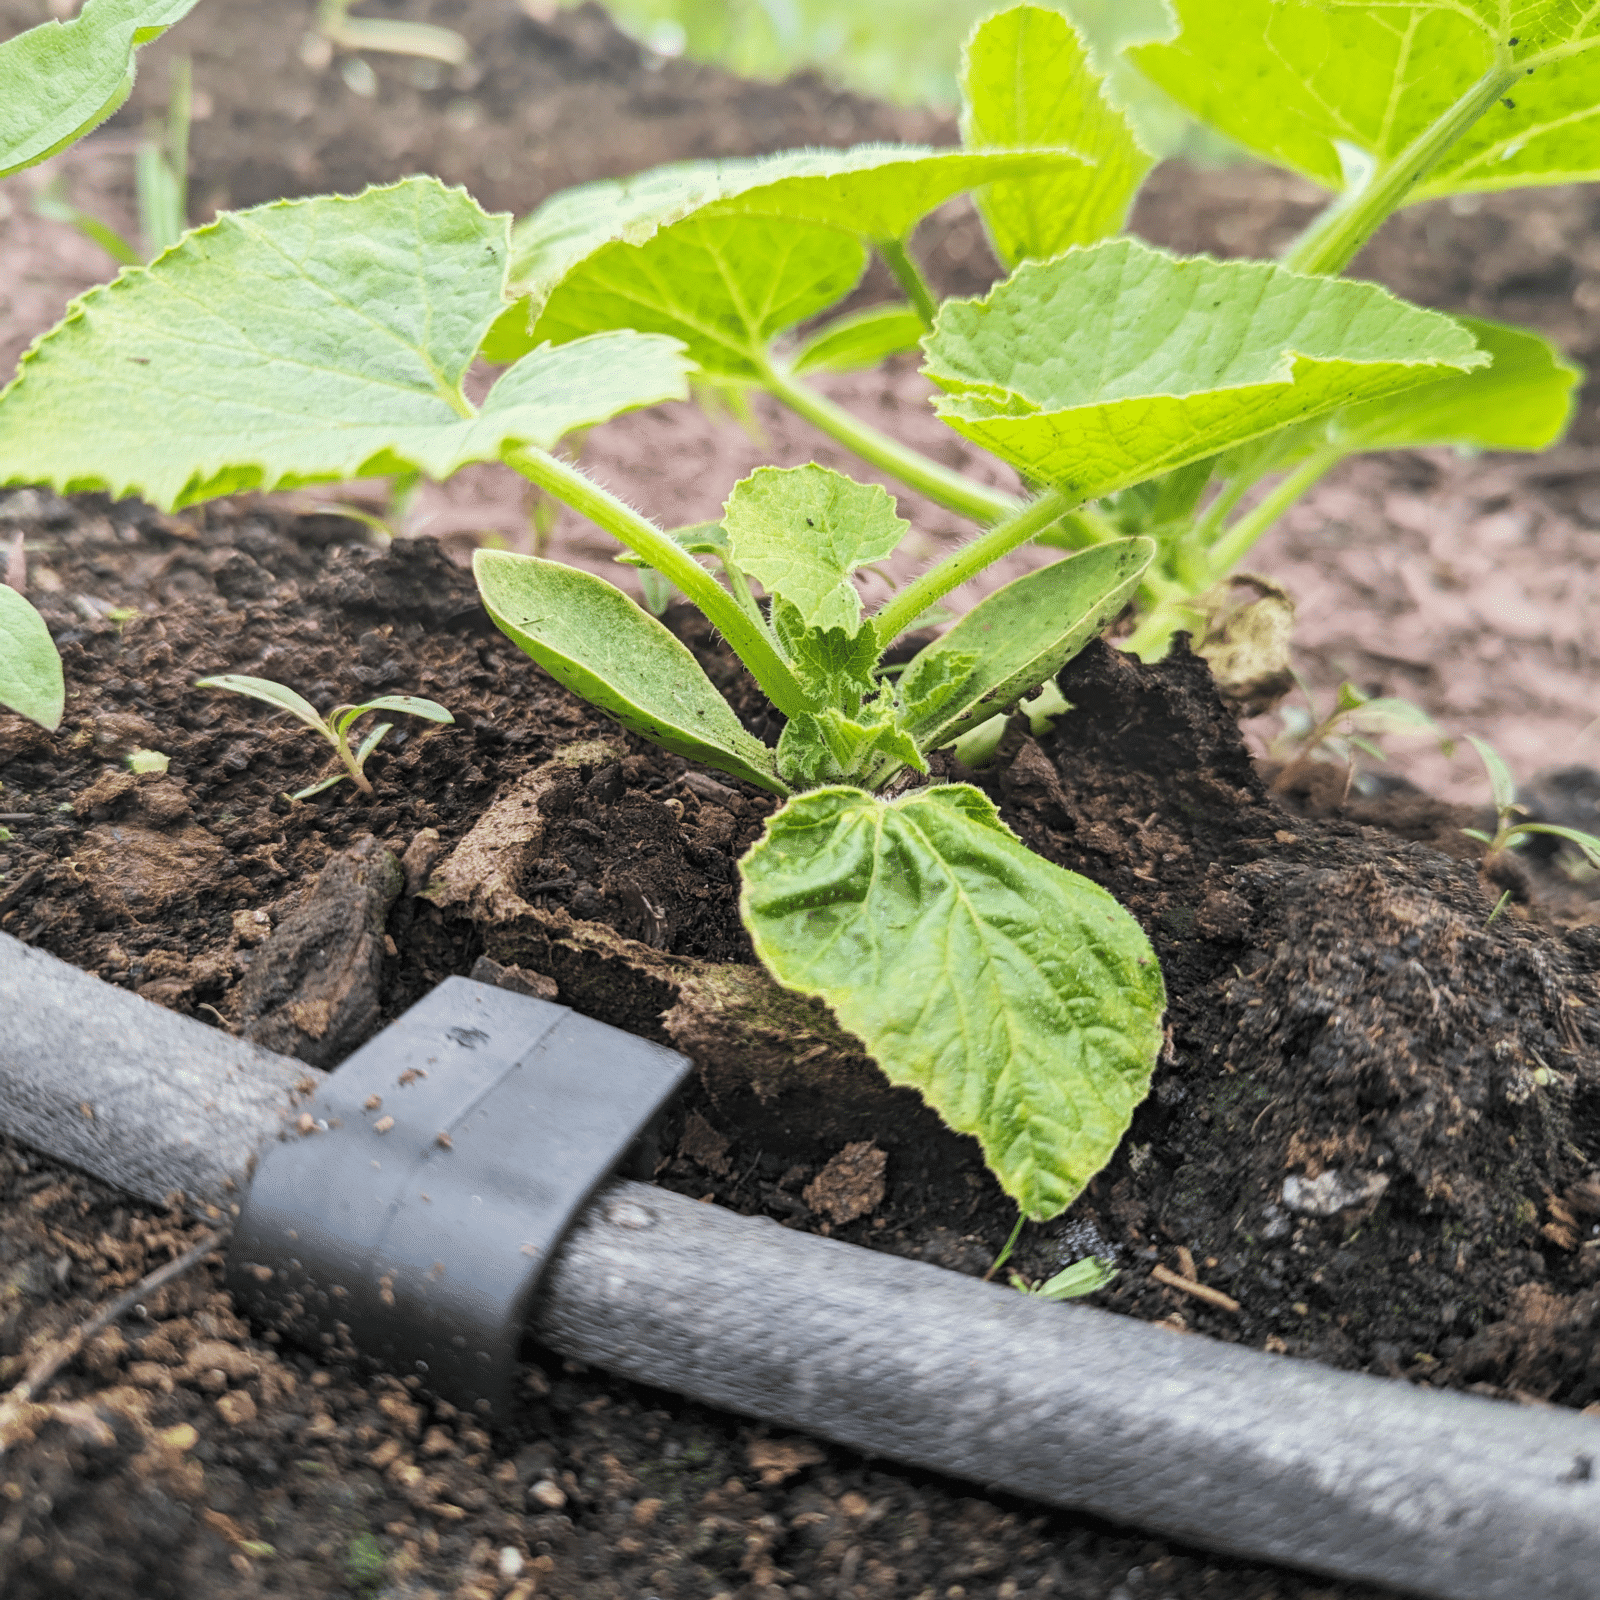
wanna automate your garden watering routine?
(spoiler: yeah you do!) This is a great way to make sure your plants are getting enough water while saving yourself time to enjoy all the fun activities summer has to offer.
here is what you will need to get started.
drip irrigation system set
drill
sharp scissors or shears
water barrel
step one
Choose a drip irrigation system that’s right for you and your garden. Some systems connect to a hose and water at intervals set on a timer, and others are automated solar systems that pull water from a rain barrel.
For the watering mechanism itself, you can get a system with little openings that will deliver droplets of water exactly where you want, or a system with a permeable hose that will slowly leak water along the whole length of the hose. The one we used is a solar-powered mix of the permeable hose and water droplet systems.
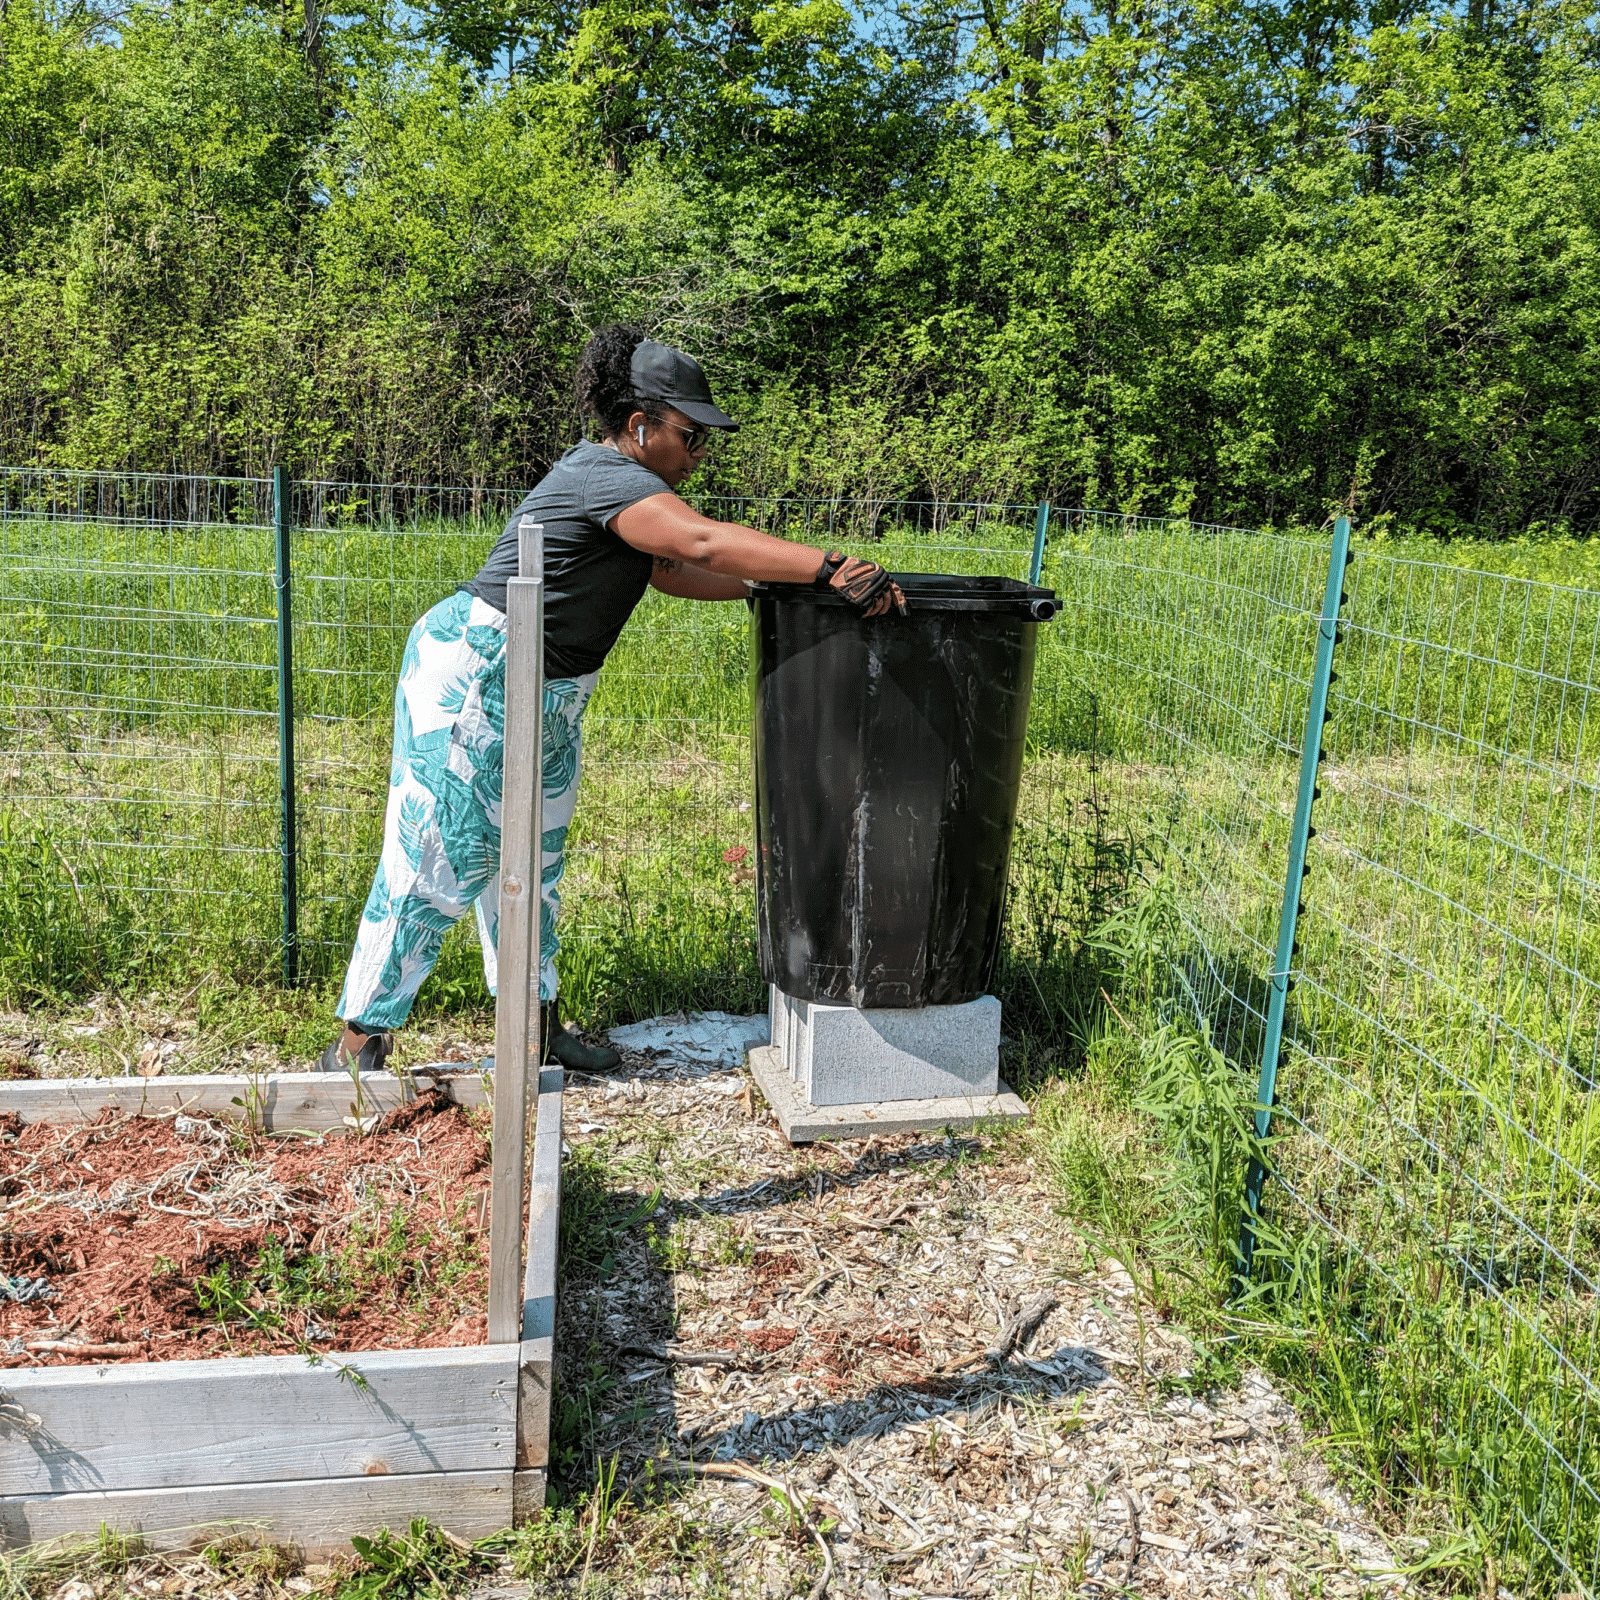
step two
Prep the rain barrel. For our system, we drilled two holes in the barrel to insert the water intake tube and water level sensors.
step three
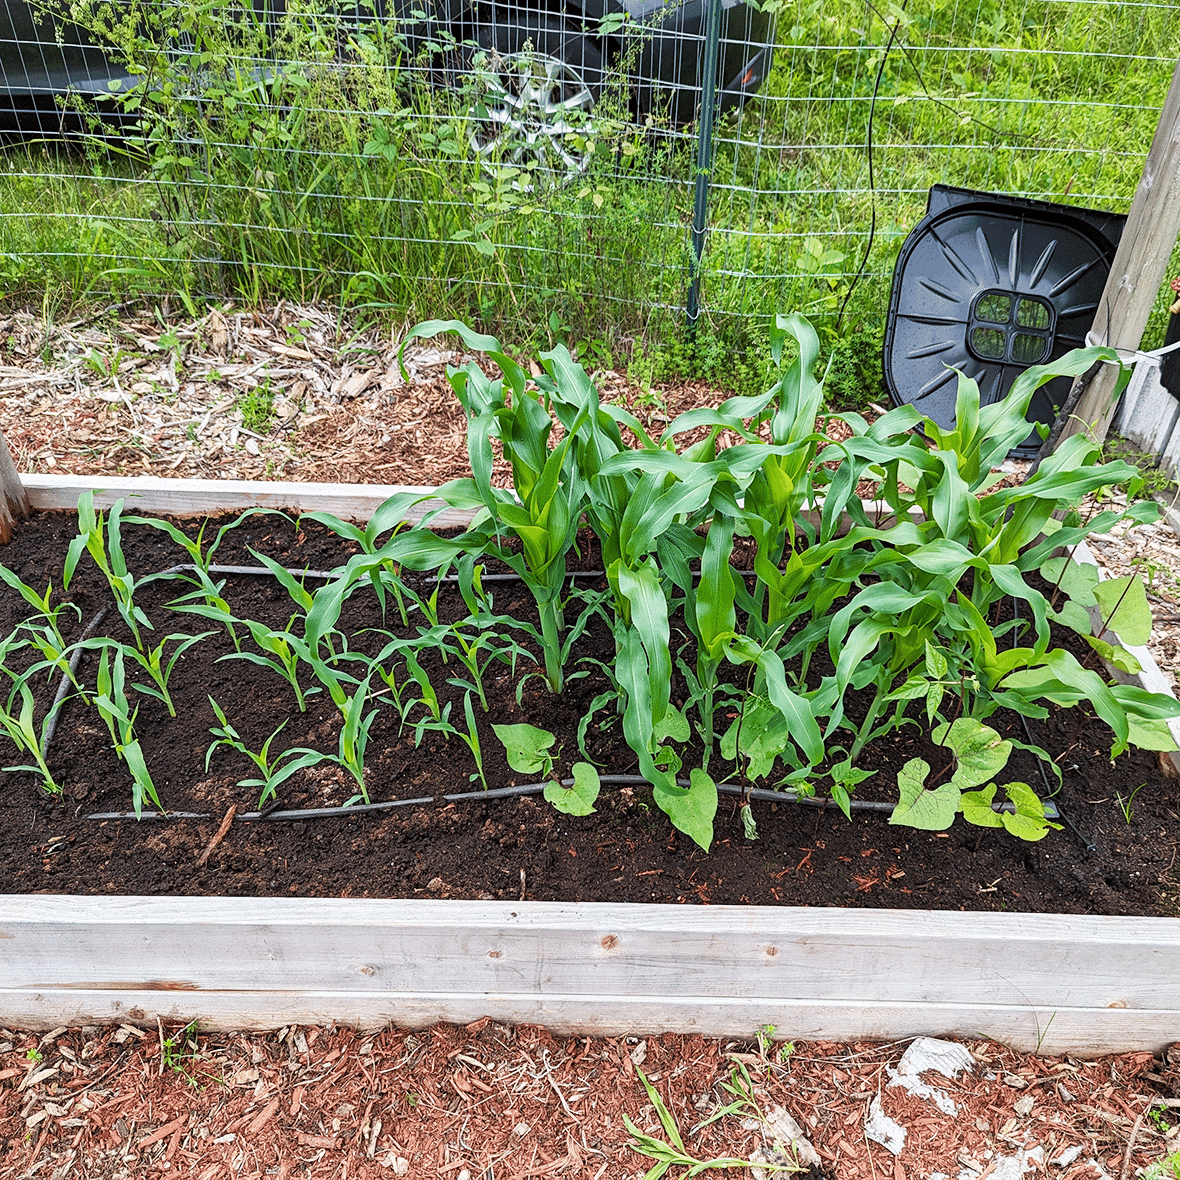
Run the water supply lines to each garden bed. Use sharp scissors or shears to cut lengths of tube so that the water will drip where you want it or so that the permeable tube will fit the lengths of your garden bed.
step four
Turn the on the system to test to see if it works. If there are leaky connections, you may need to adjust.
step five
Keep an eye on your garden over the next few days. Is the soil soggy? The system may be overwatering. Wilty plants and dry soil? Could be underwatering. Adjust until your plants seem happy with the setup.
.
#easypeasy
root division
root division

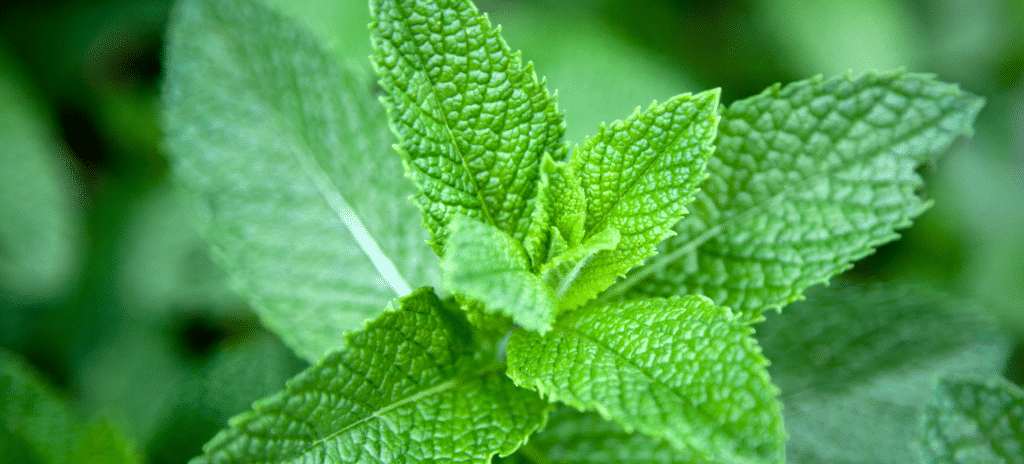
mint
aka mentha
Mint is an easy, fast-growing herb that is used in drink and food recipes. It is a perennial herb that grows little white and purple flowers. There are over 30 different variations of mint, but the most commonly grown is spearmint and peppermint.
variations
Apple/Pineapple Mint, Corsican Mint, Pennyroyal, Peppermint, Citrus Mint, Spearmint
light
full sun
If the soil is nice and moist, full sun is okay. Mint can also thrive in partial shade.
water + feeding
thirsty
Should be watered at least twice a week.
toxic
no
This plant is safe for animals to nibble on.
size
small to medium
Mint can grow to between 1 – 2 feet tall.
pro tip
An effective remedy for headaches
If you are prone to tension headaches, you can make a compress out of mint leaves for your forehead or rub peppermint oil on your temples.
fun fact
Ancient origins
Mint was used in ancient Greece, Rome, and Egypt
beyond the basics
-
soil + potting
Mint does not need to be fussed over which makes it perfect for first-time gardeners. When planting your mint consider using a well-draining soil that can help with moisture control, like Miracle-Gro® All Purpose Garden Soil. This soil helps to prevent from over- and under-watering your mint plant.
-
companion planting:
Luckily, mint is an easy herb to find companion plants for. You can take your pick of popular home garden veggies such as: carrots, cabbage, kale, tomatoes, bell peppers, beans and even zucchini.
-
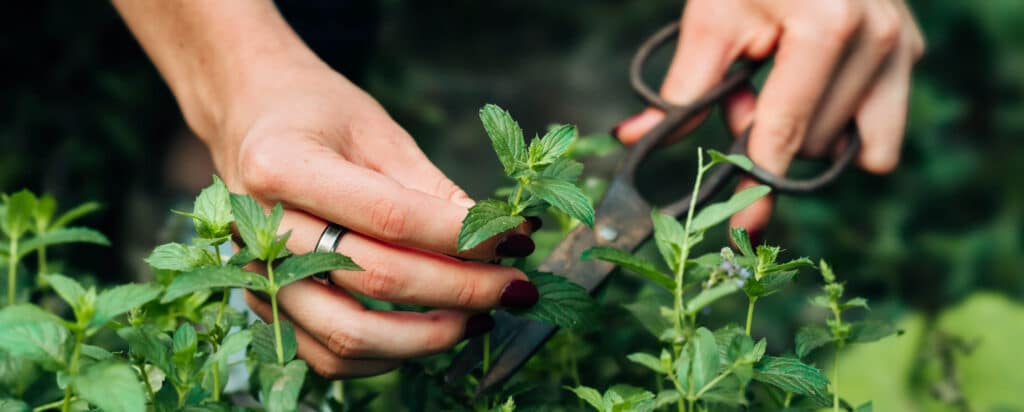
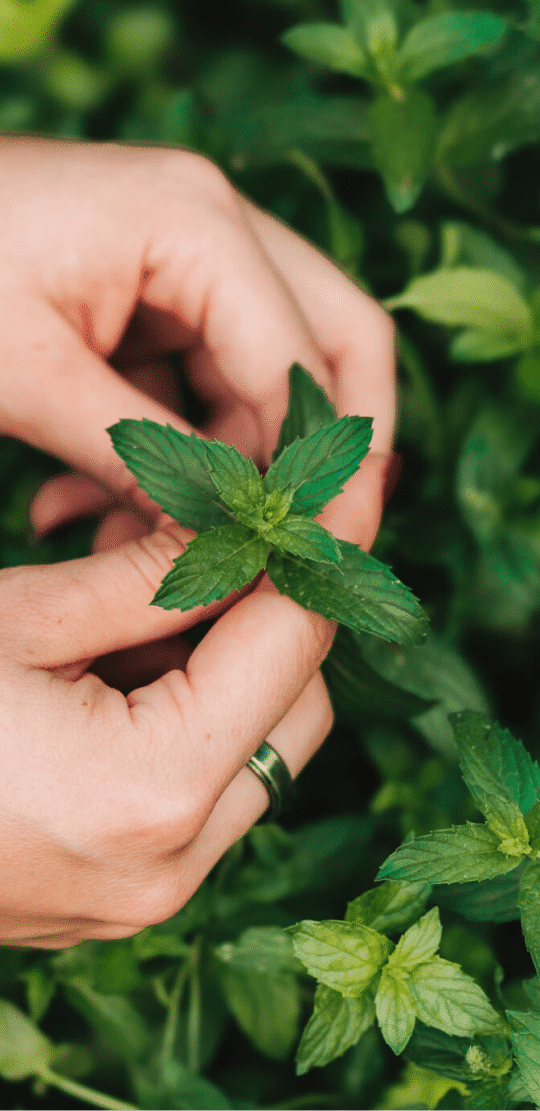
harvesting
Frequent harvesting is important to keeping your mint flourishing. Young leaves have more flavour than older leaves. With this in mind, you can start harvesting your mint as soon as it comes up this spring.
-
pest control
If you see your mint plant drooping, there might be a pest problem. Common pests you might see with mint plants are aphids, mealy bugs, spider mites, or flea beetles. If you are seeing curling leaves or holes in your leaves, these are tell-tale signs of pests. Don’t worry, there is an easy fix. You can use a gentle insecticide like Ortho® Bug B Gon® ECO Insecticidal Soap Ready-To-Use to safely and quickly get rid of those little nuisances.
troubleshooting
-
What do I do with my mint once I harvest it?
You’ve got options.
Once you pick a few sprigs from your mint plant, you can keep them in water for a few days. It is best to use your mint while it is fresh, about 3-5 days. If you are looking to dry your mint leaves, cut them right before flowering and let the leave air dry. Once dry, store the dried mint in an air-tight container.
Or you can just pick the leaves from your mint plant as you need them.
-
Why is my mint looking leggy?
More sunlight. Most of the time, if your mint plant is looking thin and leggy it is lacking sunlight or water or nutrients. The best way to prevent mint from getting leggy is to make sure it is growing in a warm spot that gets lots of light. Keep it in a big pot with well-draining and nutrient rich soil.
-
Why is my mint turning crispy and brown?
Under-watering. This is easy to fix. Try watering your mint on a schedule, aiming for once or twice a week. Be sure to water under the leaves and close to the soil so you don’t damage the leaves.
-
How do I know if my mint is healthy?
Healthy, ready to use mint is a deep, rich green. If your mint is yellow and falling, it is likely due to its growing conditions. Keep your mint plant in full or partial sun, with a well-draining potting mix like Miracle-Gro® All Purpose Garden Soil. Make sure you water your mint whenever the top of the soil is dry, usually about twice a week.
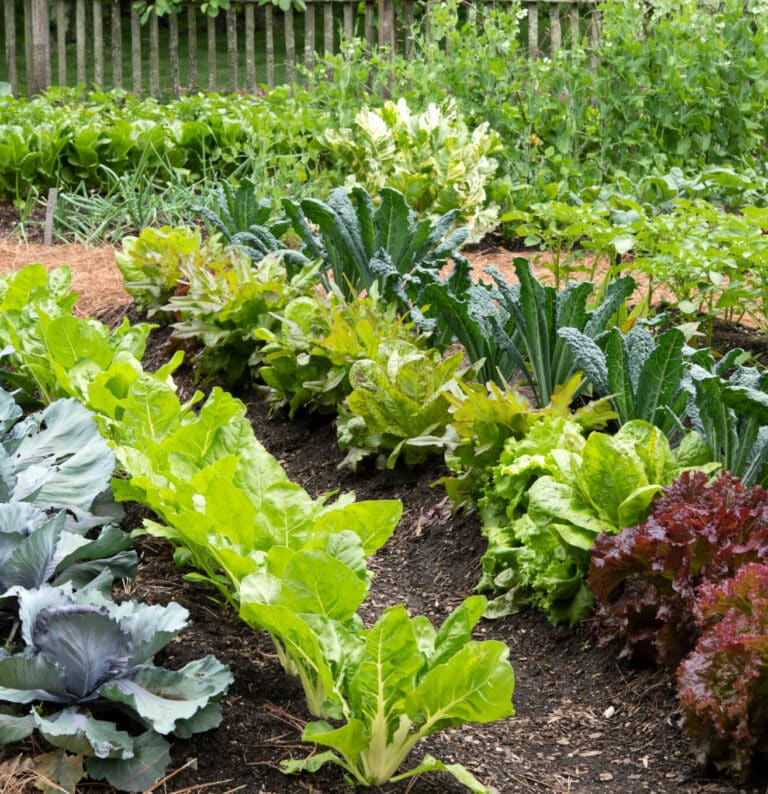
Whether you grow edibles or ornamentals, in the ground or in raised beds, caring for your summer garden doesn’t have to be complicated. Follow this guide to develop good summer garden care habits that will benefit your plants all the way into fall.
water and feed
Just like humans, outdoor plants require plenty of water and a balance of nutrients to be at their best. Summer weather can dry out soil quickly, especially in containers and raised bed gardens. Plants also deplete the soil’s vital nutrients simply by growing. You can supply the moisture and food your plants need by watering and fertilizing regularly. Plus, regular feeding helps your plants grow bigger, stronger, more productive, and better equipped to handle summer stress.
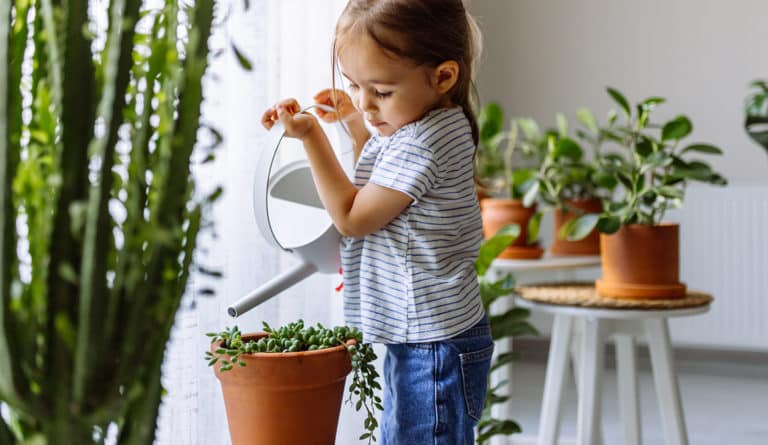
Your summer watering schedule will vary depending upon your growing zone and weather conditions, and you will need to stay vigilant. Test whether you need to water by feeling the soil—some plants wilt naturally in hot weather, and overwatering can also cause wilting, so don’t rely on looks alone! Whenever the top inch of soil surface feels dry, give the soil a good soaking to ensure that moisture reaches all the way to plants’ deepest roots. Make sure to aim the flow of water at the base of your plants so the leaves stay dry, which helps prevent disease. Plan to water your garden thoroughly about twice each week, or more especially when the weather is hot &dry. If you are growing in containers, you may need to water daily.
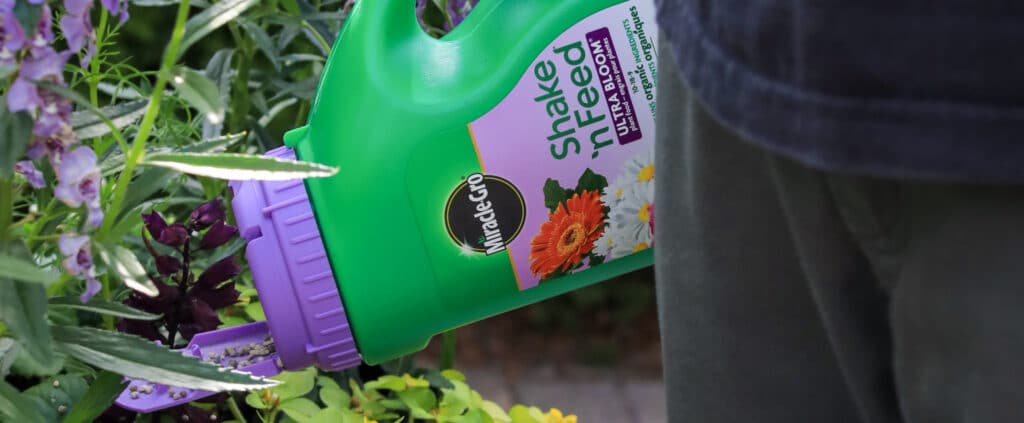
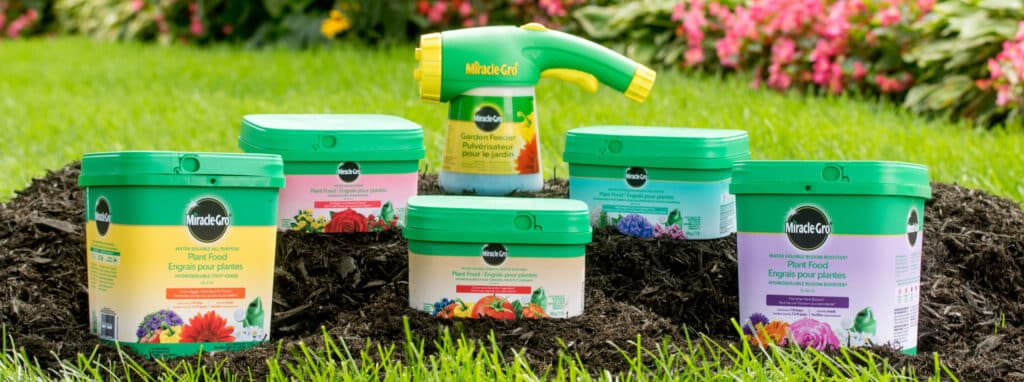
Water-soluble plant foods make it easy to fertilize in the summer. Simply add this type of plant foodto your watering can or sprayer every one to two weeks. Pick the right food for whatever you’re growing—Miracle-Gro® Water Soluble Bloom Booster® Flower Food for flowers, or Miracle-Gro® Water Soluble Tomato, Fruit & Vegetable Plant Food for edibles. Or, to streamline feeding even more, use Miracle-Gro® Water Soluble All Purpose Plant Food when watering your entire yard. It is safe for all plants, including vegetables, trees, and shrubs.
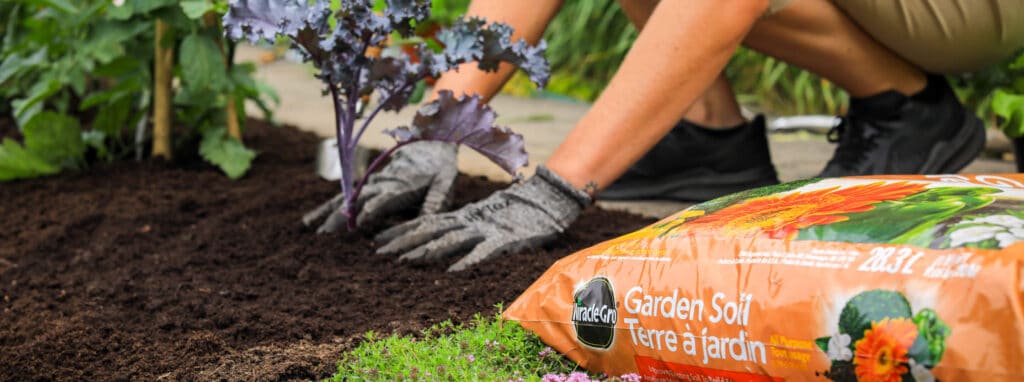
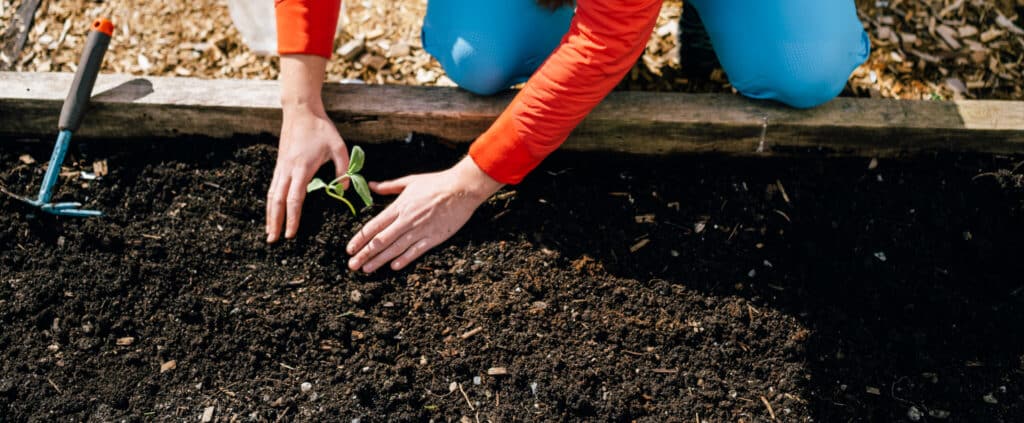
start in springtime
Nutrient-rich soil helps plants grow healthy roots. Prepare your garden or containers in early spring (but after the last frost) with Miracle-Gro® All Purpose Garden Soil or Miracle-Gro® Potting Mix. Both contain continuous-release plant food to give your vegetables, herbs, and flowers a strong start—plus their first serving of vital nutrients.
Already-established perennial flowers and herbs also need plant food as they begin to emerge at the start of the growing season. Lightly work a granular fertilizer, like Miracle-Gro® Shake ’n Feed® All Purpose Plant Food, into the surface soil around each plant base, being careful not to disturb the roots or new growth, then water thoroughly to release the nutrients into the soil.
choose your feeding style
When picking a plant food, you have some choices.
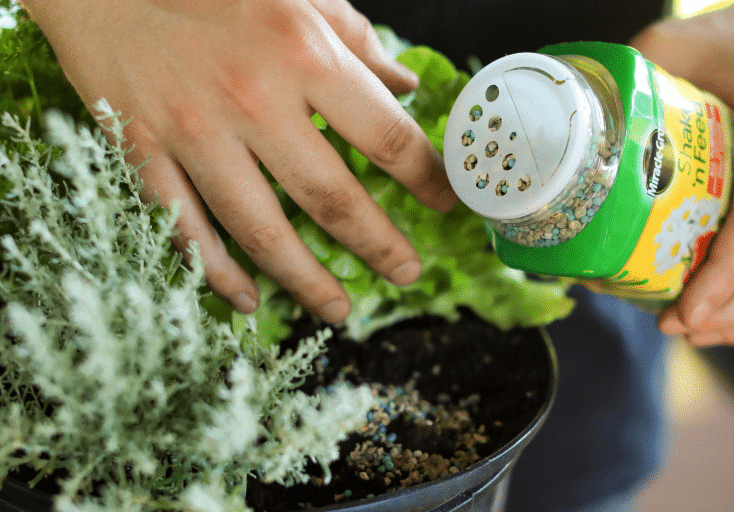
- If you prefer to feed instantly and while you water, choose a water-soluble plant food like Miracle-Gro® Water Soluble All Purpose Plant Food. Measure and mix it directly into your watering can and pour the solution around the bases of your plants, or use with your hose end sprayer (like the Miracle-Gro® Garden Feeder) for larger areas. Plan to feed every 7 to 14 days.
- For less frequent feeding, choose continuous-release plant granules, like Miracle-Gro® Shake ’n Feed® All Purpose Plant Food.. Sprinkle the easy-to-use, granules onto the soil surface, gently rake them into the top few inches of soil, then water thoroughly to start the feeding process.
feed regularly (even in summer)
Plants experience a burst of early growth when they are first planted. Many plant types also have growth spurts in the early or mid-summer, so it is important to replenish nutrients throughout the growing season. After all, you are looking to coax your plants into growing their best and producing the biggest blooms and harvest, right? Annual vegetables and flowers respond especially well to continuous-release feeding that reaches deep down to their roots, promoting bigger, more productive plants.
consider plant food “flavours”
While all plants will gobble up nutrients from the soil, different varieties require different nutrient balances. Nitrogen grows green leaves and stems. Phosphorus promotes strong roots and abundant, colourful flowers. Potassium helps plants protect themselves from disease, drought, and other stressors. So, while all-purpose plant food is a solid choice if you grow a mix of plant types, consider tailoring your choice if you are all about veggie gardening or prefer to surround yourself with flowers.
- Tomatoes, squash, peppers, cucumbers, and other vegetables (and herbs!) will thrive when they’re fed every 7 to 14 days Miracle-Gro® Water Soluble All Purpose Plant Food. This plant food is great for your garden, and is packed full of micronutrients and contains calcium which helps to prevent plant diseases.
- Promote colourful, abundant flowers in your annuals and perennials by feeding them Miracle-Gro® Water Soluble Bloom Booster® Plant Food every 7 to 14 days, or Miracle-Gro® Shake ’n Feed® Ultra Bloom Plant Food every 3 months during the growing season. Both help flowering plants develop strong roots and more vibrant blooms (vs. unfed).
watch for signs of hungry plants
When the soil is short on nutrients, you will see it in your plants. Keep an eye out for warning signs like pale or yellowing foliage, fewer flowers, or slower growth than usual, or droopy, limp, weak stems. If you have been watering regularly (but not too much!) and have not had problems with insects or disease, chances are your plants need feeding.
don’t feed the weeds!
If you let them, weeds will compete with the plants you like for moisture and nutrients. Pull weeds before you fertilize and concentrate plant food around the bases of your plants, to keep nutrients where they are needed most. Be sure to continue to check for weeds regularly throughout the growing season, pulling ‘em whenever you see ‘em.
Here is one final tip: Keep plant food in an easy-to-see place—like next to your gardening tools—to help keep feeding top-of-mind. (Keep it out of reach of little ones, though!) You can also set reminders on your smartphone. Then, when the time is right, head on out and feed those plants!
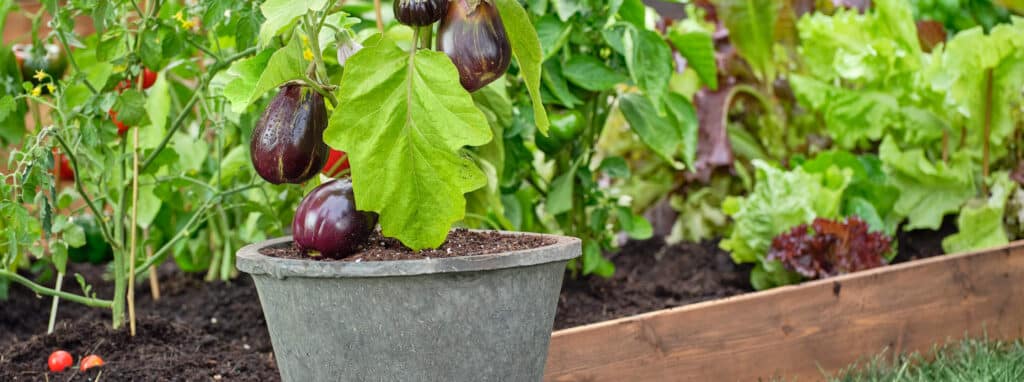
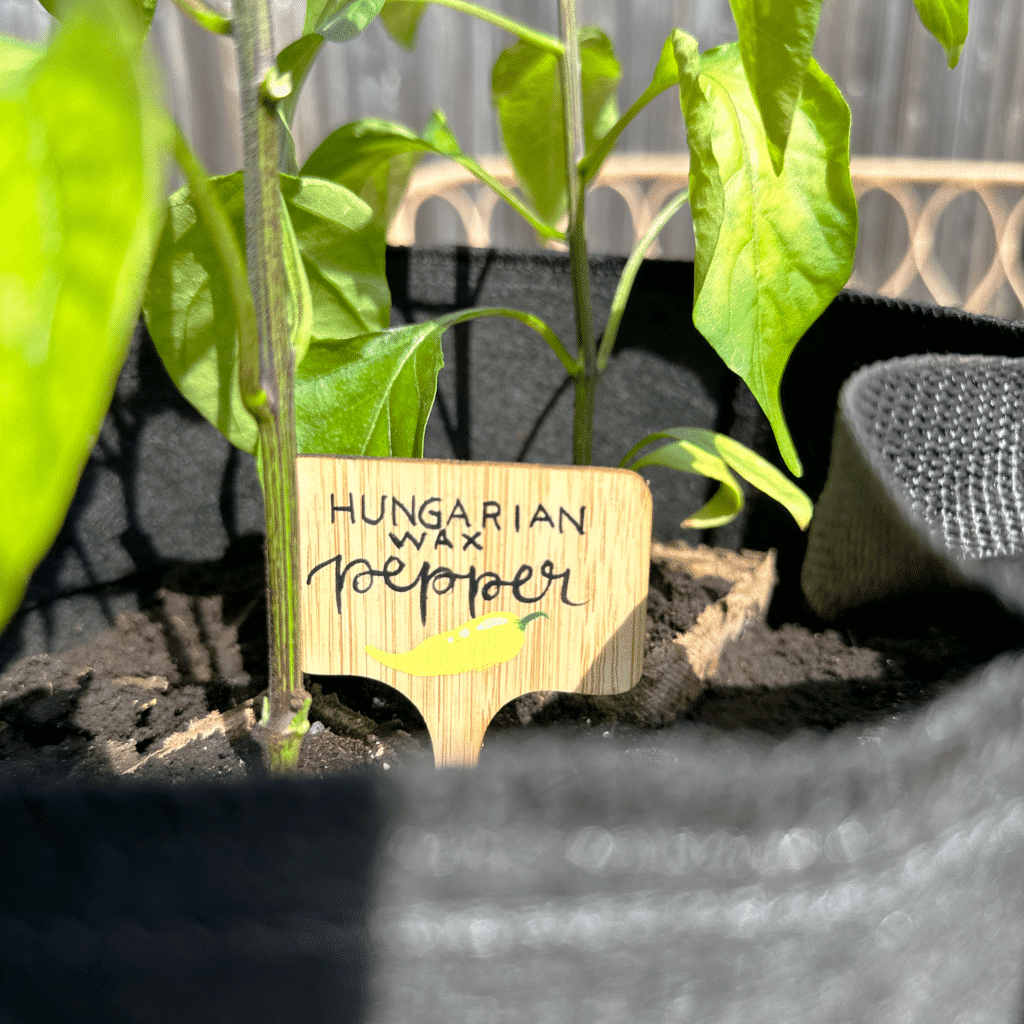
Tired of plain-jane plant labels in your veggie garden? These illustrated plant markers are a fun way to add some colour and pizazz to your garden before your plants ever start to flower and bear fruit!
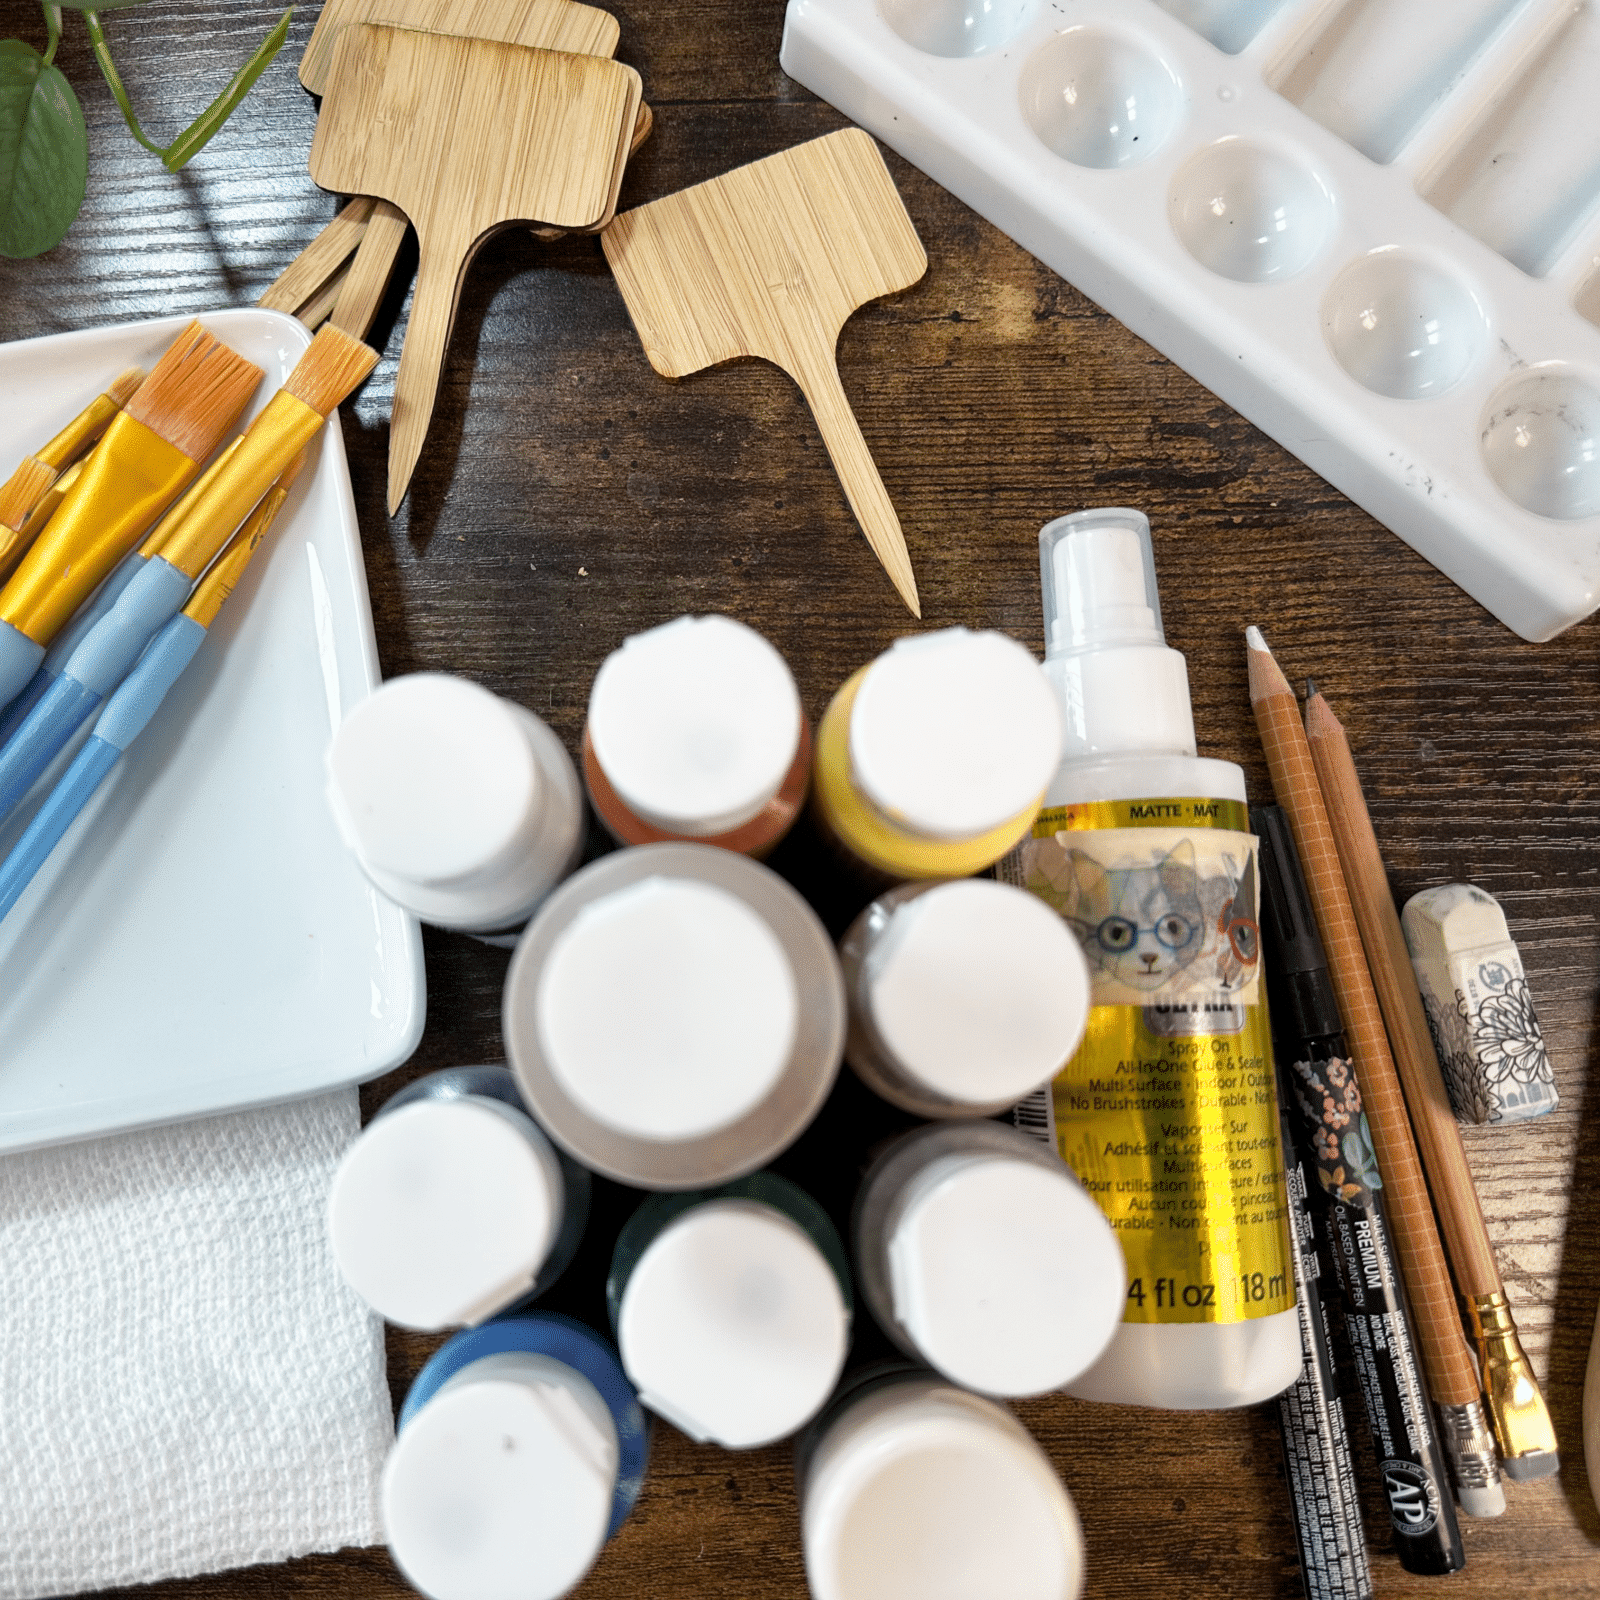
here’s what you need to get started:
- wooden plant markers ( possible alternatives: wooden spoons or paint stirring sticks)
- paint brushes
- acrylic paints (suggested: red, yellow, blue, green, black, white)
- pencil & eraser
- matte or gloss sealing spray
- plate or paint palette
- paint markers (optional)
- paper towel or cloth
- water
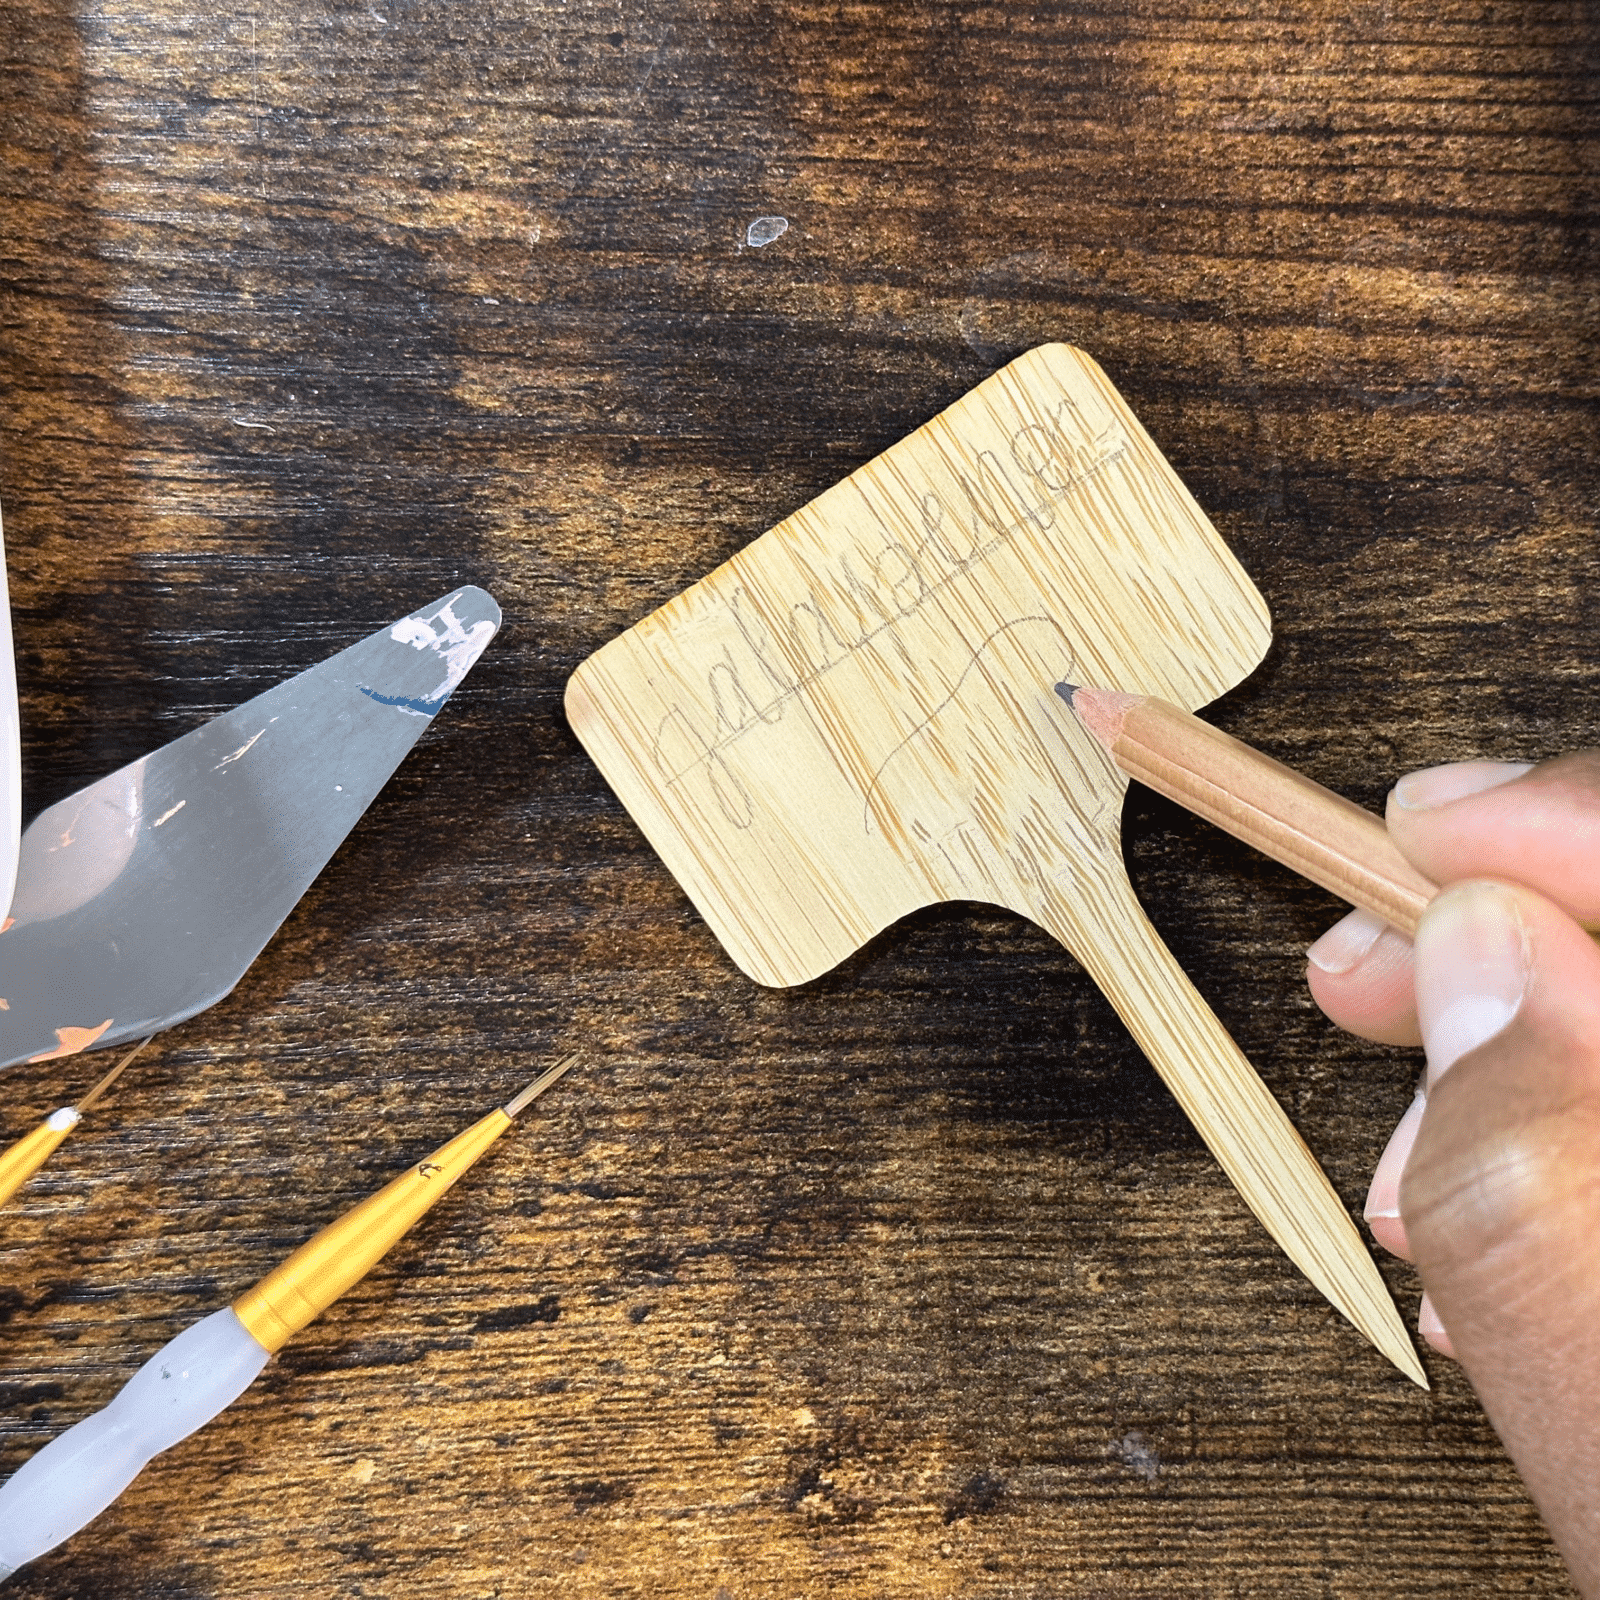
step one.
Using pencil, sketch out the basic shapes of the type of plant you want to label: an elongated oval for peppers, rounded triangles for strawberries, circles for tomatoes, and so on. Write out the name of the plant in pencil as well. Use your best handwriting or get creative with different writing styles!
step two.
Pour your desired paint colours onto your plate or palette. Use the colours you have to mix up any colours you’re missing: red and blue make purple, blue and yellow make green, and so on. You can also a tiny amount of black or white to your mixtures to darken or lighten them respectively.

step three.
Time to start painting! Choose a dark or light solid colour for the plant name, depending on the background you’re painting on. To paint the fruits, veggies, and flower illustrations begin with a solid base layer of paint and gradually add in additional layers for opacity and details. A white highlight on a pepper or various shades of red on a tomato go a long way to making your illustrations really pop!


step four.
Let paint dry thoroughly – ideally overnight – before erasing any stray pencil marks. Finish by spraying with sealing spray to preserve your designs through those summer rainstorms.
#easypeasy
Gardening is therapeutic.
Working with your hands, creating and sustaining life, watching plants thrive, each of these key parts of being a gardener have exponential benefits on our mental wellbeing.
But while tending to a garden might usually feel like therapy, it can also be equally as stressful if done without the proper knowledge. There are so many gardening rules to keep up with, many of which novice gardeners learn through trial and error. But don’t stress! To help you put your best green thumb forward, we gathered these simple, straightforward gardening “do’s and don’ts” you need to know.
DO
Read your seed packets: They typically have all the information you need to make sure you’re planting your seeds deep or shallow enough, using the right amount of light, and watering the ideal amount and frequency.
DO
Give your plants space: Overcrowding can cause real conflict! Plants that grow too close together will compete for sunlight and nutrients, which will negatively impact their growth and chances of survival.
DO
Time your watering: The best time to water your plants is in the AM. During the day, water will evaporate from their surface, protecting them from fungal diseases that happen when plants stay wet for too long. Can’t commit to an AM watering routine? The second best time is in the early evening.
DO
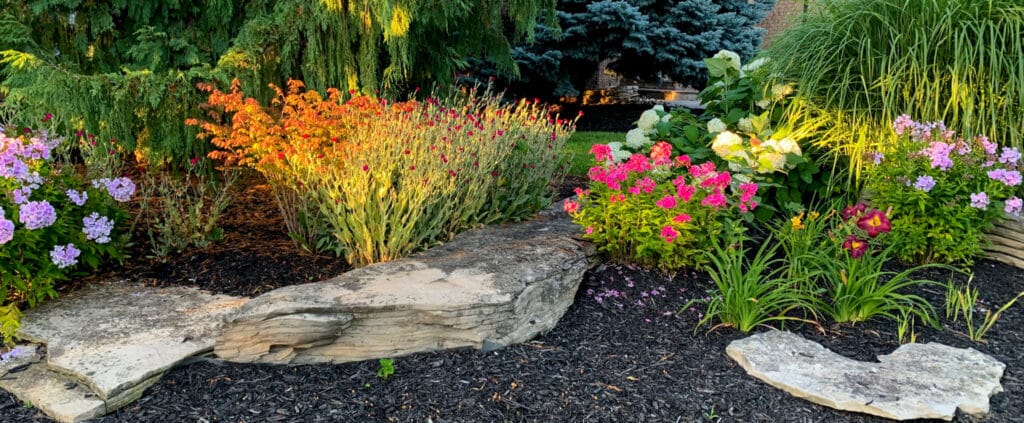
Remember to include flowers: They do more than just add colour and beauty. They also attract bees, which help keep your garden thriving by pollinating your other plants.
DON’T
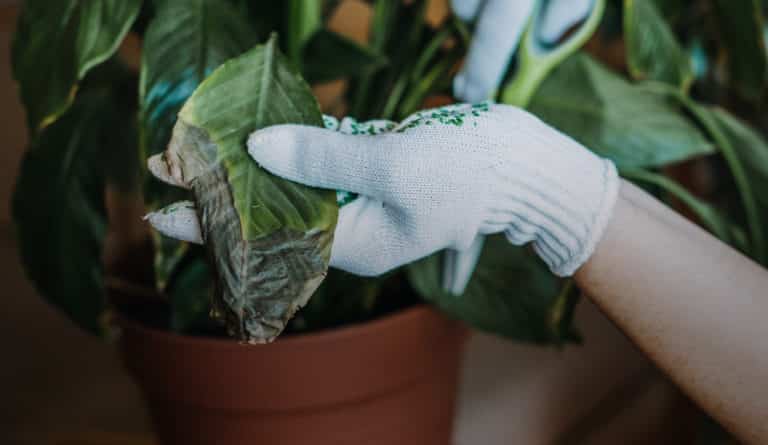
Ignore signs of pests or disease: Notice something off about your garden? Take action immediately. Pest invasions and plant diseases, if left untreated, can become much more difficult to control as they get worse.
DON’T
Overwork your soil: Course, textured soil is full of healthy organic matter. It allows for easier water and nutrient penetration, because it’s less compressed than fine soil. So keep that in mind when working yours!
DON’T
Work the soil while it’s wet: This can make it more tight and compact – which leaves less room for water and air to get through. As worked soil dries, it forms clumps, which are hard to break apart and contribute to slower drainage. It can take YEARS to rebuild healthy soil once that happens!
DON’T
Walk in your garden beds: This compacts the soil – which, as we mentioned above, reduces its ability to retain water and nutrients that your plants need to survive. Instead, use a board to walk on, which can help distribute your weight more evenly.
DON’T
Forget to roll with the punches: Gardening is about the journey, not the destination. It’s about learning new things, experimenting with new methods, and letting your creativity shine. It’s inevitable that you’ll experience roadblocks throughout your journey – but the key is to learn from them, and roll with it!
QUICK TIP
Add a layer of mulch around your plants! It can help them retain moisture, inhibit weed growth, and regulate your soil’s temperature.