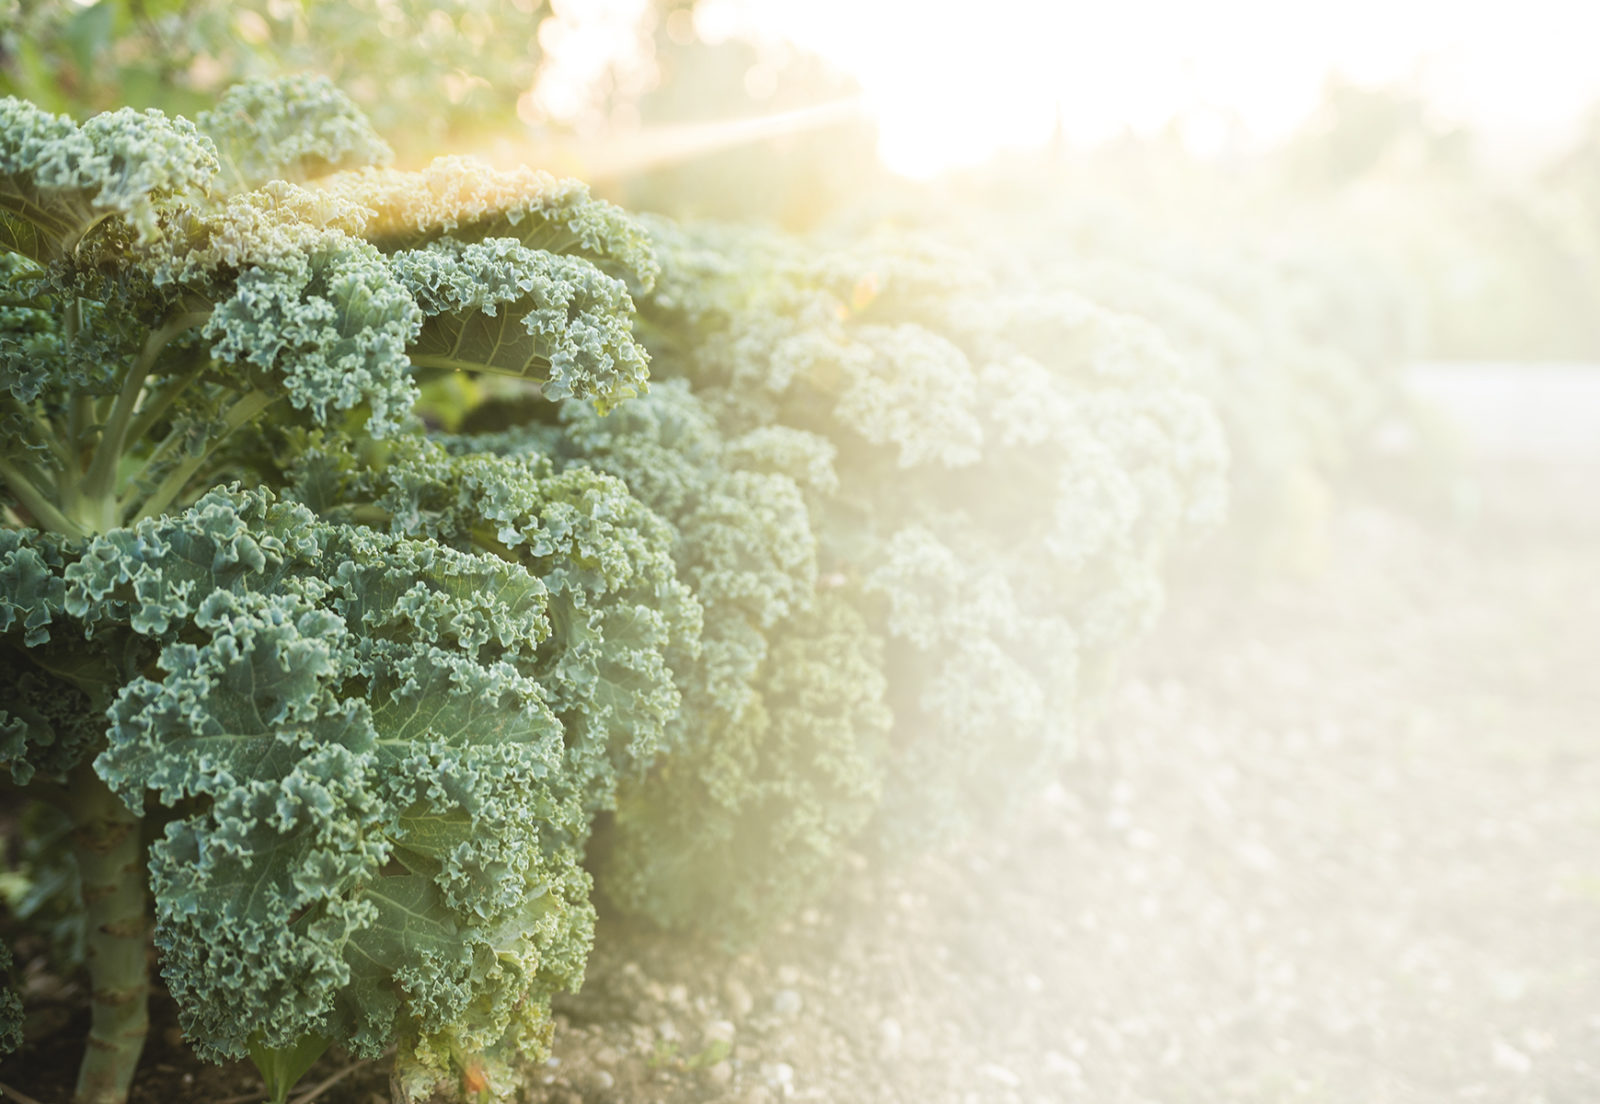
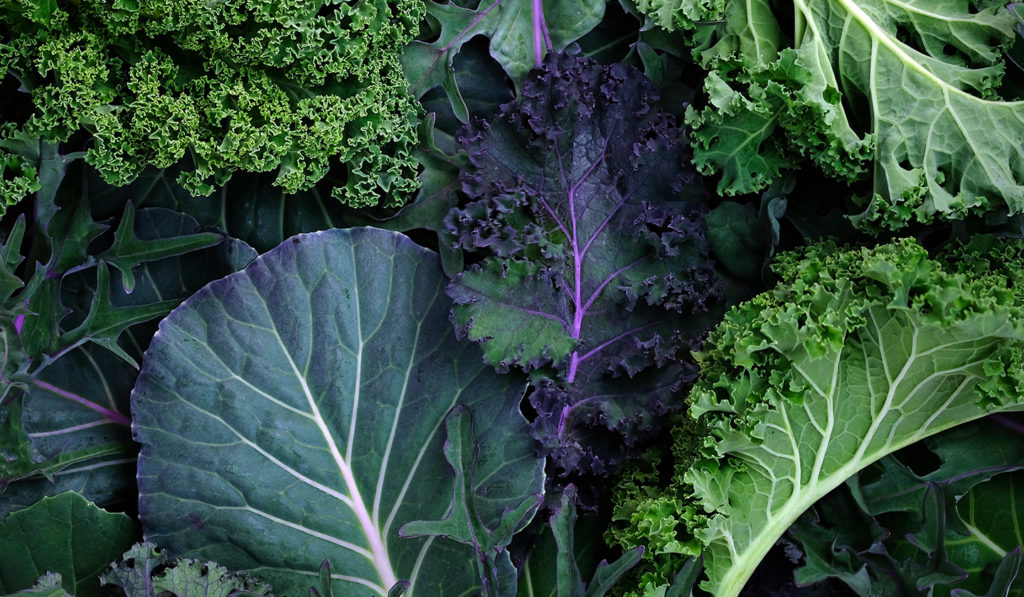
Kale works well when planted by artichokes, beets, celery, cucumber, lettuce, onion, peas, potatoes. Avoid other brassicas being planted alongside kale. These include broccoli, kohlrabi, cauliflower, brussels sprouts, and Swiss chard.
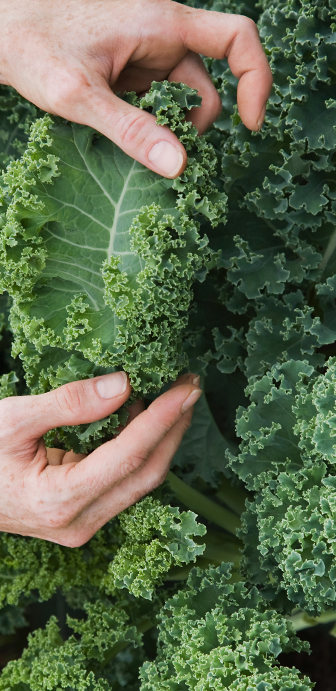
When your kale’s leaves are about the size of your hand, it’s ready to harvest. Be sure not to pick more than a third of your plant’s leaves at a time.
What are these little white flies? They are literally Whiteflies. They drink sap and excrete a sticky ‘honeydew’ which also encourages mould. Use sticky traps or Ortho® Bug B Gon® ECO Insecticidal Soap to keep your plants healthy.
Cabbageworms. You can use companion plants to help naturally combat these pests. Quickly hand pick your kale, and don’t forget to use row covers to help keep your kale safe.
Probably black rot. This is a fungus that leave yellow v-shapes on your kale’s leaf edges. To prevent this, make sure to rotate your crops and remove debris from your garden. Don’t forget to make sure your garden has good drainage.
Could be aphids. To prevent aphids from infesting your kale plants be sure not to water the foliage. If aphids persist, you can use an insecticide like Ortho® Bug B Gon® ECO Insecticide Ready-to-Use.
u003ca href=u0022https://www.plantprojectcanada.com/become-a-contributor/u0022 target=u0022_blanku0022 rel=u0022noopeneru0022u003eBecome a Contributor!u003c/au003e
The sun in shining. The BBQ is going. The backyard is thriving. The only thing stopping you from level 100 enjoyment? The bugs. Whether it’s mosquitoes, wasps or ants that are preventing you from getting the most out of your summer nights, read on to learn more about how to get rid of these uninvited guests!
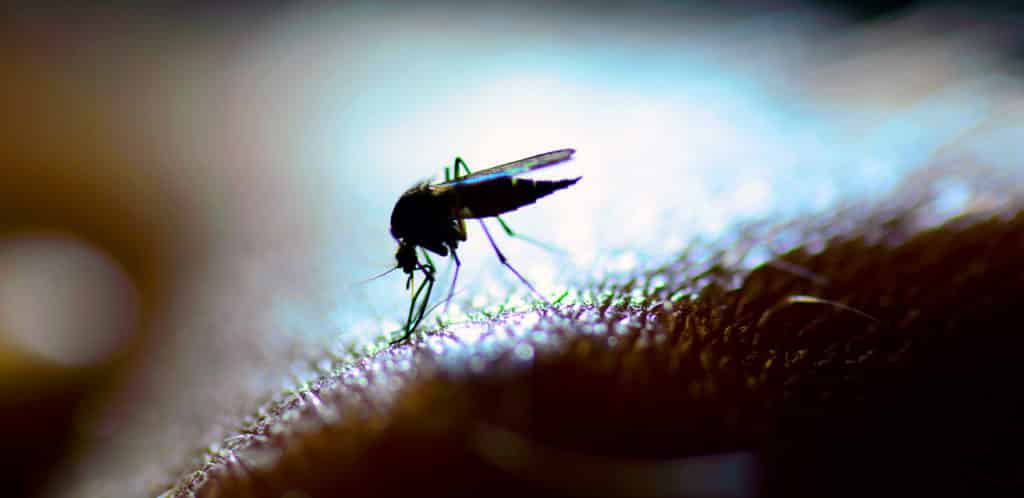
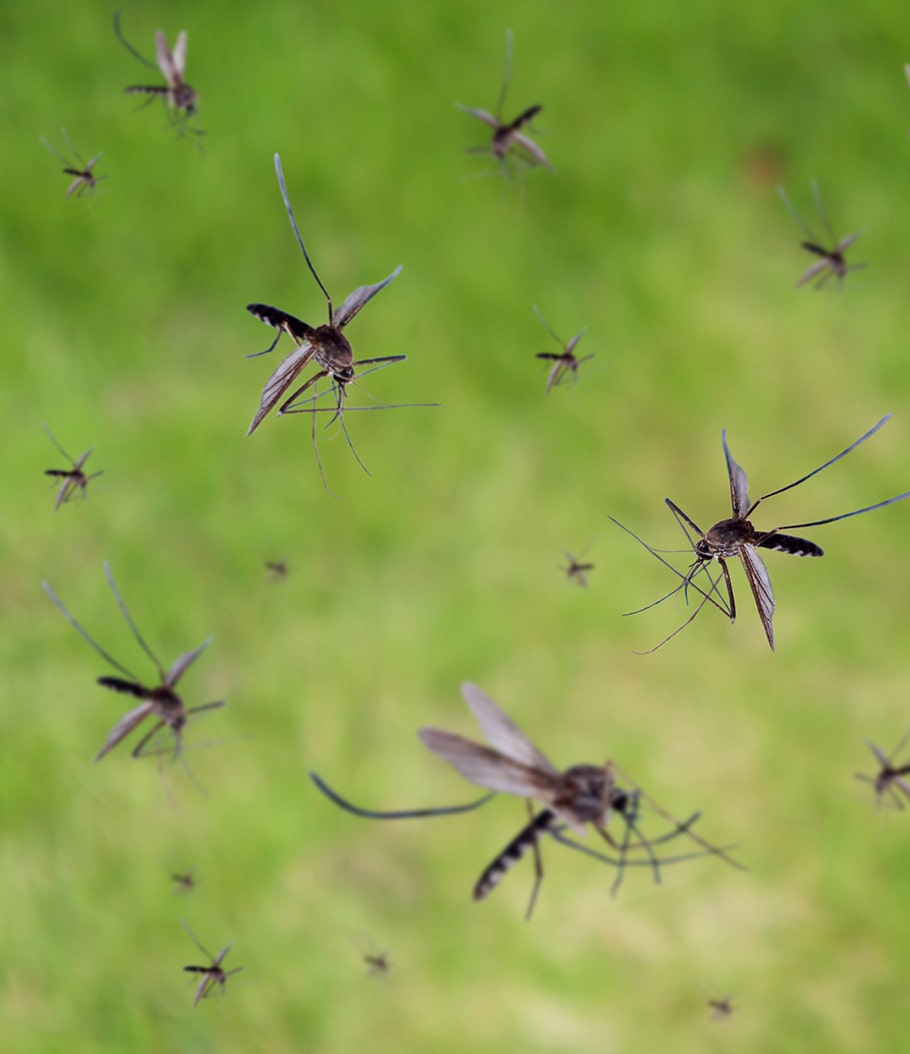
mosquitoes biting?
Mosquitoes are super annoying! From bites to their whining buzz, these bugs can easily ruin a nice night outdoors. Due to climate changes, we’re at greater risk of mosquito-borne illnesses, like West Nile Virus. First, be sure to get rid of any standing water. These little guys love standing water like kiddie pools, birdbaths, even empty flowerpots. Make sure you empty and change out any standing water.
Are mosquitoes drawn to you? Consider using Ortho® Mosquito B Gon™ Max. It is easy to apply and provides an effective solution to control mosquitoes in your outdoor space Ideal for use in backyards and on patios… really anywhere mosquitoes will be bothering you and your guests.
uninvited guests invading your backyard party?
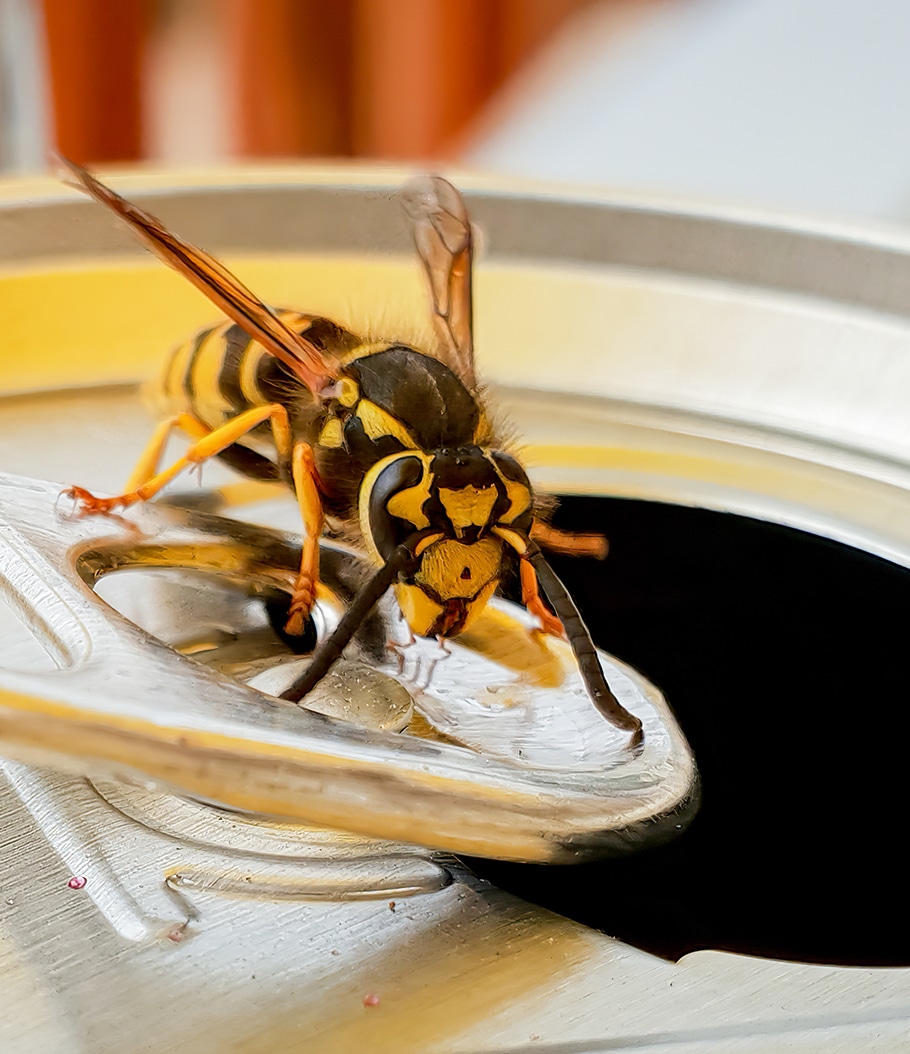
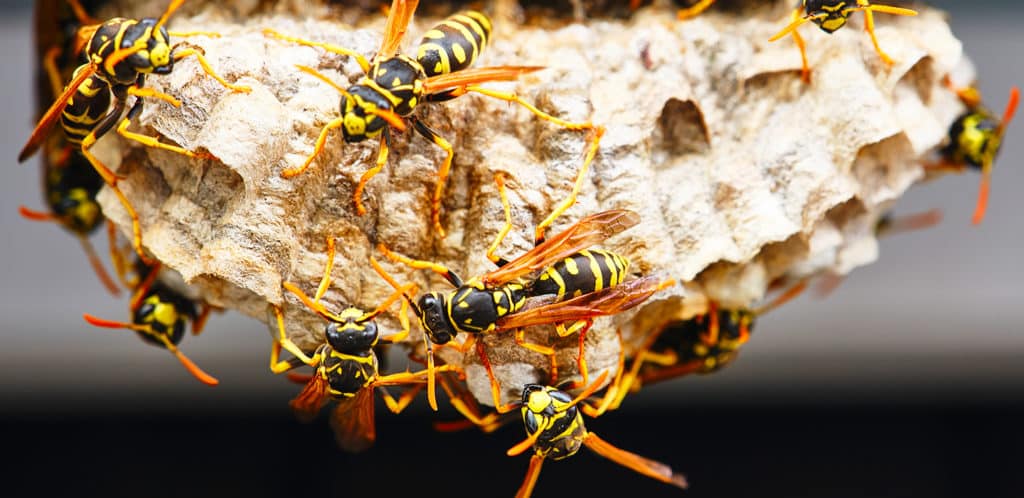
These winged devils aren’t just scary and annoying, but they can quickly ruin outdoor festivities. There are over 4,000 types of wasps,, including common types like mud daubers, paper wasps and yellow-jackets. Some of their nests may not look like the typical paper-like wasp nest you’re used to seeing. For example, mud dauber’s nests look like a little mound of mud. To keep your backyard free from wasps and hornets, inspect your eaves, deck and even patio furniture regularly to spot the first signs of nests.
If you are seeing wasps, use Ortho® Wasp B Gon MAX® Wasp Killer Spray or Foam to safely saturate their nests. Always follow the directions for the product and wear your gloves when removing the treated nest.
ants invading your backyard BBQ?
When you and your friends are enjoying your feast outside, be sure to keep all your food, drinks and condiments covered. You can use other plates; pot lids or silicone covers to keep your food fresh and free of ants.
If ants are persistent, even outside of BBQ time, you have some options! If you can clearly spot their home, you can use Ortho® Ant B Gon® MAX. Not quite sure where those six-legged critters are coming from? Not a problem! There are a lot of different products you can explore. You can find gels, sprays and traps. For example, if your ant problem is making its way inside, Ortho® Ant B Gon™ MAX Ant Eliminator Liquid is an excellent tool. Only a few drops are needed to attract ants to the liquid. The ants will take it back to their nest, where the rest of colony will be destroyed.
Now that your backyard is pest-free, it’s time to open a bottle of wine and invite some friends over to share it with. Check out Plant Chat and share your tried-and-true backyard bug control tips!
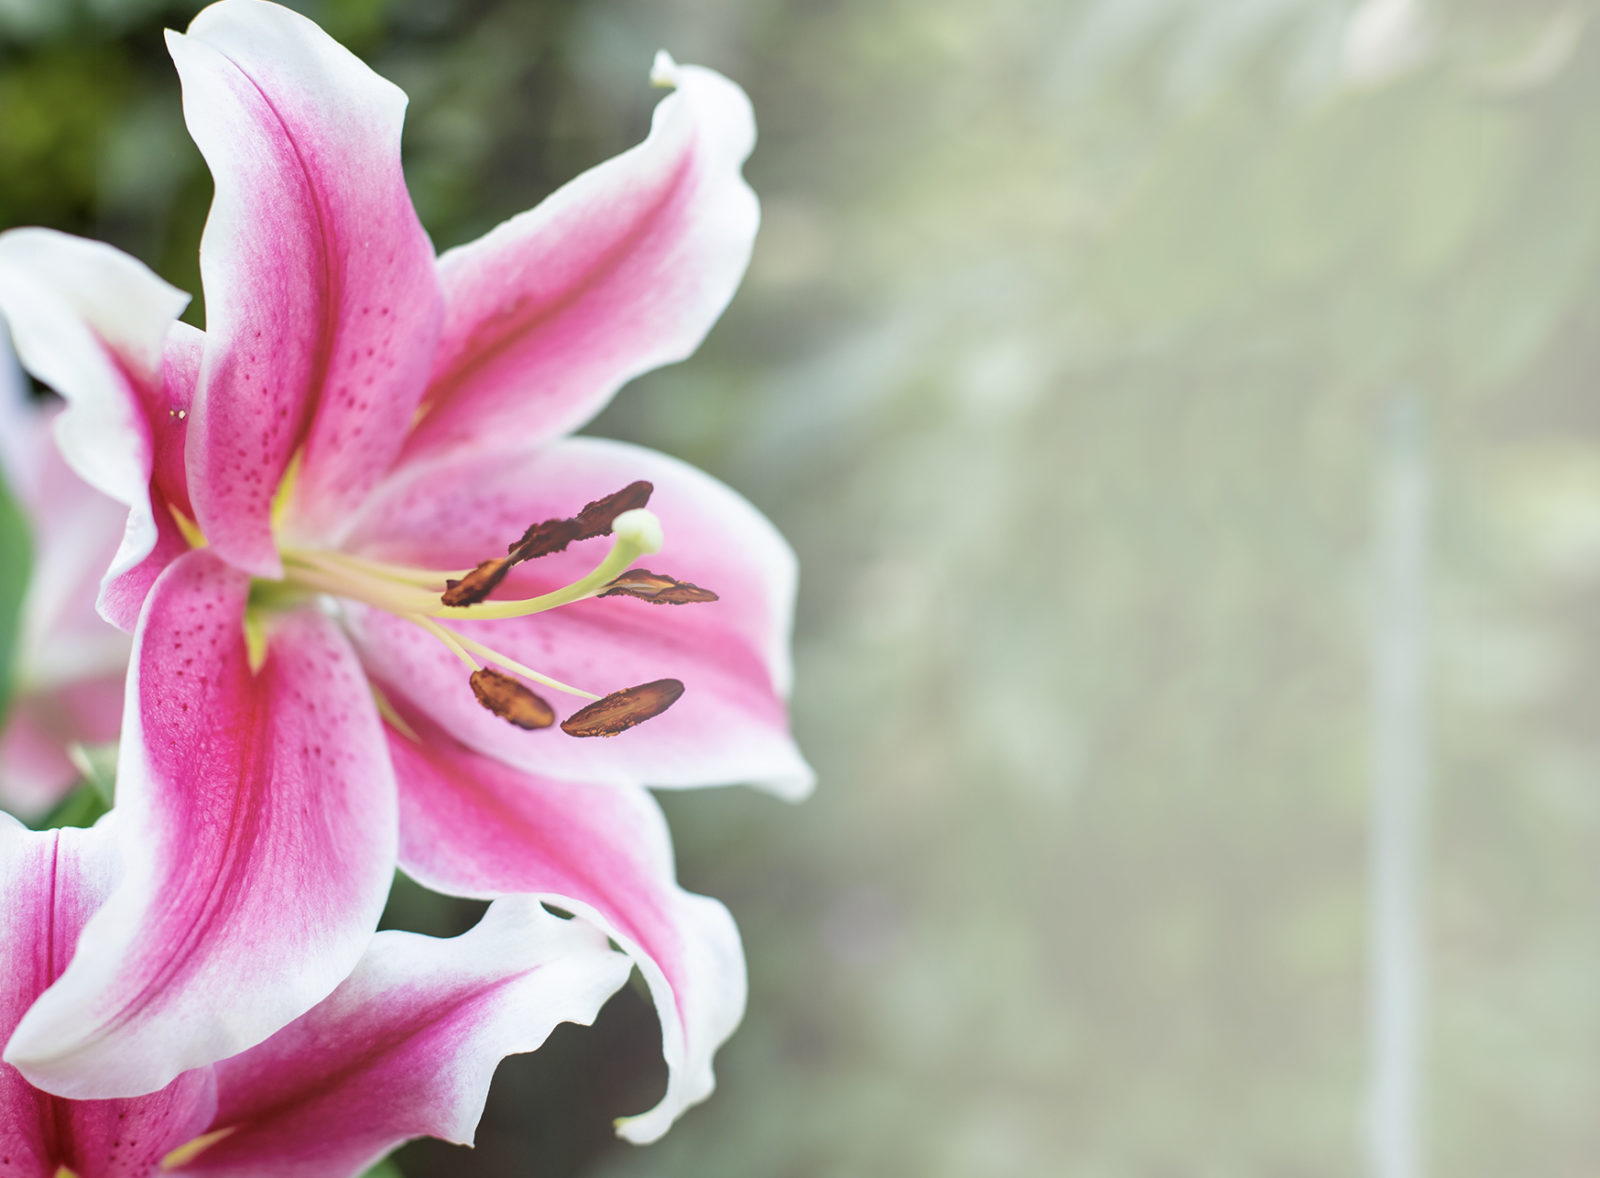
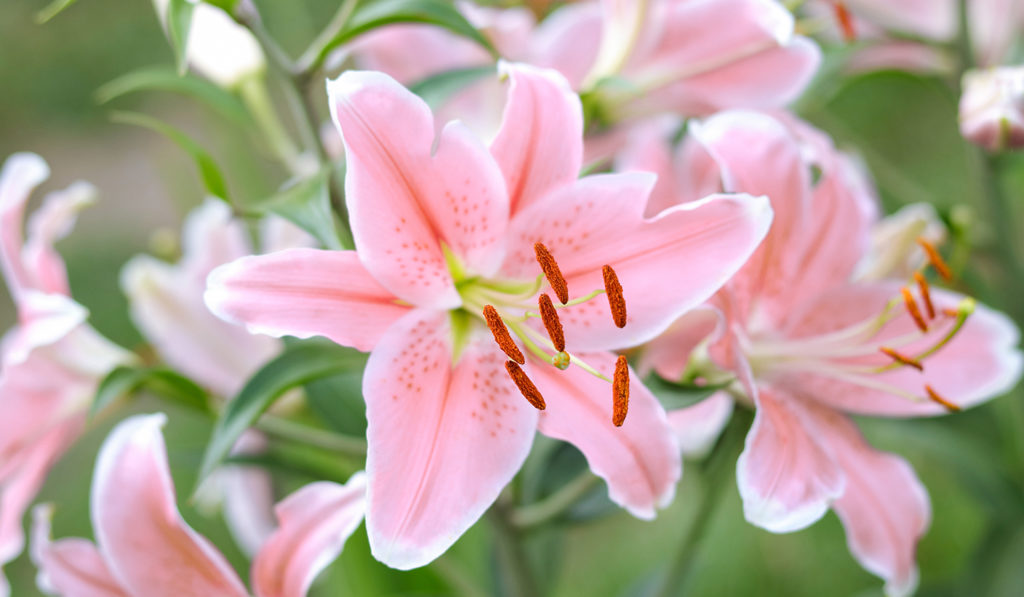
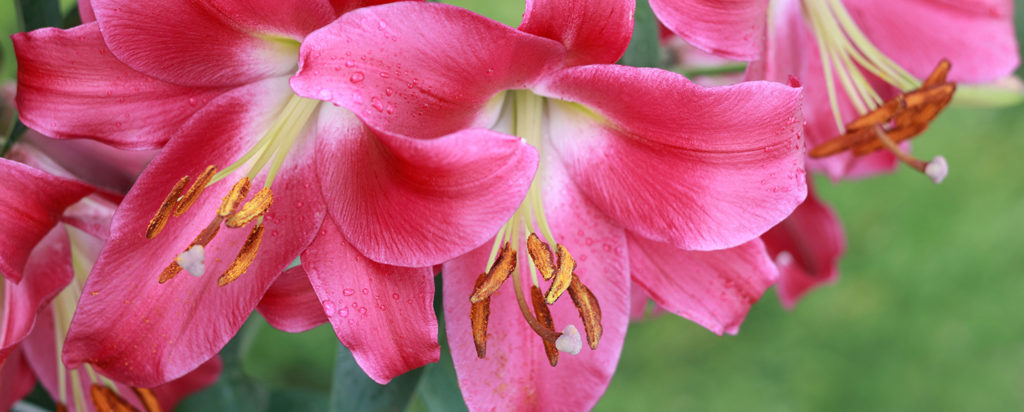
lilies are an exotic and elegant perennial flower that are quite easy to grow. Lilies start as onion-like bulbs and require good soil and lots of sun to flourish.
Your lilies will enjoy about 6 – 8 hours of sunlight but be sure to keep their roots
cool.
water + feeding
thirsty
Water your lilies freely, especially if you’re not in a climate that gets much rainfall in the summer months.
toxic
yes, the whole plant
The entire plant is toxic to humans and pets. Even the water that fresh cut lilies sit in can make you and your fuzzy friends sick.
location
in the sun
A good rule of thumb is that lilies like their head in the sun and their feet in the shade. To help keep your lily’s roots cool, consider planting with low profile annuals or perennials, or ornamental grasses.
size
medium to large
Lilies can grow between 2 – 8 ft tall!
pro tip
lots at stake
Lilies can grow quite tall. Consider staking your lilies to keep them tall and upright.
fun fact
powerful native plants
Lilies are attractive to many insects because of their bright colours and sweet nectar. They can be pollinated by either the wind or bees!
Lilies love to have their roots in cool soil, and their heads in the sun. The best soil option to keep your lilies happy is a rich, moist soil. that is also well-draining. Consider adding in just a little bit of organic compost.
You can find a wide variety of companion plants from annuals, bulbs to
other perennials. Consider using annuals such as dill, geraniums, pansies, or new guinea impatiens. Dahlias, daffodils, or irises make great companions when planting other bulbs. Perennials such as peonies, daisies and lavender are excellent companions for lilies.
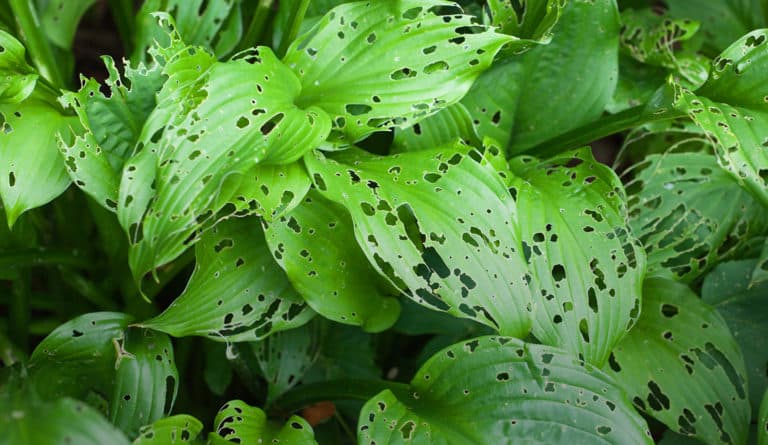
The most common pest issues for lilies are infestations of scarlet lily beetles. These little guys like to hang out on the underside of leaves. The easiest way to get rid of these little pests is to catch them manually by holding a bottle of warm water under the leaves you’re inspecting. The bugs will be startled and drop off into the water waiting below.
Lily disease. This is a fungal infection that creates oval-shaped dark spots on your lily’s leaves. Make sure you use clean tools before you get started. Then clear out the infected soil and debris and get rid of the infected plant. Be sure to not plant lilies in an infected spot again.
Likely a fungus. Many fungi (Rhizoctonia, Phytophthora, Pythium, Fusarium, and Cylindrocarpon) attack the bulb and cause the roots to rot. This will also cause the plant to wilt, and eventually die. Be sure to remove the infected plants and check all bulbs carefully before planting.
Could be the result of small bulbs or over-crowding in the soil. Planting your lily bulbs too shallow could also lead to your lily not producing big blooms. If you cut away the leaves after a lily has flowered, it may also decrease the likelihood of flowering the following year. Keep in mind, some lilies won’t flower in their first year of planting due to transplant shock.
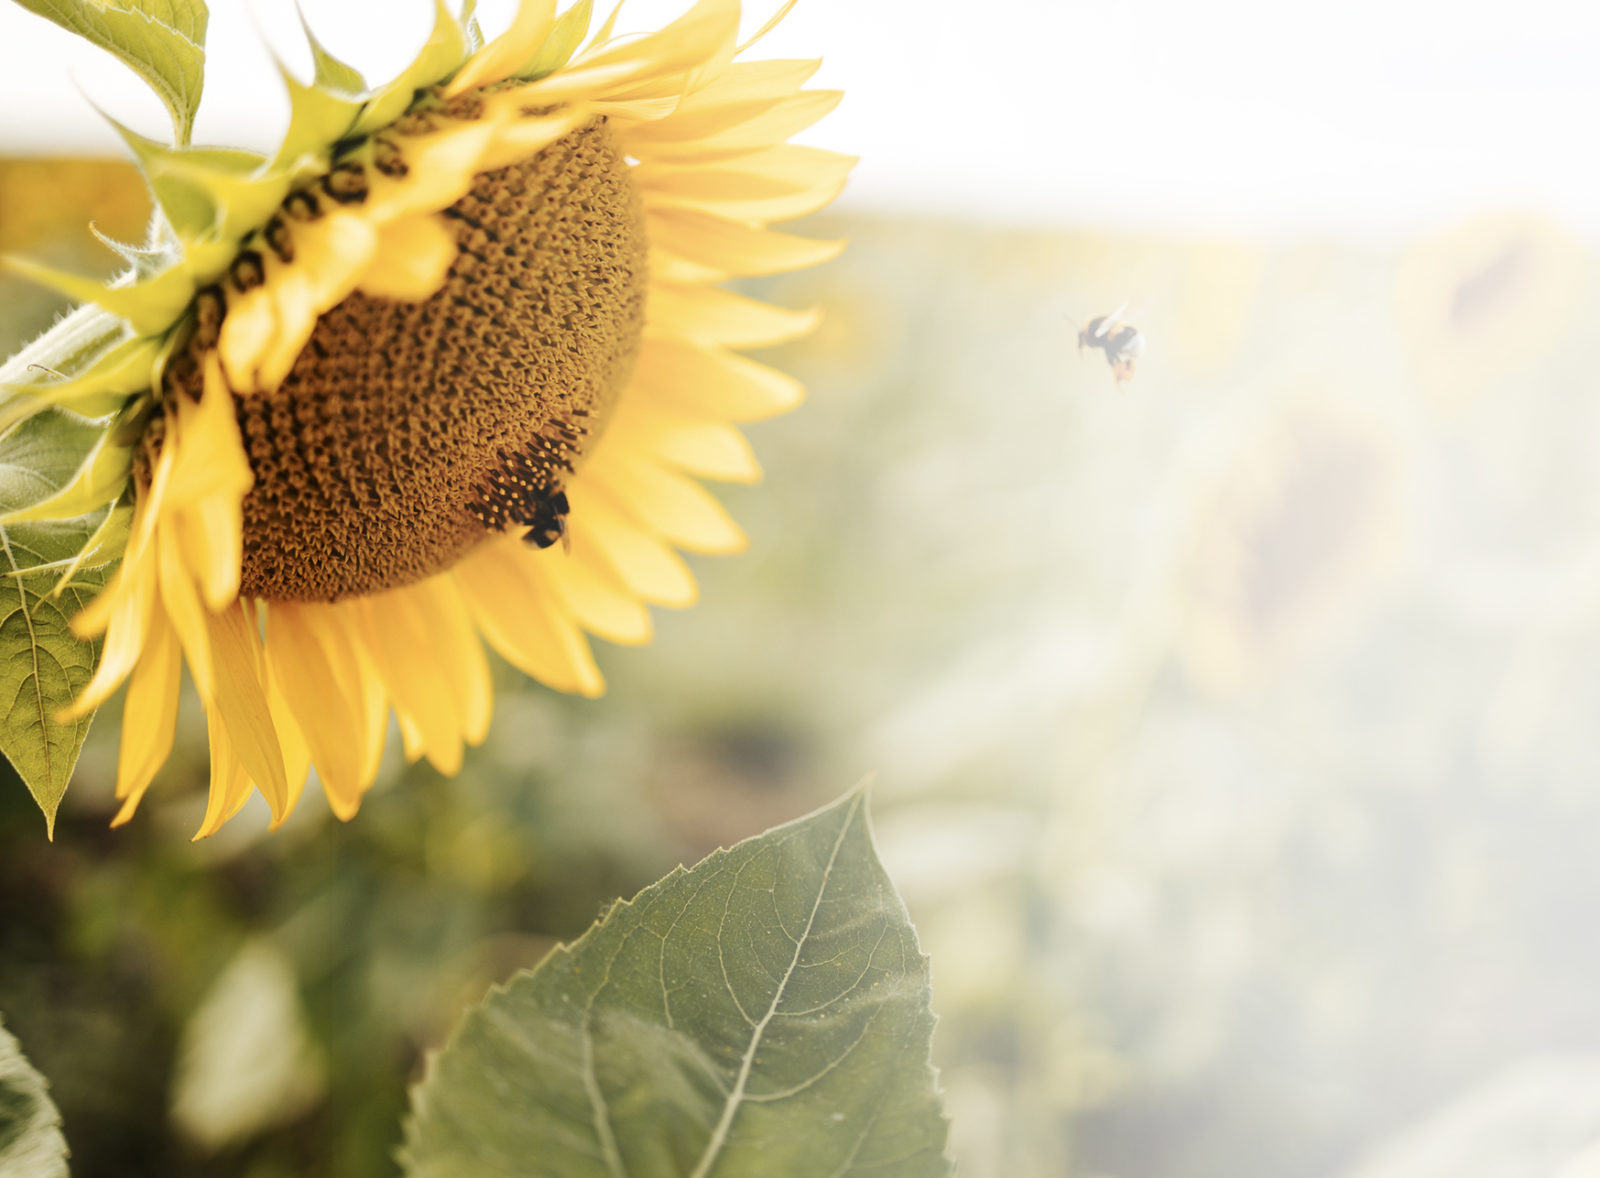
Sunflowers are an annual plant with a big, daisy-like flower head. These flowers are heliotropic, meaning they turn their heads to follow the sun across the sky.
variations
There are many variations of sunflowers, but most commonly there are sunflowers with branching stems or single stems. You can also choose from sunflowers that produce pollen, pollen-free or ones that produce edible seeds.
share
light
full sun
Sunflowers need full sun for optimal growth, about 6 hours of sunlight daily.
water + feeding
not too thirsty
Once established, sunflowers don’t need frequent watering. But they do need deep watering. Overfertilizing can cause stems to break as well. Dillute any fertilizer and avoid the sunflower’s base.
toxic
non-toxic
Sunflowers are safe for humans and animals.
size
medium to large
The smaller, indoor grown varieties grow to about a foot tall. The bigger, outdoor varieties can grow up to 16 feet tall.
pro tip
stationary beauties
Sunflowers don’t like having their roots disrupted. It’s best to plant them in the spots that they’re intended to stay.
fun fact
herb or flower?
Sunflowers are kind of both. They’re listed as a herb in Encyclopedia Britannica, but also have big flowering heads.
Sunflowers are not sensitive to the pH level of soil. Use an well-draining soil like Miracle Gro® All Purpose Garden Soiland introduce a water soluble fertilizer about halfway through the summer.
Sunflowers pair well with many other plants. Consider pairing with shade-loving plants. Sunflowers can cast some shade on veggies like cucumbers or lettuce. Due to their flexible soil needs, they can be planted alongside plants like bush bean varieties, like lima beans or green beans.
To encourage side blooms, cut indoor varieties on the main stem just before the flower bud has a chance to open. Cut stems in the early morning vs the afternoon to avoid flower wilting. For cut sunflower bouquets, ensure their container provides enough support for their heads. Change the water daily to keep them fresh.
Birds and squirrels love to scavenge sunflower seeds. Consider covering the head of the plant with garden fleece or protect them with a tall, wire barrier.
They’re probably gray moths. Sunflowers are pretty much pest-free. If you see tiny worms in the head of the sunflower, it’s likely they’re gray moths. Just pick them off the plant.
Could be grasshoppers and caterpillars. These little guys enjoy snacking on the leaves of sunflowers. This doesn’t usually damage the plant, but if there are a lot of these pests, they can defoliate your sunflower quickly.
Could be rust, verticillium wilt or mildew. The damaged leaves will fall off as the disease progresses. Control fungi through proper removal and disposal of infected plants and with a general fungicide.
Probably white mold. This is a fungus that causes wilting leaves, stem cankers and root rot. Crop rotation can usually prevent this from happening, as well as maintaining proper watering practices.
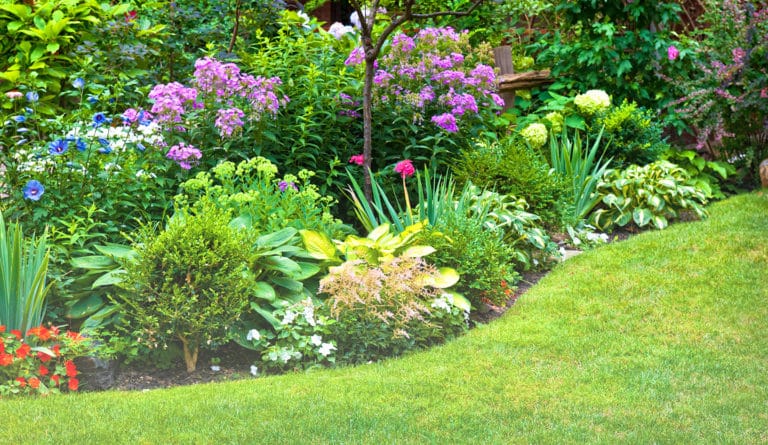
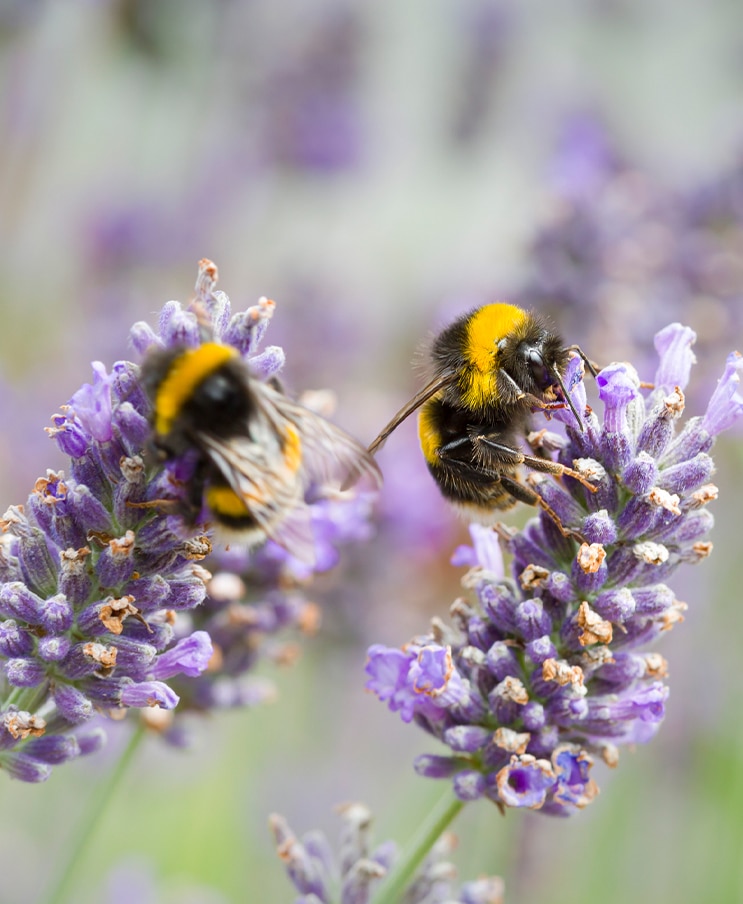
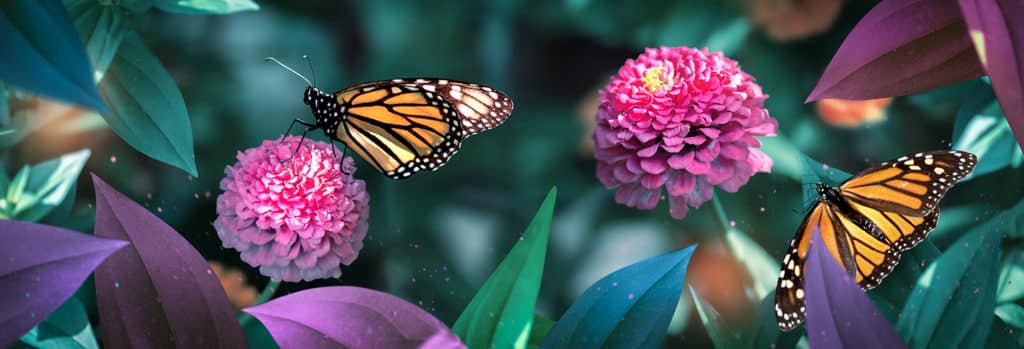
What are pollinator gardens, and why are they important? Pollinator gardens are essential to the reproduction of native plants. Native pollinators are very sensitive to environmental and man-made threats, and require very specific plant selection to thrive. From small rooftop gardens to vast gardens, even the smallest space can have a big impact and can help struggling pollinators.
here’s how to start your own pollinator garden at home:
step 1. choose native plants.
This can be tricky because some plants are marked as safe for supporting pollinators may be ineffective or harmful. For best results, your local botanical society can provide you with a list of plants that support native pollinators that are local to your region.
lets gro #plantproject
step 2. learn the components of a pollinator garden.
There are 5 important components to a happy pollinator garden:
Adult Food: a selection of native plants with lots of pollen and nectar that are planted in groups and produce throughout the growing season.
Baby Food: host plants that support butterfly and moth reproduction.
Water: spots where insects can easily get to water and minerals found in soil. These areas should be well-draining and not have standing water.
Habitat: hollow stemmed plants, leaves, grass and bare soil to help support the life cycle of the pollinators.
Protection: Protect your pollinators by eliminating chemicals and pesticides.
step 3. select and analyze the site.
Make sure you’ve got the right plants for the right place. The important site attributes to consider are: sunlight, soil type and treatment, moisture levels, wind exposure, which animals are naturally present and, of course, aesthetics.
step 4. prep your garden site.
Start to prepare your site by removing all the old sod, if necessary. All weeds and other invasive plants should be removed as well. Once the site has been cleared, till the soil and add a top soil. Add a few inches of organic compost. Check out our article about building your own compost.
step 5. plan your garden and select your plants.
An important part of planning your garden is creating “massings” which are groups of 4 or 5 plants. This makes it easier for foraging. Pro tip: group moisture loving plants together! This can help you save on watering. Don’t forget to leave a border of a few inches, this is to give your plants room to grow.
step 6. get planting.
Lay your plants according to your desired design. Get digging and plant your native pollinators. When you’re ready to add mulch, make sure you’re not putting mulch right against the plant.
step 7. care for your garden.
Aside from the regular watering, there is some maintenance required to keep your garden happy. Keep an eye out for weeds and other invasive species, and weed by hand. The purpose here is to help your garden thrive naturally, so avoid using pesticides. During the fall, you can leave see heads and stalks. This provides a natural habitat for birds and insects. Cut back in the springtime and add compost.
And just like that, you’re well on your way to a fully functioning pollinator garden! Don’t forget to share your progress with our community in the Plant Chat.
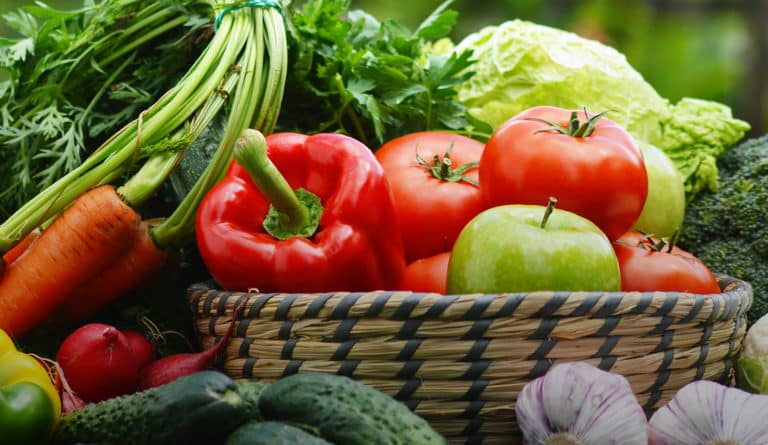
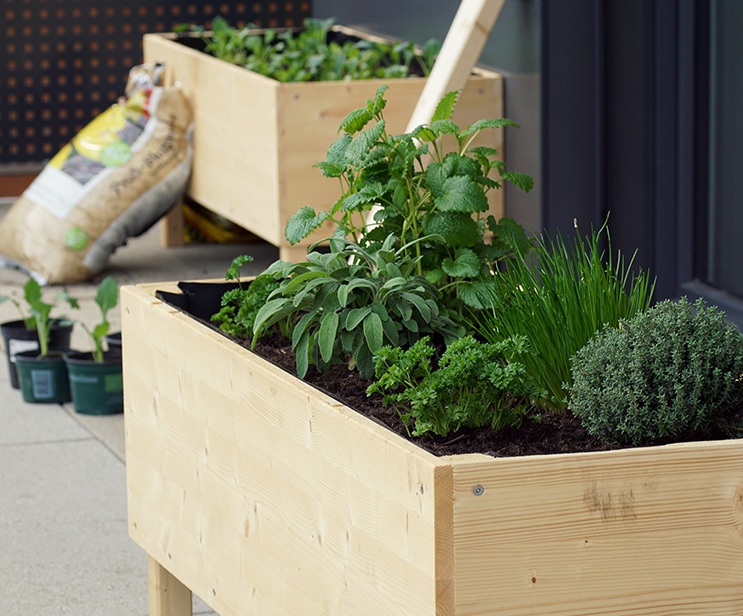
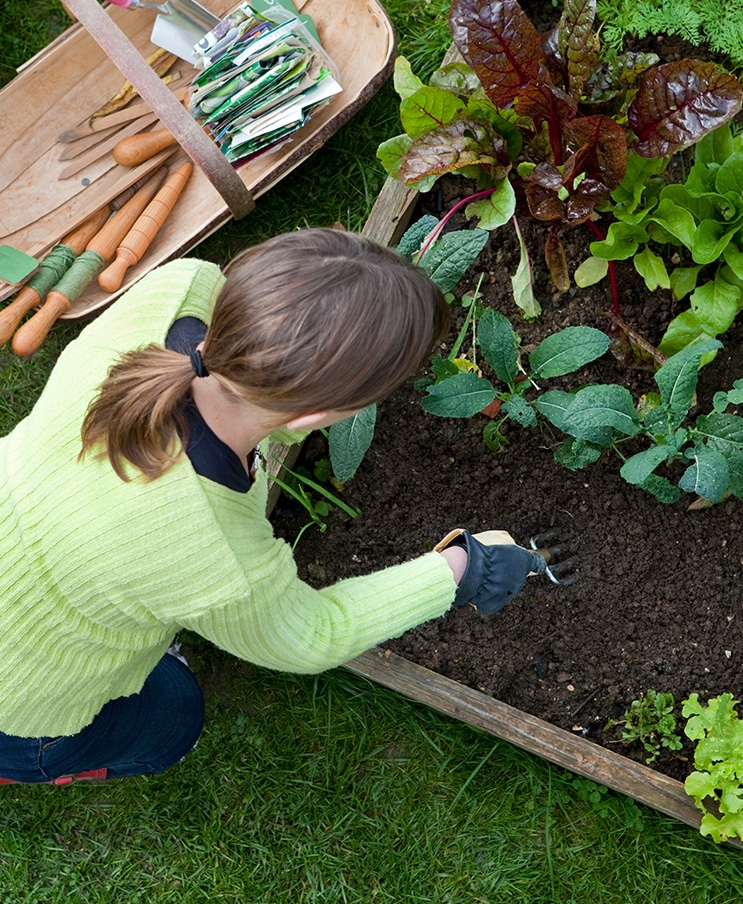
Ready to raise a family of healthy veggies? Well begin with a raised vegetable garden! We make it easy to DIY a raised garden bed brimming with a nutritious bounty.
location, location, location
You only need one location and that’s a sunny one. Vegetables thrive in sunshine so find a spot that will be sun-soaked for most of the day.
strong foundations
Adding a high-quality soil to your raised garden bed will significantly improve the existing soil. This will allow your veggie plants to grow strong roots and render robust veggies. A specially designed soil, like Miracle-Gro® All Purpose Garden Soil will continually release plant food.
lets gro #plantproject
pick faves for picking
Choose a variety of veggies you enjoy eating. If you cook a lot, grow onions, carrots, peppers, and herbs to have on hand. If you’re more into salads, plant lettuce, tomatoes, and cucumbers ripe for the picking.
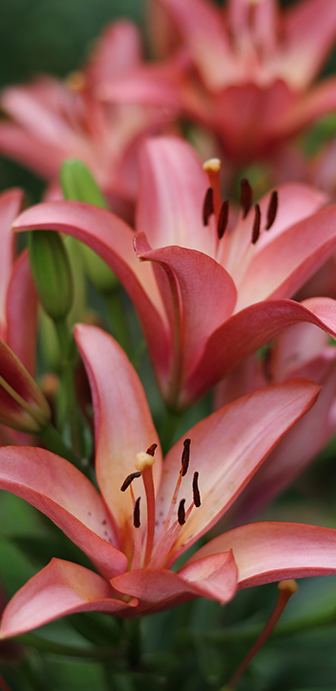
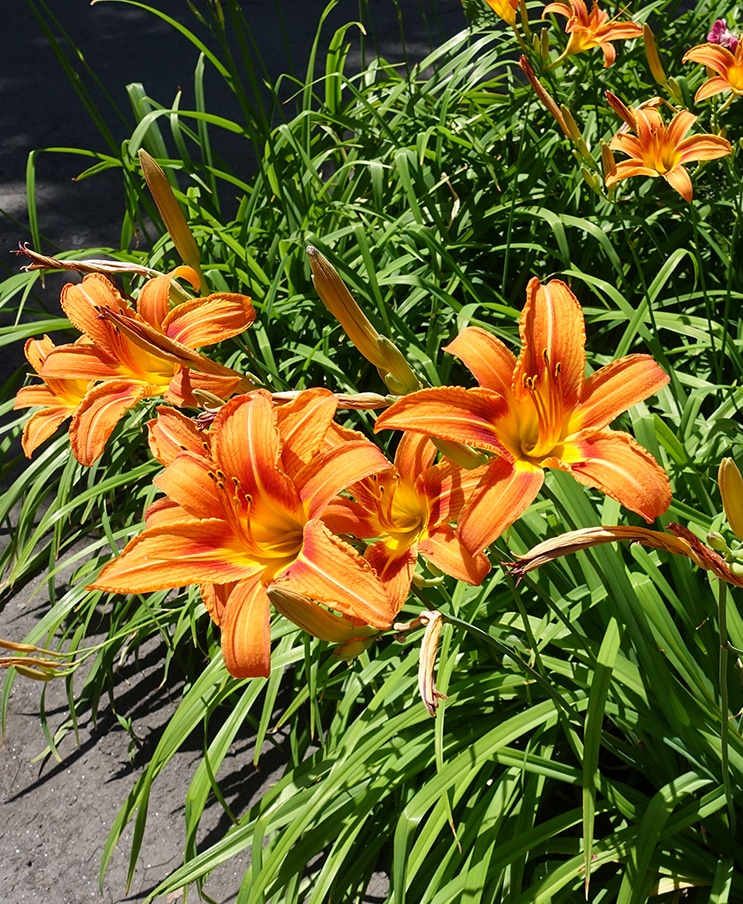
Why do gardening pros and newbies alike pick daylilies? They are easy to grow and easy on the eyes, for starters. They are also perennial and drought-tolerant, making them low maintenance flowers for your garden.
be choosey
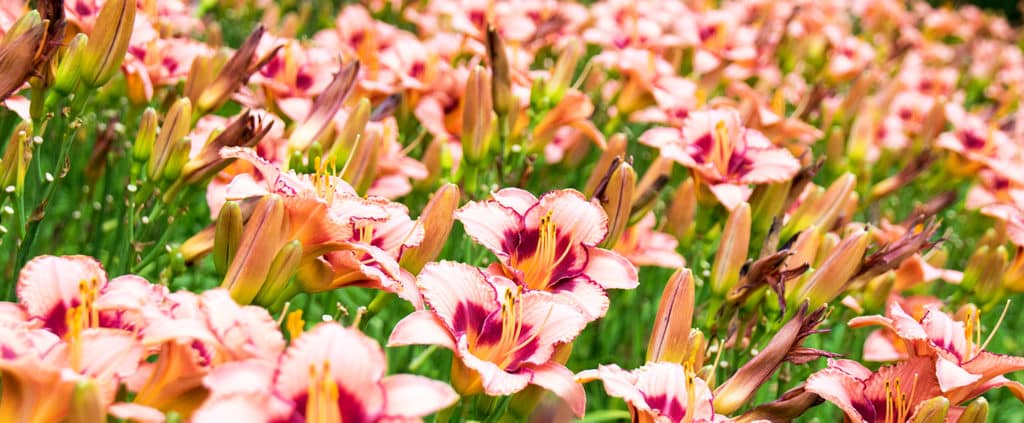
Daylilies come in a vast variety, including small yellow plants in landscaping to towering orange ones growing wild by the side of the road. From purple petals to ruffled fringes, part of the fun of daylilies is deciding which ones to grow. To enjoy flowers all season, plant a mixture of early-, mid-, and late season bloomers and look out for re-blooming varieties.
lets gro #plantproject
planting daylilies, you dig it
Those roadside attractions of clustered daylilies are proof that they are sturdy and strong. To optimize their flower power, plant daylilies in sunny spots that get at least six hours of full sun rays daily. Soil that isn’t constantly soaked in water is best. For a dramatic floral display, sow seeds generously as they know how to put on a group ensemble show! If you are looking to add a splash of colour around your house exterior or wish to fill out a sparse perennial garden, daylilies are perfect.
it’s all in the timing
Late spring or early fall is best for planting these pretty perennials. If you find a flowering friend in your garden store in the summer, transfer it to the ground right away. It will need some extra TLC so water it frequently during this summer transition but with attention it should grow to be tough like its shoulder-season counterparts.
prep your daylily bed
Knowing how to prepare soil for daylilies properly is key. Adaptable to an astonishing variety of soil, planting daylilies in well-drained, slightly moist soil will render the best blooms, especially if you use fortified organic matter like Miracle-Gro® All Purpose Garden Soil mixed in the planting areas. Mix 3 inches of the garden soil with the native soil, or in individual planting holes in a 50:50 ratio.
finding a home
The daylilies will start in two ways, usually as container-grown plants but sometimes clumpy bare-root plants that have roots and a growing stem. Either type can be planted by digging a hole that should measure twice as wide as the plant’s root system and just as deep.
Container daylily plants must be gently settled in the hole, nestling the soil around the roots. Bare-root daylilies should be planted by making a mound with some of the soil mixture in the planting hole. Spread out the roots on top of the mound, surround them with soil. Make sure When the daylily is planted, ensure its crown (where the roots meet the stem or leaves) lies slightly above the soil line. Plants must be watered well, and pro tip: hug mulch around them to keep soil moist.
thirsty daylilies
The first few weeks from planting, your daylilies should be watered every couple of days. After a few weeks you can reduce watering once or twice a week. Unless you are experiencing a drought, which is classified as 4-plus weeks without measurable rainfall, natural precipitation will water them for you. Once daylilies are established, magnificent daylilies are drought-tolerant.
daylilies get hangry
Give your daylilies their best lives by feeding them with Miracle-Gro® Shake ‘n Feed® Ultra Bloom® Plant Food. Introduce it about a month after planting to fortify these flowers. Its natural ingredients nourish plants from root to bloom. Follow the package directions to know how much to use and how often.
dead heading, it’s a snap
Daylilies are named after the fact their flowers only last for one day. To keep plants neat and healthy, you’ll have to dead head your blooms by snapping off the dead flowers in the morning. If the flowers are blooming on a stalk, level it to the ground and if foliage withers midway through summer, give it a trim.
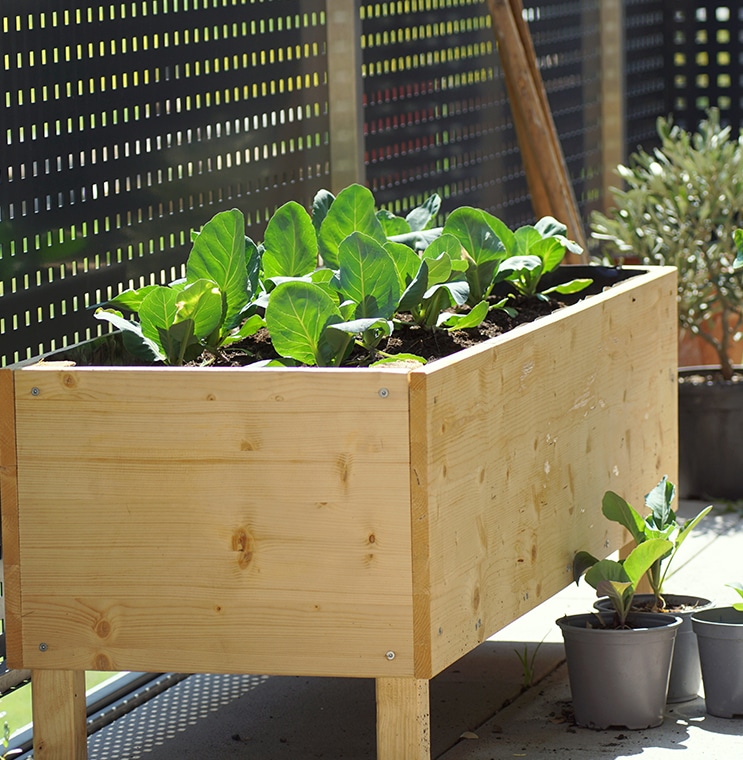
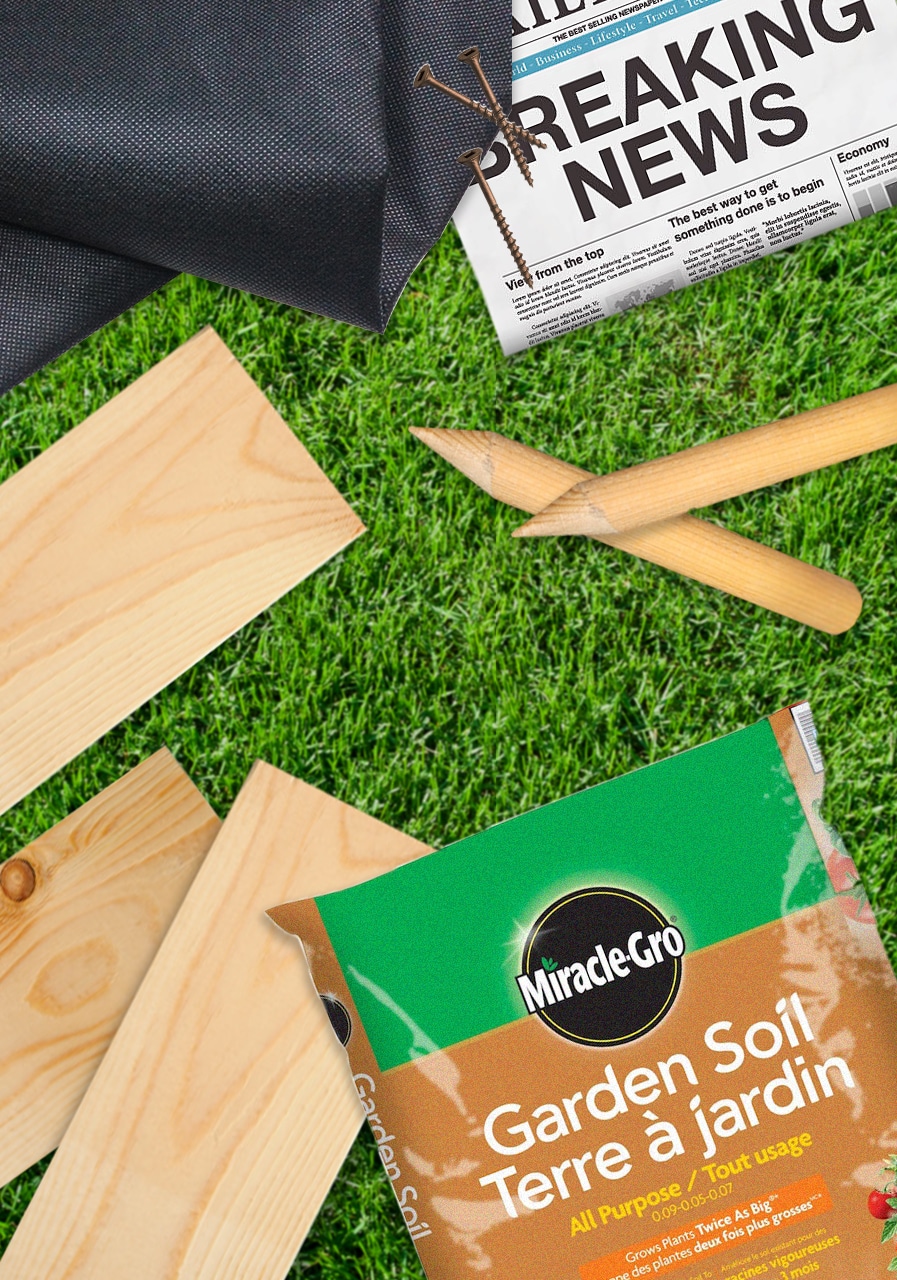
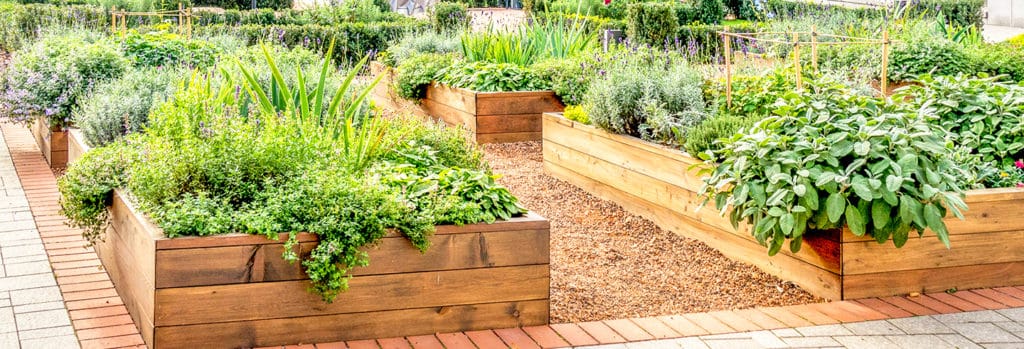
Does the idea of a DIY wood garden bed make your knees buckle? Follow our 5 easy steps and you’ll be building your own 4X4 garden bed (and your neighbours will be admiring it.)
Head to your favourite home improvement store, get two 8-foot-long 2×12 boards and ask them to cut them in halves. The best type of wood is something rot-resistant like pressure-treated lumber, white oak, or cedar. You’ll also need to get four packages of 2X2 wooden stakes. While you are there, grab your deck screws and Miracle-Gro® soil and plant food as well.
step two. assess your garden
Find an area of your yard that is level, exposed to sunshine and is near a water source. If you have chosen a grassy area, mow it short first before adding your new garden bed.
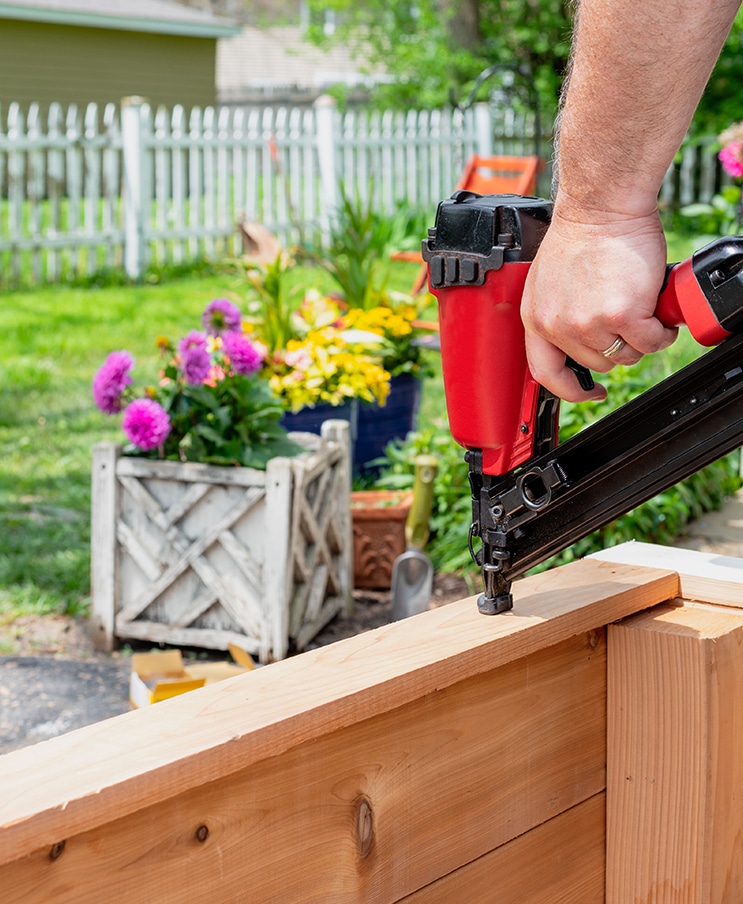
step three. get frame
To build the raised garden bed frames, place the boards in a square on their edges. To avoid the wood splitting apart, drill holes in each corner and fasten the boards together with four screws.
step four. make your bed
Put the landscape fabric over the spot you chose for your garden bed, extending it beyond the frame to help protect the wood. Set down the bed frame. Through the fabric, hammer one 2X2 stake into the ground on the inside of the frame to fortify the corners. Next, cover the fabric with the cardboard or a few layers of newspaper. This will help prevent weeds from growing through. Now it is time to fill the square box with soil, using a rake to level it.
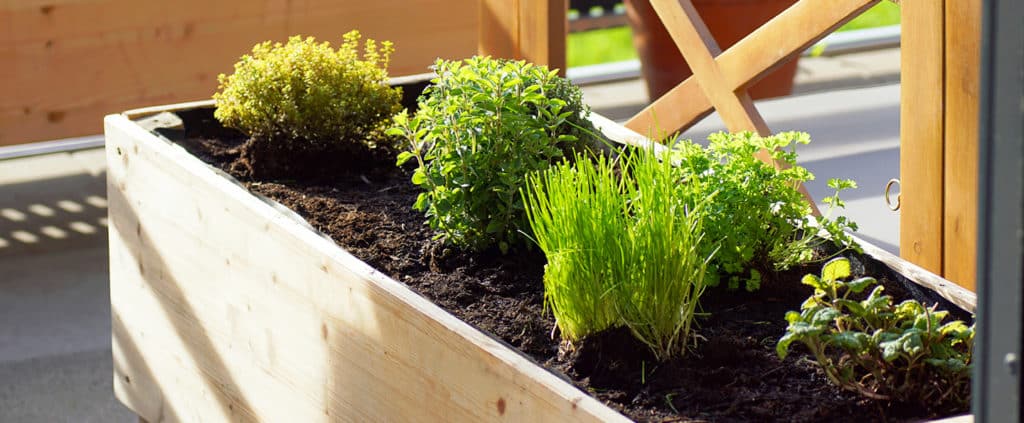
step five. planting time
Plant the seeds of your favourite plants, or if you are keen to get growing, plant sprouted vegetable and herb plants. Nourish your plants to reap a good harvest using your Miracle-Gro® Organics Plant Food Granules for Vegetables and Herbs coupled with the garden soil, these products will harvest three times more over the growing season.
Congrats, it was easier than you expected, right? Perhaps it won’t be just plants but your collection of garden beds will grow, too.
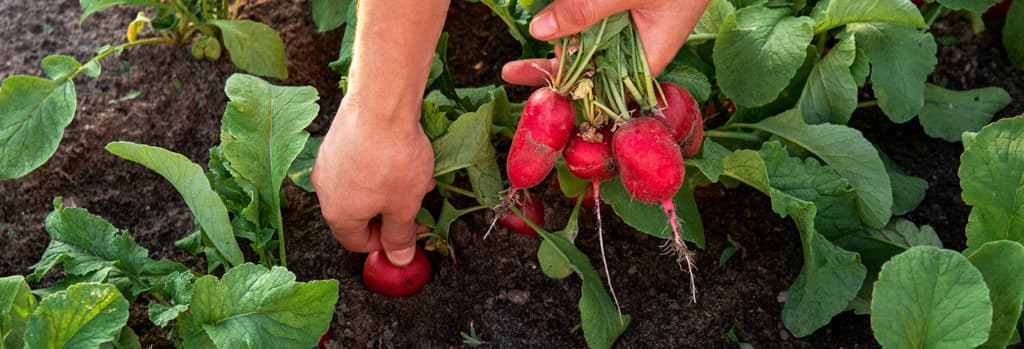
3 to 4 weeks before the last spring or fall frost is predicted, grab those radish seeds (wondering why you can’t see them? Seeds appear only after the root veg is edible.) Spring radishes usually take 18 to 45 days to harvest and winter radishes anywhere between 45 to 70 days. Plant the seeds ½ inch deep and 1 inch apart.
grow rad radishes
When your radish babies reach 1 inch in height, begin thinning them so the radishes can spread their roots and leaves, ideally 2 to 3 inches apart.
raising radishes right
The most important thing to do for your radish plants is to keep them watered so the soil is moist and remove any weeds that may surround them. Radishes grow best in partial shade or beside taller plants that can protect them from strong sun rays.
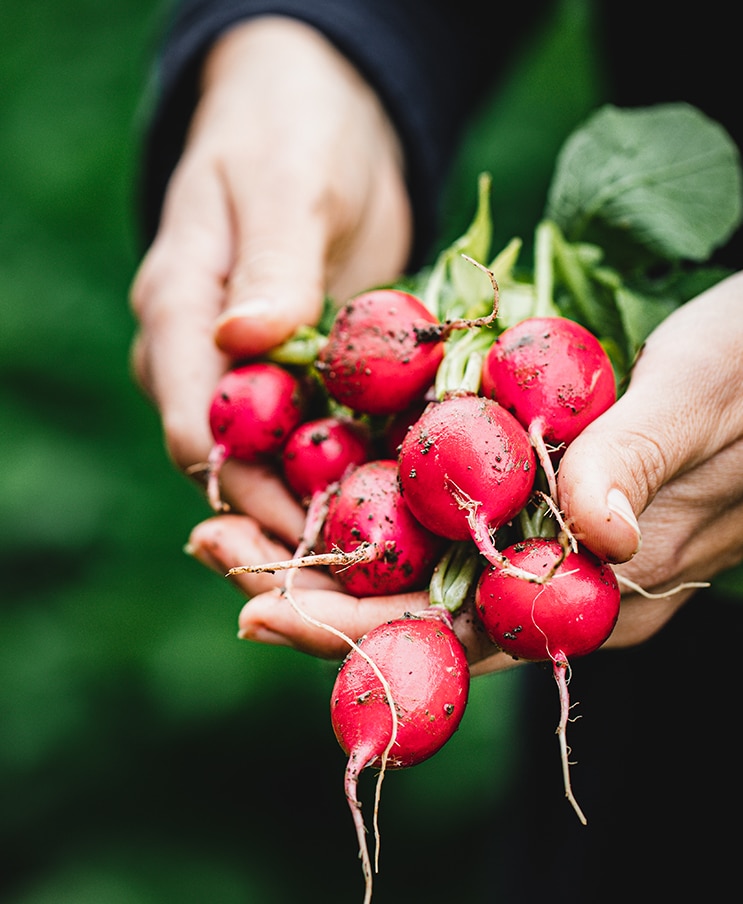
they grow up so fast
Radishes are a precocious bunch; they mature before you know it. The grow quickly but left in the ground they will break open, so pluck ‘em when they look like they’re ready to eat.
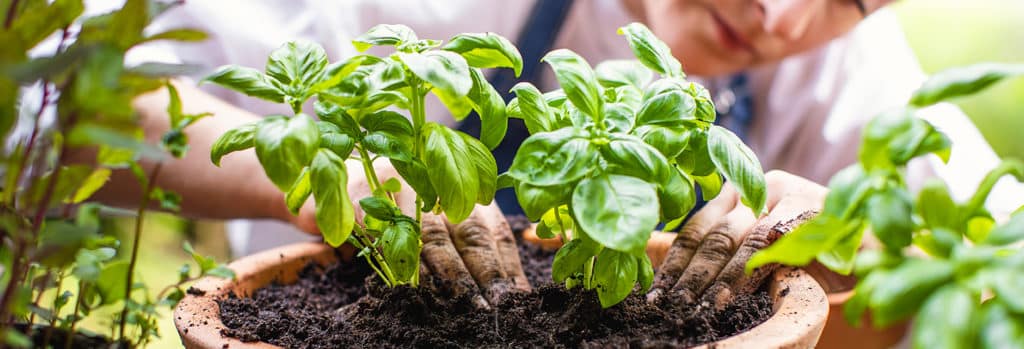
The best thing about growing basil of course is when it is ready to eat. To get there faster, opt for young basil plants You say bay-sil, I say bah-sil… tomato or tomAto, there’s definitely one way to make basil grow – and that’s the easy way!
top tips to begin your basil brood:
Basil plants need 6 to 8 hours of sun daily so place them accordingly, opting for afternoon shade if later sun is a scorcher.
Check the soil regularly, watering when the top inch feels dry.
Prune the top branches when the plants grow to be 4 to 6 inches tall to encourage more side shoots. Pinch the basil flowers off so the plants do not go to seed.
Mulch is a good way to block weeds and keep soil moist.
Begin harvesting when your basil plants are 6 to 8 inches tall.
lets gro #plantproject
the secret lifecycle of basil
Originally a tropical herb, this Mediterranean beauty is a favourite in North American gardens and incredibly versatile as a herb in your favourite culinary creations. Here we take you from planting, growing, harvesting, and enjoying.
planting your basil
Robert Plant might have sung Stairway to Heaven but the mighty basil plant is one of the most heavenly herbs by far. Its intoxicating aroma has been the basis for fine perfumes and is a welcome addition to any home or indoor garden just for that reason alone.
The best thing about growing basil of course is when it is ready to eat. To get there faster, opt for young basil plants instead of seeds. If growing from seed is your thing, given their cultural roots (and literal ones!) wait for the soil to have warmed, by waiting for the final frost to pass. You could also grow the indoors six to eight weeks prior to the last expected frost date.
• Place three seeds in each seed-starting cell (egg cartons do nicely).
• After the seeds germinate, about one to two weeks, you will see the first set of teardrop-shaped basil leaves appear.
• Snip away the seedlings leaving the most robust looking one in the cell.
• Use larger containers to transfer seedlings or go straight to planting in the garden or use a 12 inch container or more for growing basil in a pot.
• Space plants 12 to 18 inches apart in the garden.
• If starting basil from seeds directly in the garden, sow the seeds ½ inch deep in the soil, one inch apart. Prune to 12 to 18 inches apart once the leaves appear.
your basil baby all grown up
To really grow like a pro, check out these essential basil gardening tips.
• Aw, those little basil plants are so cute, couldn’t you just pinch them? Then do it! Pinch the tops of your basil plants once they reach 4 to 6 inches in height to make those babies busher and branched out. Repeat once they have grown another 5 or so inches. If you don’t pinch, flowers will grow and decrease leaf production and poorly affect flavour.
• Those basil babes are a thirsty bunch, and basil plants in containers need watered more often than garden-grown basil. Regularly check the soil and if the top inch is dry, it’s time for a date with the garden hose or watering can.
• Basil, true to its warm Mediterranean roots does not live well in cold temperatures, including your refrigerator, where their tender leaves can get damaged and brown. If they are outside in your garden and the temperature dips down to 5C, it’s time to harvest and enjoy.
• Grow like a pro and add mulch around your basil (and other plants) to fend off weeds and retain soil moisture. Scotts® Nature Scapes® mulch was designed for this purpose.
Once your basil plants are a healthy 6 to 8 inches high, prune or pinch the leaves or stems. Freshly picked basic leaves keep well for a few days, especially in a vessel of room temperature water. Pro tip: do not put basil in the fridge as the cold air browns the leaves. You can however freeze it in cubes of water or oil to cook with at a later date.
your secret homegrown ingredient
This verdant, versatile herb tastes like it makes Italian food sing opera, Mediterranean food say OPA and Asian dishes burst with depth of flavour. We all know the savoury uses of basil in pizza salads, sauces, and sandwiches, but it also packs a fresh flavour punch to fruits and smoothies.
Use Thai basil in Southeast Asian dishes like stir-fries, soups and marinades. Chef’s tip: tear, don’t chop, your basil leaves to release the natural oils and flavour and add it last.
basil the international herb
This verdant, versatile herb tastes like it makes Italian food sing opera, Mediterranean food shout, “Opa!”and Asian dishes burst with depth of flavour. We all know the savoury uses of basil in pizza salads, sauces, and sandwiches, but it also packs a fresh flavour punch to fruits and smoothies.
Use Thai basil in Southeast Asian dishes like stir-fries, soups and marinades. Chef’s tip: tear, don’t chop, your basil leaves to release the natural oils and flavour and add it last.
We use cookies on our website to give you the most relevant experience by remembering your preferences and repeat visits. By clicking “Accept All”, you consent to the use of ALL the cookies. However, you may visit "Cookie Settings" to provide a controlled consent.
This website uses cookies to improve your experience while you navigate through the website. Out of these, the cookies that are categorized as necessary are stored on your browser as they are essential for the working of basic functionalities of the website. We also use third-party cookies that help us analyze and understand how you use this website. These cookies will be stored in your browser only with your consent. You also have the option to opt-out of these cookies. But opting out of some of these cookies may affect your browsing experience.
Necessary cookies are absolutely essential for the website to function properly. These cookies ensure basic functionalities and security features of the website, anonymously.
Cookie
Duration
Description
cookielawinfo-checkbox-analytics
11 months
This cookie is set by GDPR Cookie Consent plugin. The cookie is used to store the user consent for the cookies in the category "Analytics".
cookielawinfo-checkbox-functional
11 months
The cookie is set by GDPR cookie consent to record the user consent for the cookies in the category "Functional".
cookielawinfo-checkbox-necessary
11 months
This cookie is set by GDPR Cookie Consent plugin. The cookies is used to store the user consent for the cookies in the category "Necessary".
cookielawinfo-checkbox-others
11 months
This cookie is set by GDPR Cookie Consent plugin. The cookie is used to store the user consent for the cookies in the category "Other.
cookielawinfo-checkbox-performance
11 months
This cookie is set by GDPR Cookie Consent plugin. The cookie is used to store the user consent for the cookies in the category "Performance".
viewed_cookie_policy
11 months
The cookie is set by the GDPR Cookie Consent plugin and is used to store whether or not user has consented to the use of cookies. It does not store any personal data.
Functional cookies help to perform certain functionalities like sharing the content of the website on social media platforms, collect feedbacks, and other third-party features.
Performance cookies are used to understand and analyze the key performance indexes of the website which helps in delivering a better user experience for the visitors.
Analytical cookies are used to understand how visitors interact with the website. These cookies help provide information on metrics the number of visitors, bounce rate, traffic source, etc.
Advertisement cookies are used to provide visitors with relevant ads and marketing campaigns. These cookies track visitors across websites and collect information to provide customized ads.
join our passionate plant community and gro your garden!
By registering, I am allowing Scotts Canada Ltd. to contact me with news, articles and promotions. I understand that I can withdraw my consent at any time.