Measure the base of the clothing rack, where you will eventually add the bottom shelf, and note the dimensions. With a pencil and measuring tape, use those dimensions to mark the piece of wood where it will need to be cut to fit on the base.
plant stand made from clothing rack
Whether you’ve run out of shelf space for your plant babies or are looking for a rental-friendly way to bring hanging plants into your life, a hanging plant stand can be a cute and functional addition to your space.
here’s how to turn a humble clothing rack into a minimalist plant stand
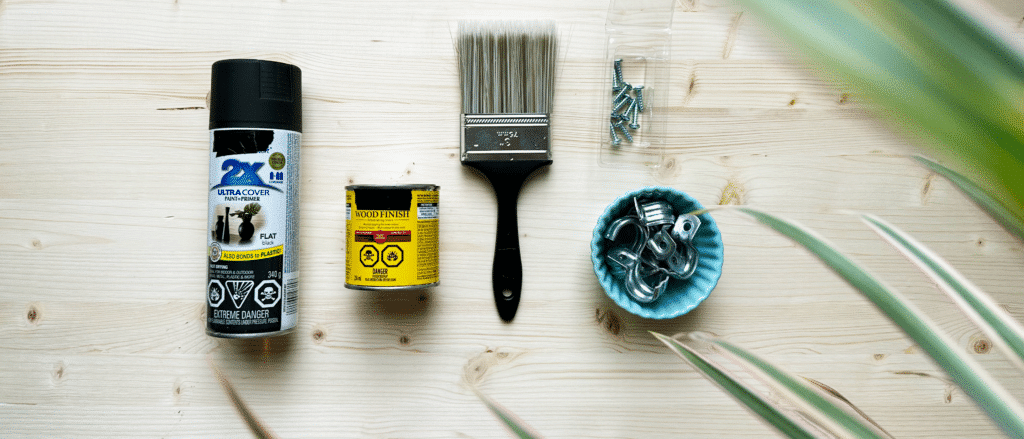
here’s what you need to get started:
- steel clothing rack (available at many big box stores)
- project panel/wood/plywood (to fit clothing rack)
- 4 EMT straps (sized to fit around pipes of the plant stand)
- 4 wood screws
- flat black spray paint (or colour of your choice)
- wood stain
- paintbrush
- drill or screwdriver
- sand paper
- saw
- pencil
- measuring tape
- hanging plants and pots

step two.
Use a saw to cut along the guidelines you made in step one.
If you don’t have a saw (or aren’t comfortable using one), most major hardware stores will cut wood pieces down to size for you – just be sure to bring the exact dimensions you need!
step three.
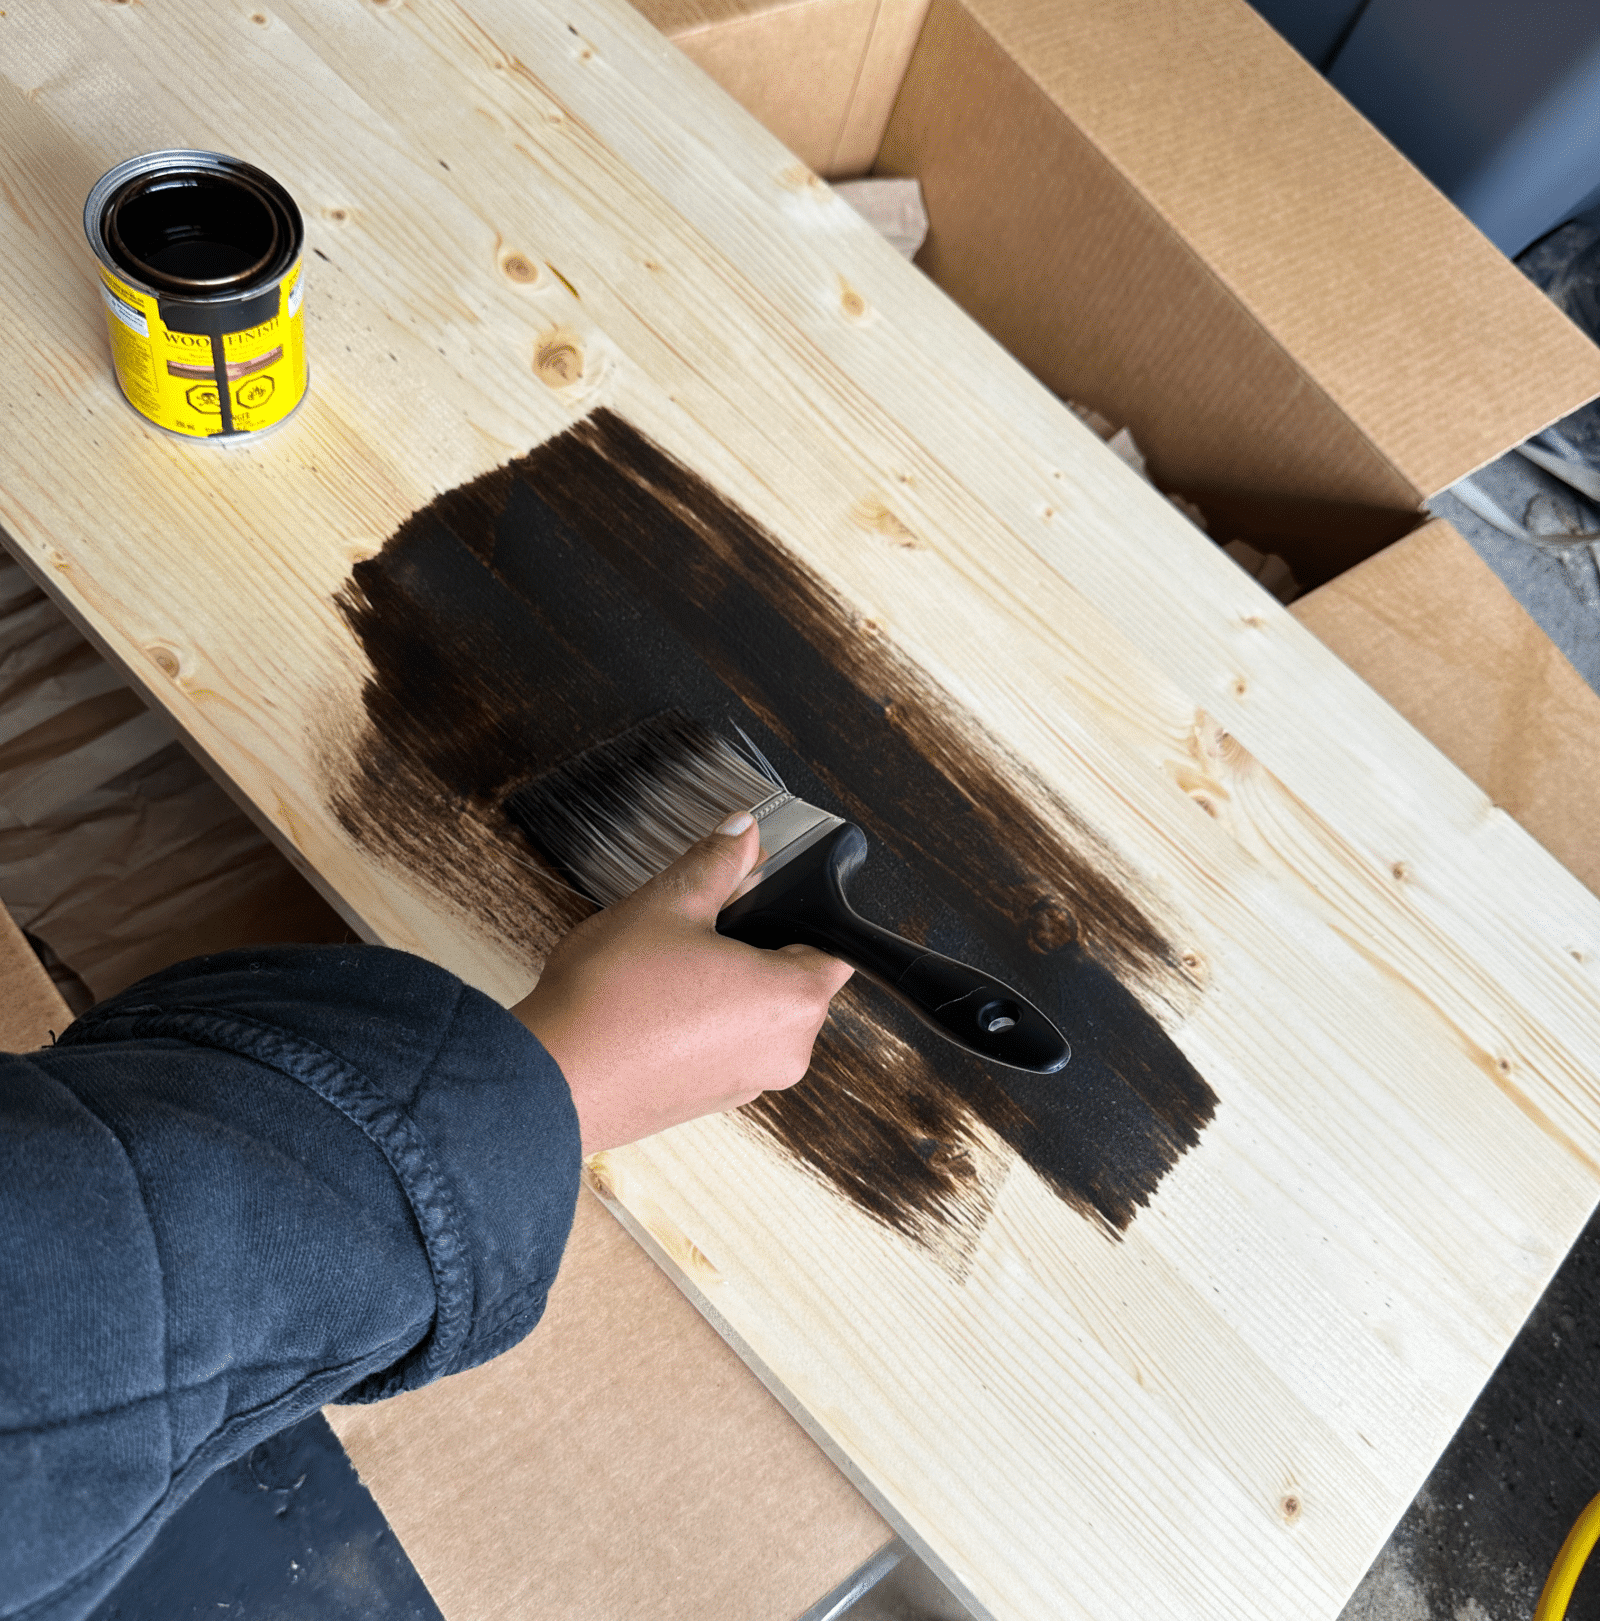
Sand any cut edges on the piece of wood.rnrnTo finish the shelf, coat it with the wood stain of your choice. Skip this step for a more boho look, or paint the shelf instead for a modern farmhouse vibe.

step four.
Spray paint the clothing rack. You may need to do several thin coats to ensure full coverage, letting each coat fully dry before going in with the next.
step five.
Use four EMT straps and wood screws to attach the piece of wood to the bottom shelf area of the clothing rack.

step six.
The final step – and my favourite one! – is to style your plants on your new plant stand. Place larger plants or plant care supplies on the lower shelf, and smaller hanging plants in macrame hangers from the top bar. Vary pot and basket choice to really express your style and help your new plant stand fit in with your space!

