- Microgreen seeds. From kale, spinach, radish, broccoli, beets and wheatgrass, when it comes to microgreens, the sky (and soil!) is the limit
- Misting bottle filled with water
- Upcycled plastic or aluminum take-out container or plate
- Miracle-Gro® Seed Starting Potting Mix
- Plastic wrap
grow microgreens for macro nutrition
small but mighty nutritious, make growing your own microgreens your next micro gardening project.
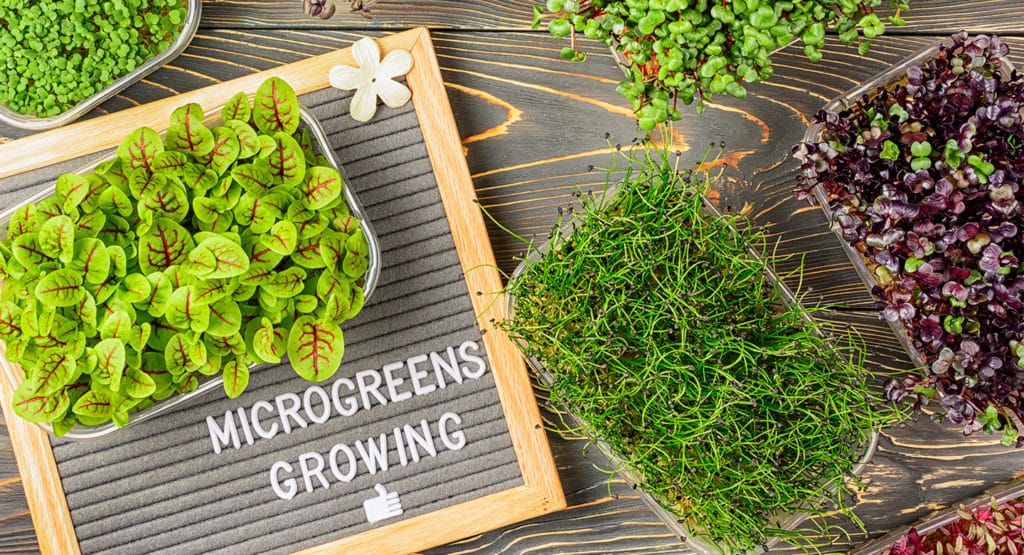
From fringe, to fad, to being favoured by many, microgreens have experienced quite the publicity journey. Packed with vitamins and with versatile uses, microgreens have become mainstream for health enthusiasts and home gardeners alike.
how microgreens differ from sprouts
Microgreens and sprouts may seem similar but are indeed different. With fully developed leaves, microgreens are in fact just miniature versions of your favorite large leafy greens. Sprouts and shoots on the other hand, although also nutritious, are not mature and do not require soil like microgreens do.


here’s how to grow microgreens
1. At the bottom of your container, evenly spread 1” of seed starting mix, making sure it’s not too compacted.
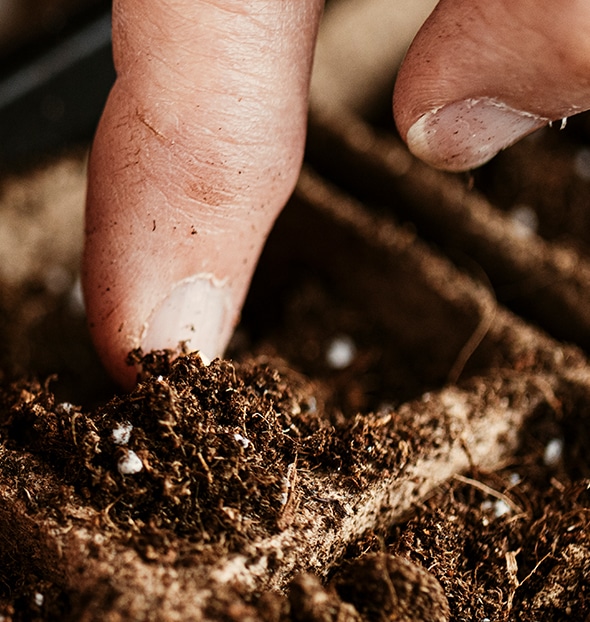
2. Sprinkle the seeds over the starting mix evenly, using your fingers or a small piece of cardboard to gently press them in.
3. Pour a small amount of water over the seeds– you only want the surface to be damp.
4. Take the plastic wrap and cover the container, then place in a sunlit window.
5. Be sure the microgreens get 4 hours of sunshine daily.
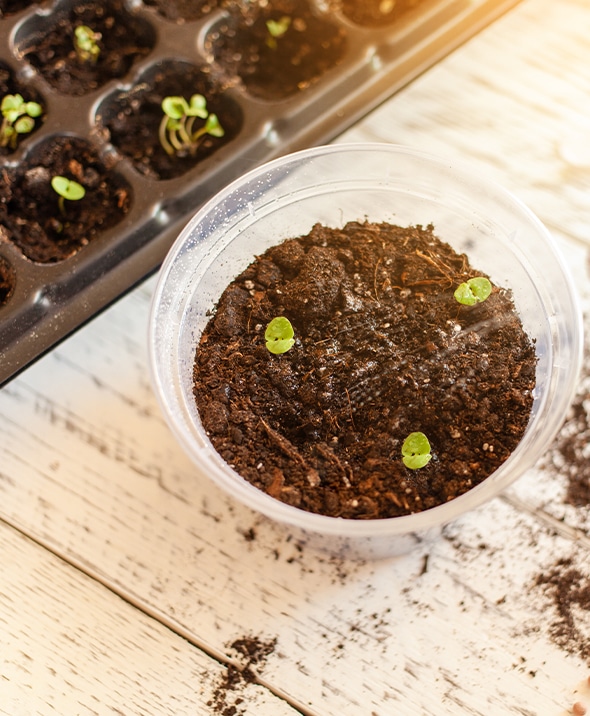
6. Use the water bottle to spritz the soil every day to keep it moist. Expect seedlings to appear in a week or less.
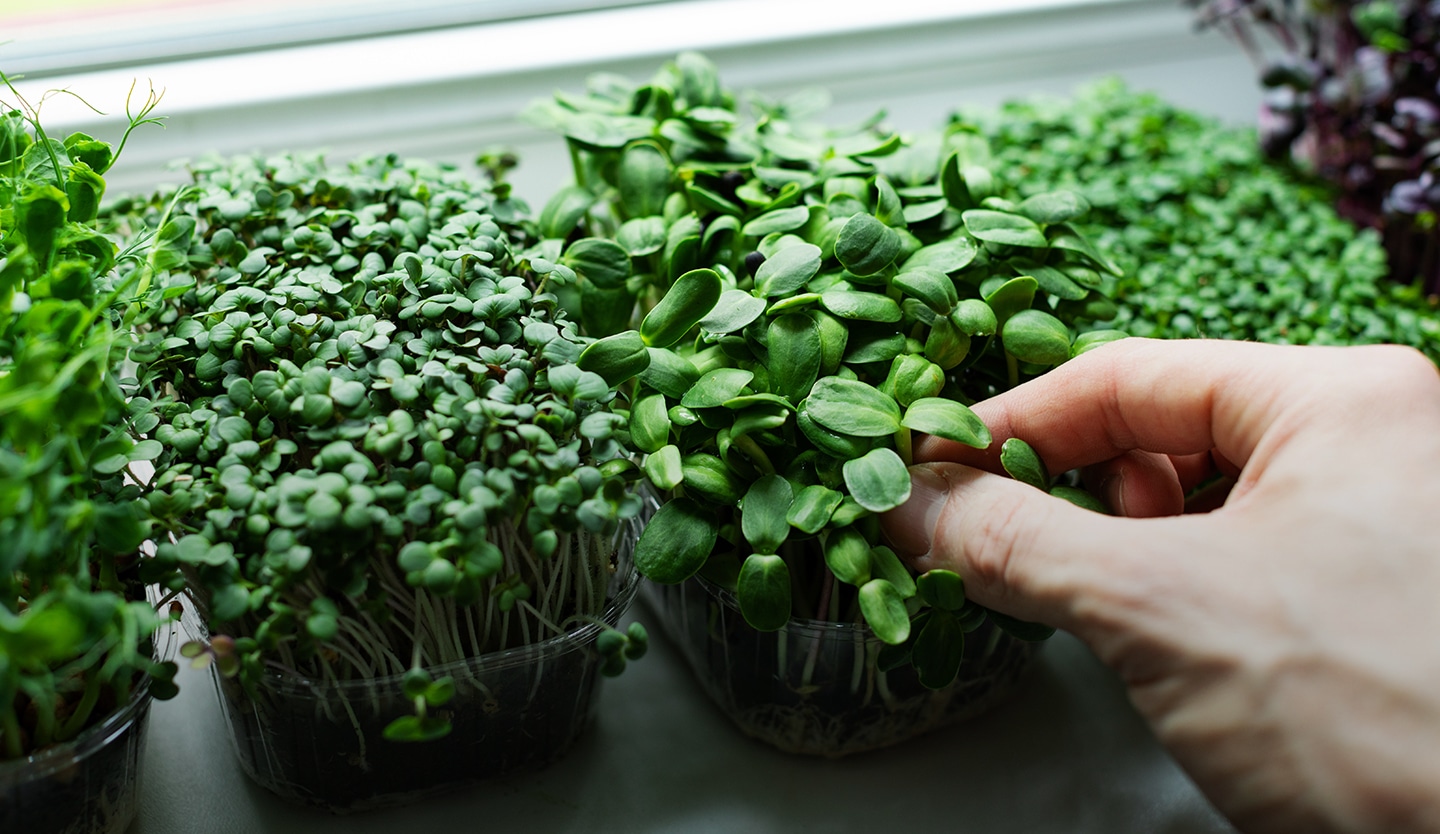
7. Once the seedlings sprout, remove the cover and keep misting daily. When the sprouts are about 3” tall, it’s harvest time.


