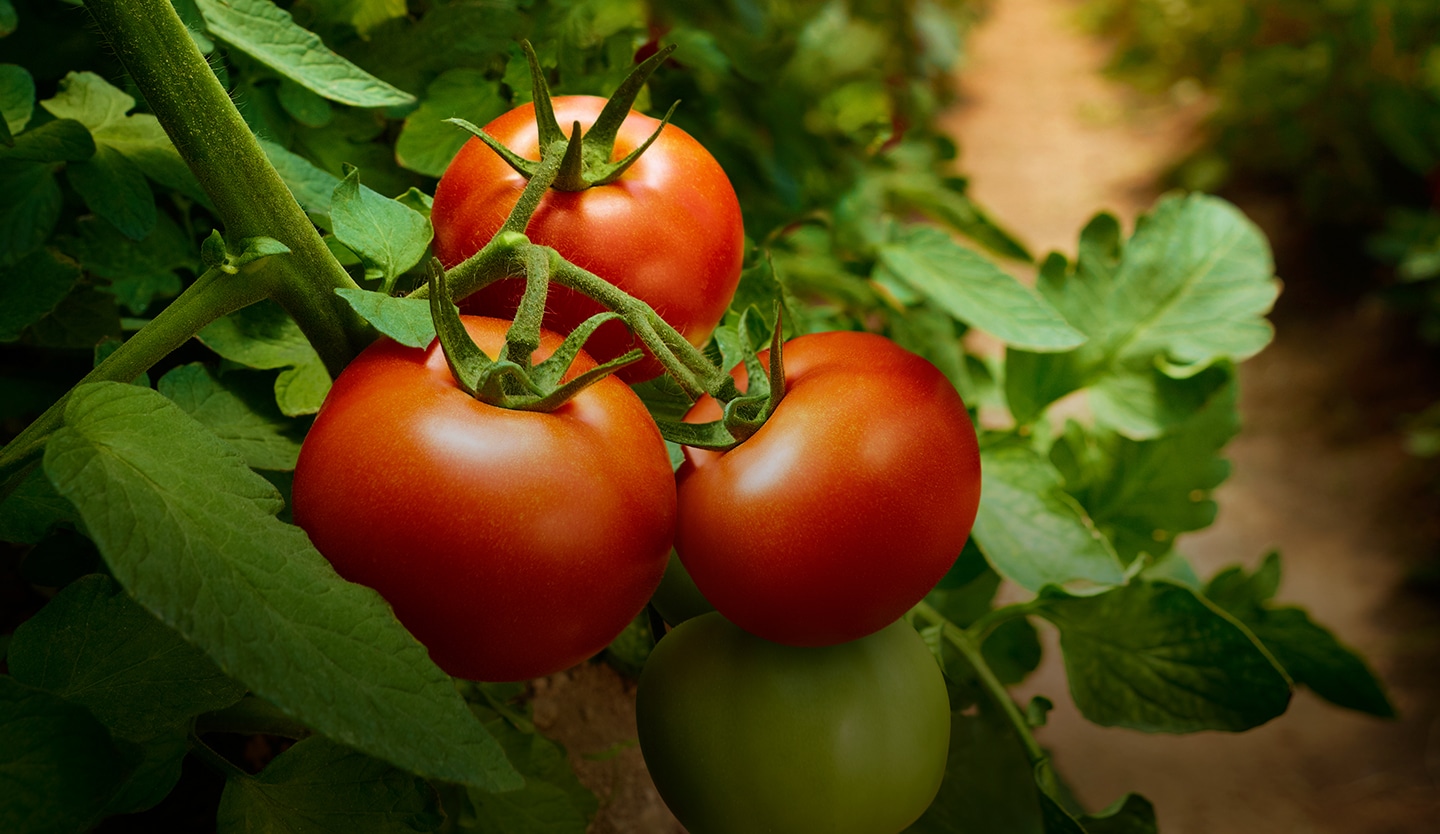
Beefsteak tomatoes are the most popular tomato variety, heart, durable, and tasty. If you are more limited for space, go for smaller varieties, like cherry tomatoes. Add different colours, flavours, and sizes to your garden by including different kinds of tomatoes like yellow and heirloom. Growing your tomatoes from seed allows you to produce greater variance, as opposed to starter tomato plants, which you have less control over.
from seed to sauce. be a tomato boss
a tomaTOTALLY versatile garden essential,
Tomatoes are a must-grow plant, whether your vegetable garden is just getting started or you’re a seasoned pro. No matter what the variety, is there any tomato tastier than a homegrown tomato? Their grocery counterparts simply do not compare.
Here we show you how to grow a tomato plant from seed, in 7 steps.

next step: planting
- Using small containers, like egg cartons, plant two tomato seeds in each section with a seed starter mix that fortifies root growth, like Miracle-Gro® Seed Starting Potting Mix.
- Add water to the potting mix so it’s spongy but not too wet, then plant your tomato seeds ⅛ inch deep, pressing down slightly.
- To conserve moisture, be sure to cover the containers loosely with plastic wrap and put them in a dark, warm spot. Seeds will typically sprout within 1 to 2 weeks.
- When they do, move them to a sunny area (or under grow lights). When leaves start to appear, it’s time to transfer them to a larger home, like a 450 mL / 16oz container with holes in the bottom for drainage.
are we ready to go outside yet?
To avoid your tomato babies facing hard knocks, harden them off!
· Gradually introducing them to outdoor conditions, known as hardening off, will allow them to adapt to the elements.
· Find a spot protected from direct sun and wind gusts, and leave the tomato seedlings outside for a few hours daily. Bring them back indoors in the evening or when temperatures go to 10 C / 50 F or less.
· Do this every day for 10 to 14 days. You may also wish to purchase cold frames or DIY your own plastic sheeting protectors for windier or cooler days outside.
prepping the ground
You may have protected your tomato babies from hard knocks, but they still should be grounded!
· Once the ground is warm enough, optimally two weeks after the last frost, mix a generous amount of high-quality soil like Miracle-Gro® Organics Garden Mix for Vegetables & Herbs then add 3 inches of mulch, like Scotts® Nature Scapes® Mulch around your tomato plants to keep them moist and weed-free.
· Leave at least 6 inches between the tomato plants and the mulch.
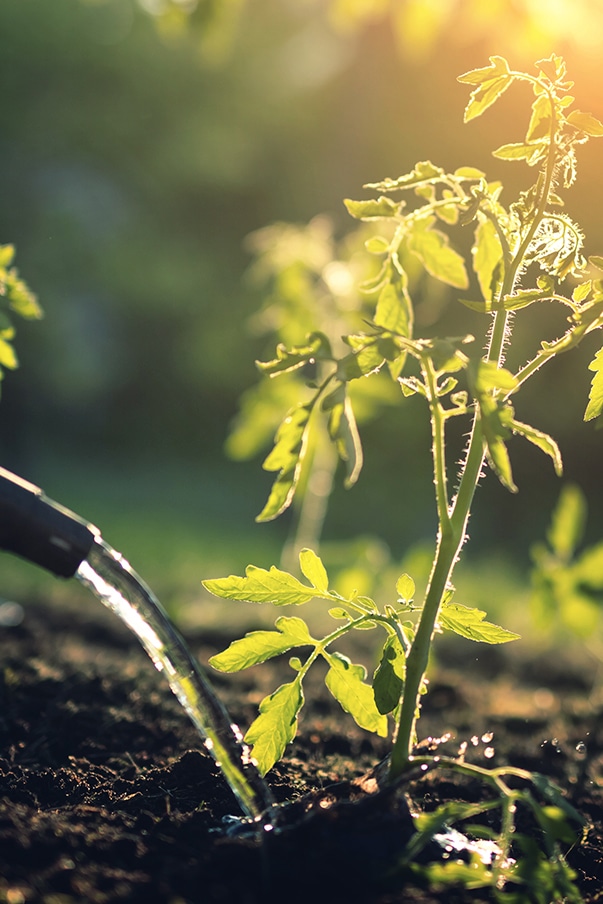
feed & water your tomatoes now and they will feed you later
· Tomatoes will be hungry for nutrients when they first grow in the soil, so it is important to feed them a specialized plant food like Miracle- Gro® Organics Plant Food Granules for Vegetables & Herbs, and water them daily.
· Once they’re viable after a few weeks, you can feed them every two weeks and of course water regularly.
· Your hands and eyes are vital gardening tools – use a fingertip to test soil moisture closer to the roots, about one inch deep, and keep an eye out for any wilting leaves which will indicate if the plants are amply watered and fed.
sauce, salads it’s time to harvest
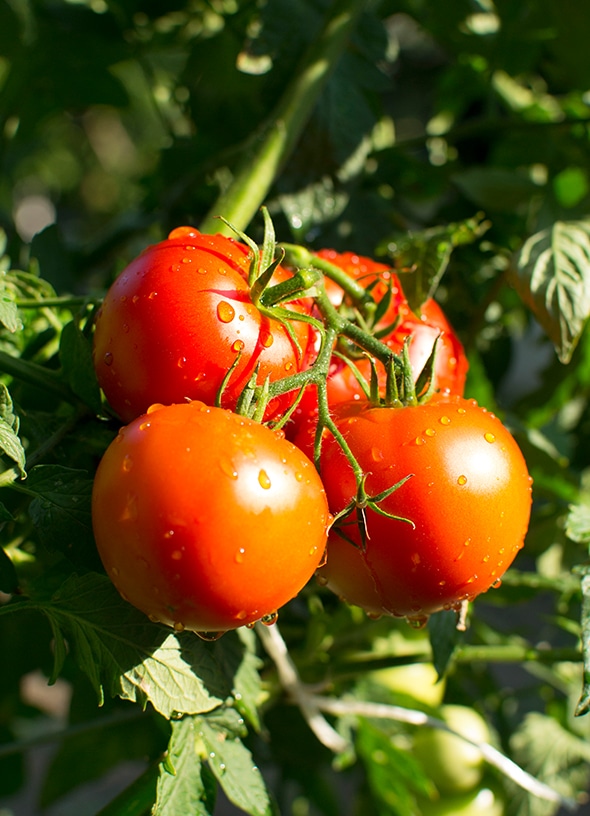
Fruit on the vine should appear from 45 to 90 days after planting. You can decide if your tomatoes are ripe by richer colour and firmness. Although there should be a slight softness, a very soft tomato is too ripe and past its best. Now pick them and enjoy!

healthy tomatoes make happy gardeners
To ensure your tomato plants thrive, water them regularly. Tomatoes love sunshine and therefore soil can dry up quickly, so they need plenty of h2o. Plants can decline rapidly without enough water. You will see a notable response when you feed your tomato babies plant food, so continue to feed at two-week intervals or more if they seem to do better that way. Prune branches that grow on or near the ground to prevent disease and remove any fallen tomatoes or buggy or wormed ones.
